
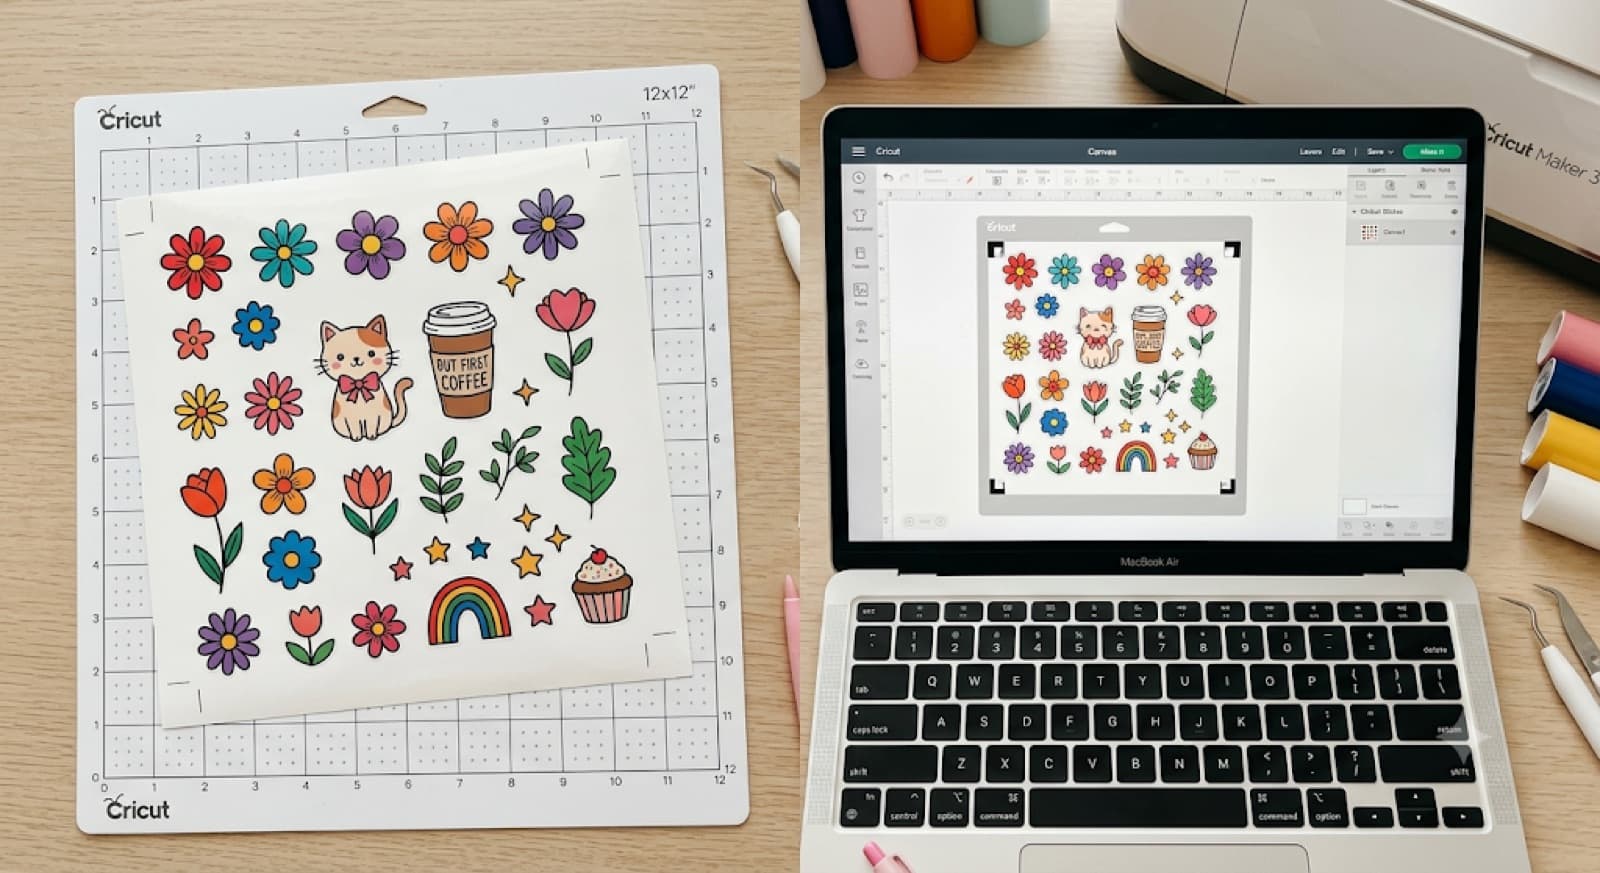
How to Make Stickers with Cricut (Print Then Cut Guide)
Learning how to make stickers with Cricut comes down to one feature: Print Then Cut. You print your design on sticker paper at home, then feed the sheet back through your Cricut, which reads small registration marks and cuts precisely around each shape.
You'll need a printer, sticker paper, and a Cricut Explore or Maker. The whole process, from design to finished sheet, takes about 20 minutes once you know the settings.
Estimated Time: 20 minutes | Difficulty: Beginner
The original Cricut Joy can't run Print Then Cut because it doesn't have the sensor needed to read registration marks. If you own a Joy Xtra, check your model's specs before you buy paper. Explore and Maker machines both support the feature.
What You'll Need
You don't need much to get started, but a few of these items matter more than people expect.
- Cricut Explore or Maker: required for Print Then Cut.
- Home inkjet printer: laser printers can work too, but colors run duller.
- Printable sticker paper: glossy, matte, holographic, or waterproof vinyl.
- Fine-point blade: the standard blade in most Cricut kits.
- StandardGrip or LightGrip mat: match the mat to your paper weight.
- Weeding tool: only needed if you're kiss cutting.
Designing Your Sticker Art
Your file needs a few things to print and cut cleanly. Keep colors flat rather than gradients where possible, since gradients can shift color on some home printers.
Leave a small bleed around each design so the cut line doesn't clip into the artwork. And keep the resolution high enough that edges stay crisp when printed at actual size.
Whatever you design in, export as SVG or PNG and bring it into Cricut Design Space.
Choosing the Right Cricut Sticker Paper
Sticker paper isn't one product, and picking the wrong one is the most common reason a sticker sheet looks off. Here's how the main types compare.
- Glossy is the standard choice for most sticker projects. It prints bright and holds color well, but it does show fingerprints.
- Matte has a flatter finish and hides smudges better, which matters if the sticker gets handled a lot.
- Holographic adds shimmer that catches light, popular for novelty or seasonal designs. Colors can look slightly washed out under the holo layer.
- Waterproof or printable vinyl is the right pick for anything going on a water bottle, car window, or outdoor surface. It costs more, but it's the only option built to survive that kind of use.
Whichever paper you pick, print one test sheet before committing to a full page. Printer colors and Cricut cut settings don't always match what you see on screen.
How to Make Stickers with Cricut in Design Space
Once your design is in Design Space and sized the way you want, here's the exact sequence.
Registration mark errors usually come down to lighting, a smudged mark, or a mark that got clipped off the edge of the paper during printing. Reprinting with full margins fixes most cases.
One size note worth knowing upfront: Print Then Cut sheets are capped smaller than a full standard cut area. Oversized single designs won't fit the feature at all, so split a large sticker into a die cut project or resize it to fit.
Kiss Cut vs. Die Cut: Which Setting to Use
This is the one setting that trips up most first-time sticker makers, because the two options look similar in the material menu but produce very different results.
Kiss cut means the blade cuts through the sticker layer only, not the paper backing underneath. The whole sheet stays in one piece, and the buyer peels individual stickers off as needed. This is the standard for sticker sheets you'd sell as-is.
Die cut means the blade cuts all the way through both layers, separating each sticker completely. Use this when you want individual stickers ready to peel and apply right away, with no sheet backing to deal with.
In Design Space, this comes down to your material setting. Choosing a kiss cut sticker paper setting from the material list cuts through the top layer only. Choosing the plain sticker paper setting (without "kiss cut" in the name) cuts through everything.
If your paper brand isn't listed by name, start with the Adhesive Vinyl Print Then Cut setting as your baseline and adjust cut pressure from there if the blade drags.
You can also reuse the same design for either style. The artwork doesn't change, only the material setting you choose when you send it to cut.
For a deeper comparison, read our kiss cut vs. die cut breakdown.
Misaligned cuts are usually a registration mark issue rather than a blade issue. If your cuts keep landing off from your printed design, our Print Then Cut troubleshooting guide covers the fixes.
Sizing Multiple Stickers on One Sheet
Most people don't print one sticker at a time. They fit several designs onto a single sheet to save paper and printing passes, and layout gets fiddly fast once you mix sizes.
If you're building sheets from a set of SVG designs, CutMagic's Etsy Studio groups them into sticker sheets and generates size variants, so you're not nudging shapes around by hand. From there, bring the sheet into Design Space and run it through the steps above.
Whatever tool you lay it out in, leave a gap of roughly a quarter inch between designs. That gives the blade clean space to cut without one sticker's edge interfering with the next.
If your printed sheet comes back softer or blurrier than the file looked on screen, that's usually a source-image resolution problem rather than a printer problem. Our guide to the Cricut image quality warning explains when it's worth fixing and when it's a false alarm.
Selling Your Cricut-Made Stickers on Etsy
If you're making stickers to sell rather than just for personal projects, a few habits make a real difference. List sheets as sheets, not per individual sticker, since that's how most buyers expect sticker listings to be structured.
Photograph the sheet on a plain background first, then add a lifestyle shot showing a sticker applied to something real.
Pricing takes a bit of market research rather than guessing, and your material costs are the floor. Run your numbers first:
If you're setting up your shop from scratch, this guide to starting an Etsy SVG shop covers pricing benchmarks and shop setup in more depth.
Save This Project Card
Keep this handy while you craft:
Before You Print Your First Sheet
Knowing how to make stickers with Cricut gets easier every time you run it. Print Then Cut is one of the more forgiving Cricut features once you've done it a couple of times, but it has a real size ceiling and depends on clean registration marks every single time.
Run one test sheet, confirm your kiss cut or die cut setting matches what you want, and you're set to build out a full sticker line from there.