
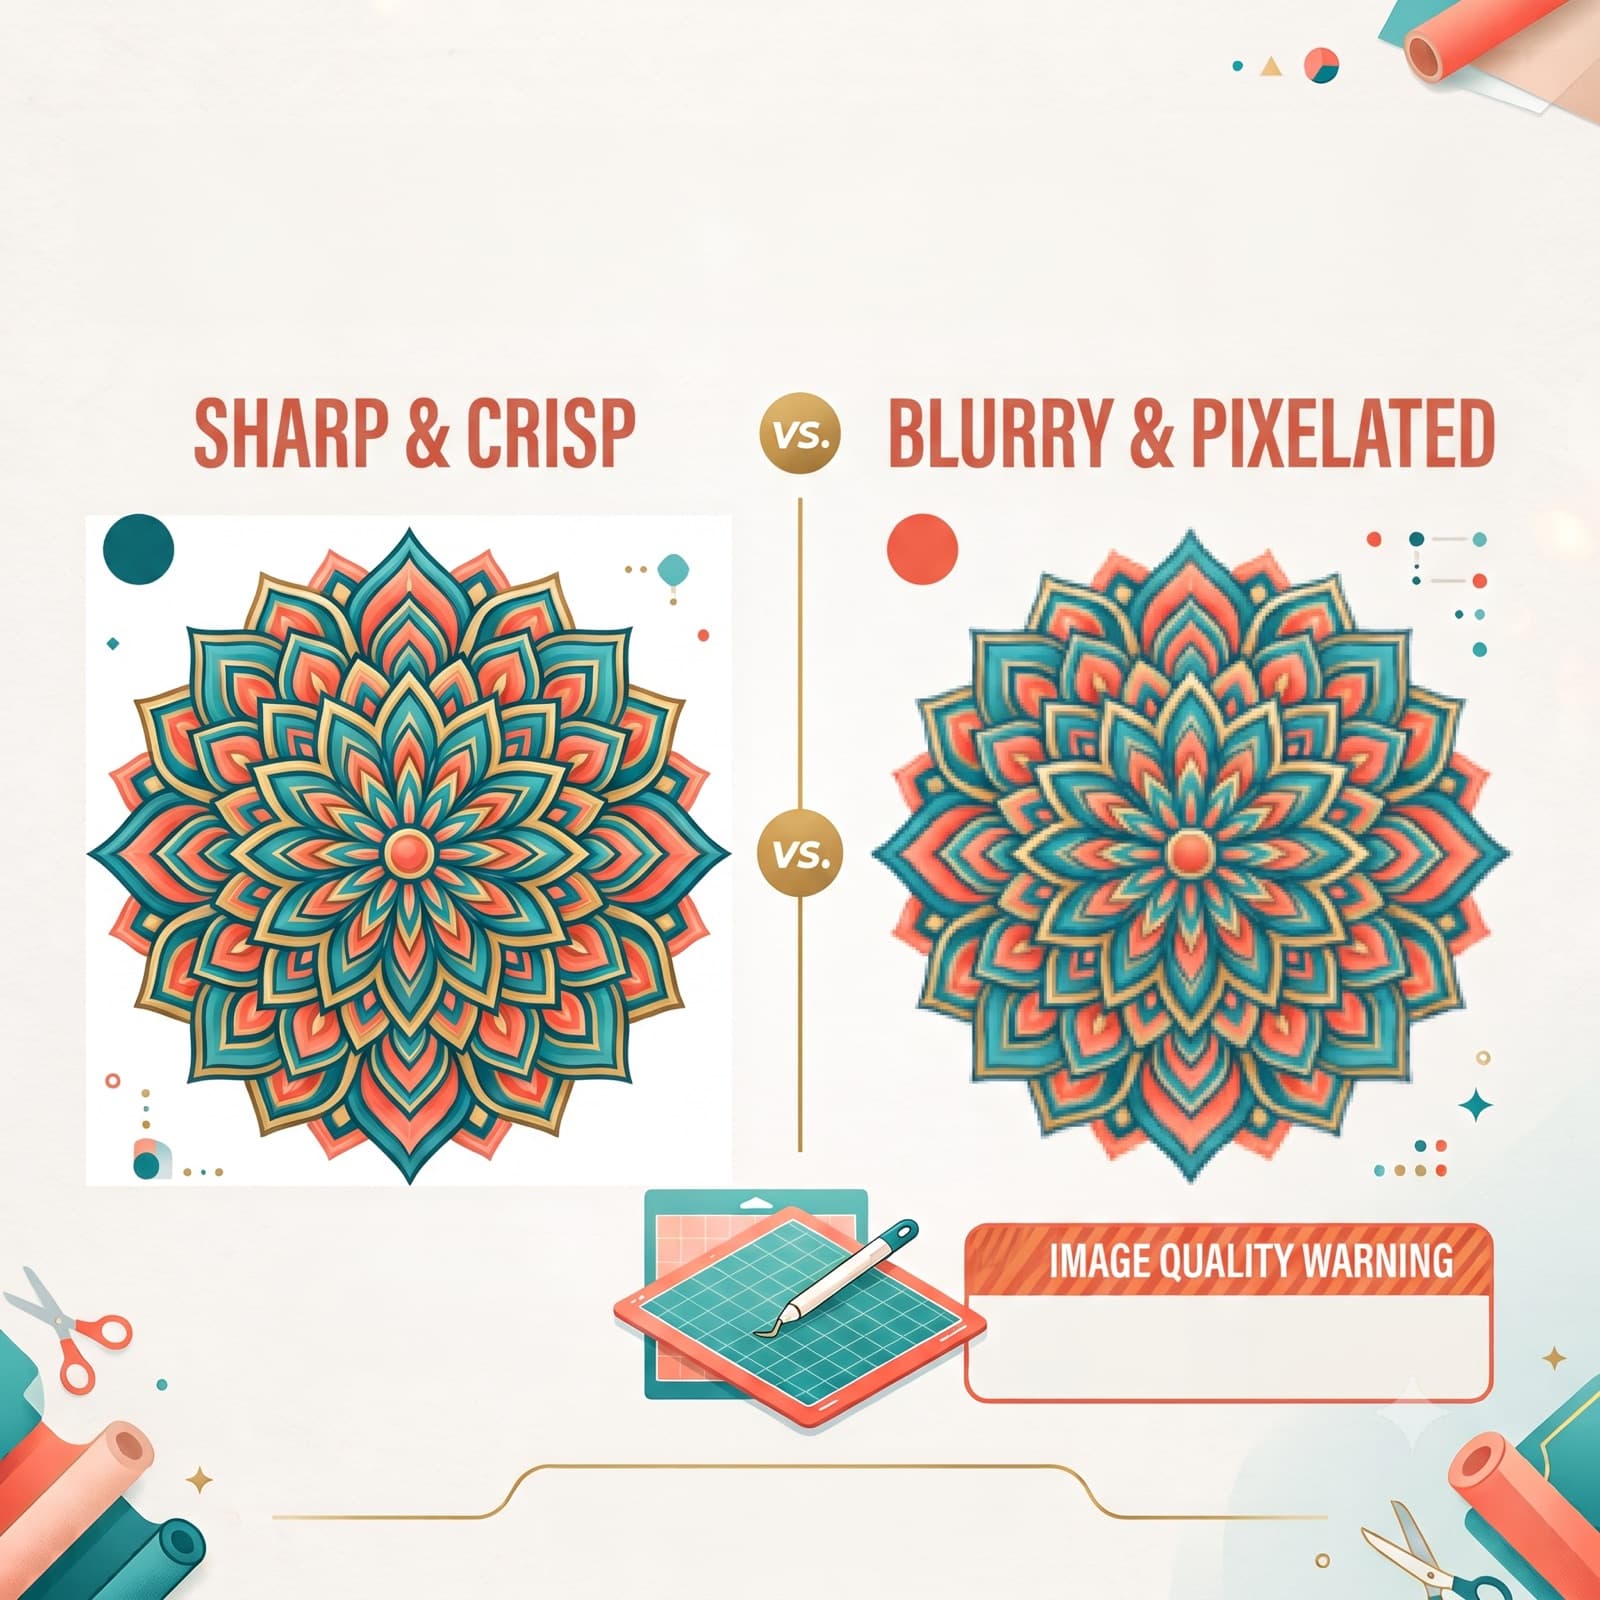
Cricut's "Image Quality" Warning on Print Then Cut: What It Actually Means and When to Ignore It
You're one click from sending a print then cut job when Design Space stops you: image resolution is too low. But the file looks fine on screen, sharp edges, clean colors, nothing that screams "blurry." That's because the low resolution warning Print Then Cut throws at you isn't looking at your image the way you are. It's running a math check based on pixel dimensions against your print size, not an actual visual read of how the print will turn out.
This mismatch between what the warning says and what you're actually looking at trips up a lot of crafters, especially anyone working with a mix of source file types. You upload a design, Design Space does its calculation, and the pop-up appears regardless of whether the file is a phone photo you saved off Pinterest or a clean vector graphic you built yourself. Knowing the difference between those two situations is what this guide is for.
What the Warning Is Actually Checking
Design Space compares your image's pixel dimensions to the physical size you're printing it at. If the resulting pixels-per-inch falls below its internal threshold, the warning fires. It doesn't check whether the image actually looks sharp, only whether the pixel math clears the bar.
That's why the warning creates false alarms so often. A vector-based design can trigger the exact same message as a genuinely blurry photo, because the check only looks at pixel math, not the actual visual result. An image that was upscaled properly, with real detail added rather than just stretched, can throw the same warning too. Design Space doesn't distinguish between "technically under threshold but fine" and "actually going to look rough when printed."
It also helps to understand why Design Space defaults to a blanket check instead of something more intelligent. Analyzing an actual image for visual sharpness, contrast, and edge quality is a much heavier computational task than comparing two numbers. A simple pixels-per-inch calculation is fast, consistent, and easy to apply across every file type Design Space accepts, from JPGs to PNGs to SVGs. The tradeoff is accuracy. You get a warning system that's quick and predictable but not always right about your specific file.
The Minimum Resolution for Cricut Print Then Cut
If you're trying to figure out the minimum resolution for Cricut print then cut before you even open Design Space, here's the range most guides land on.
150 to 300 DPI at final print size is the safe zone. Most professional print work targets 300 DPI as a baseline, but for craft projects viewed at arm's length rather than under a magnifying glass, 150 DPI often looks perfectly clean too.
- Smaller designs get more slack. A design printed at 2 or 3 inches can work fine with lower source resolution than the same design blown up to fill a full page. Less surface area means less room for pixelation to show, since the same pixel count gets packed into a smaller physical space, which raises the effective DPI automatically.
- The threshold is conservative by design. Design Space would rather flag something that's actually fine than let a genuinely low quality print through. That means it can fire well above the point where a print would actually look bad. If you keep running into this warning on files you know are solid, SVG file too complex errors come from a similar spot: Design Space erring on the side of caution rather than reading the actual file.
Where this gets confusing is that Cricut doesn't publish an exact DPI number that triggers the warning. It's not a fixed line you can calculate against ahead of time. That's part of why so many crafters end up ignoring it after a few false alarms, and also why a handful still get burned by a genuinely low resolution file that slipped through on a small print size where the warning didn't fire at all.
When the Warning Is a Real Problem
Sometimes the warning is right. Here's when to actually stop and fix the file before you cut.
- The image came from a website or social media. Screenshots, saved images, downloaded graphics, these are almost always compressed well below print resolution. What looks fine on a phone screen at 72 DPI falls apart fast once you're printing at several inches. Social platforms in particular strip resolution aggressively to save bandwidth, so an image that looked great in your Instagram feed can be a fraction of its original quality by the time you save it.
- The file has been resized up significantly. If you started with a small image and dragged it up to fill more space, you didn't add resolution, you just stretched what was already there. Design Space, like most software, interpolates the missing pixels, which softens edges and introduces exactly the kind of blur the warning exists to catch.
- You can already see pixelation when you zoom in. If the Design Space preview looks soft or blocky before you even send the job, the warning is telling you something real. Trust your eyes here over any DPI number. If it looks bad at 100% zoom on your screen, it's not going to look better printed at full size.
Treat the warning as a prompt to actually look at your file rather than an automatic stop sign or something to click past without a second thought. Zoom in, check the edges, and let what you see decide whether the warning applies to you.
When It's Safe to Ignore the Cricut Image Quality Warning
Once you know what to look for, ignoring the Cricut image quality warning becomes a judgment call instead of a guessing game. Here's when you can proceed with confidence.
- The source file is vector-based (SVG), not raster. Vector art doesn't have a pixel resolution to fall short of in the first place. It's built from math, not pixels, so it stays sharp at any size. Design Space sometimes flags these anyway simply because they get converted internally for the print step, but there's no real quality risk since the underlying artwork never loses detail.
- The print size keeps you well above visual softness. Even if you're technically under Design Space's threshold, a small enough print size means the actual result looks sharp to the eye. The warning is calibrated conservatively, not precisely, so plenty of files that trip it still print cleanly at the sizes crafters actually use for stickers, labels, and small decals.
- A full-size test print still looks good. This is the ultimate tiebreaker. If you print the design at actual size and it looks clean, the warning was a false alarm for that specific file. A quick test print on regular paper before committing to your final material costs you almost nothing and settles the question for good.
If you find yourself second-guessing the warning on the same type of file over and over, that's usually a sign the warning just isn't a reliable signal for your particular workflow, and the test print is worth making a standard step.
How to Fix Low Resolution in Cricut Design Space
When the warning is legitimate, here's how to fix it the right way.
Skip the Resolution Math Altogether
Chasing high resolution for Cricut is a raster-world fix for a problem vector files avoid completely. The moment you're asking "is this pixel count enough," you've already accepted the limitation that comes with raster images: there's always a size where they run out of detail, no matter how high you push the starting resolution.
The catch is that plenty of crafters already have SVG files sitting around, just ones with broken paths, self-intersecting paths or shapes, or leftover raster elements that keep triggering the same warnings and errors. If a design was traced from a raster image, saved from an inconsistent source, or edited across a few different tools, it can end up with quality issues that have nothing to do with pixel count and everything to do with the file itself being messy.
CutMagic's SVG Fixer fixes those files automatically, cleaning up broken vector paths so the artwork scales cleanly at any print size instead of carrying pixel-based problems into a format that was never supposed to have them.
FAQ
What DPI does Cricut Print Then Cut need?
150 to 300 DPI at final print size is the safe zone. 300 DPI is the professional baseline, but 150 DPI often looks clean for craft projects viewed at arm's length. Smaller prints can go lower since less surface area means less room for pixelation to show.
Can I ignore the image quality warning?
Yes, when your file is vector-based (SVG), your print size is small enough that it looks sharp anyway, or a full-size test print already looks good. If none of those apply, don't ignore it.
Does the warning apply to SVG files?
Not really. Vector art has no pixel resolution to fall short of, it's built from math, not pixels, so it stays sharp at any size. Design Space sometimes flags SVGs anyway because they get converted internally for the print step, but there's no real quality risk.
The Bottom Line
The Cricut low resolution warning is a heads-up, not a verdict. It's checking pixel math against print size, and that math is deliberately cautious, which means it flags plenty of files that will print just fine. The real test isn't whether Design Space is happy. It's whether your source file, vector or raster, actually has the detail to back up the size you're printing at. Learn to read your files instead of just reading the warning, and you'll stop wasting material on unnecessary re-exports while still catching the prints that genuinely need a fix.