
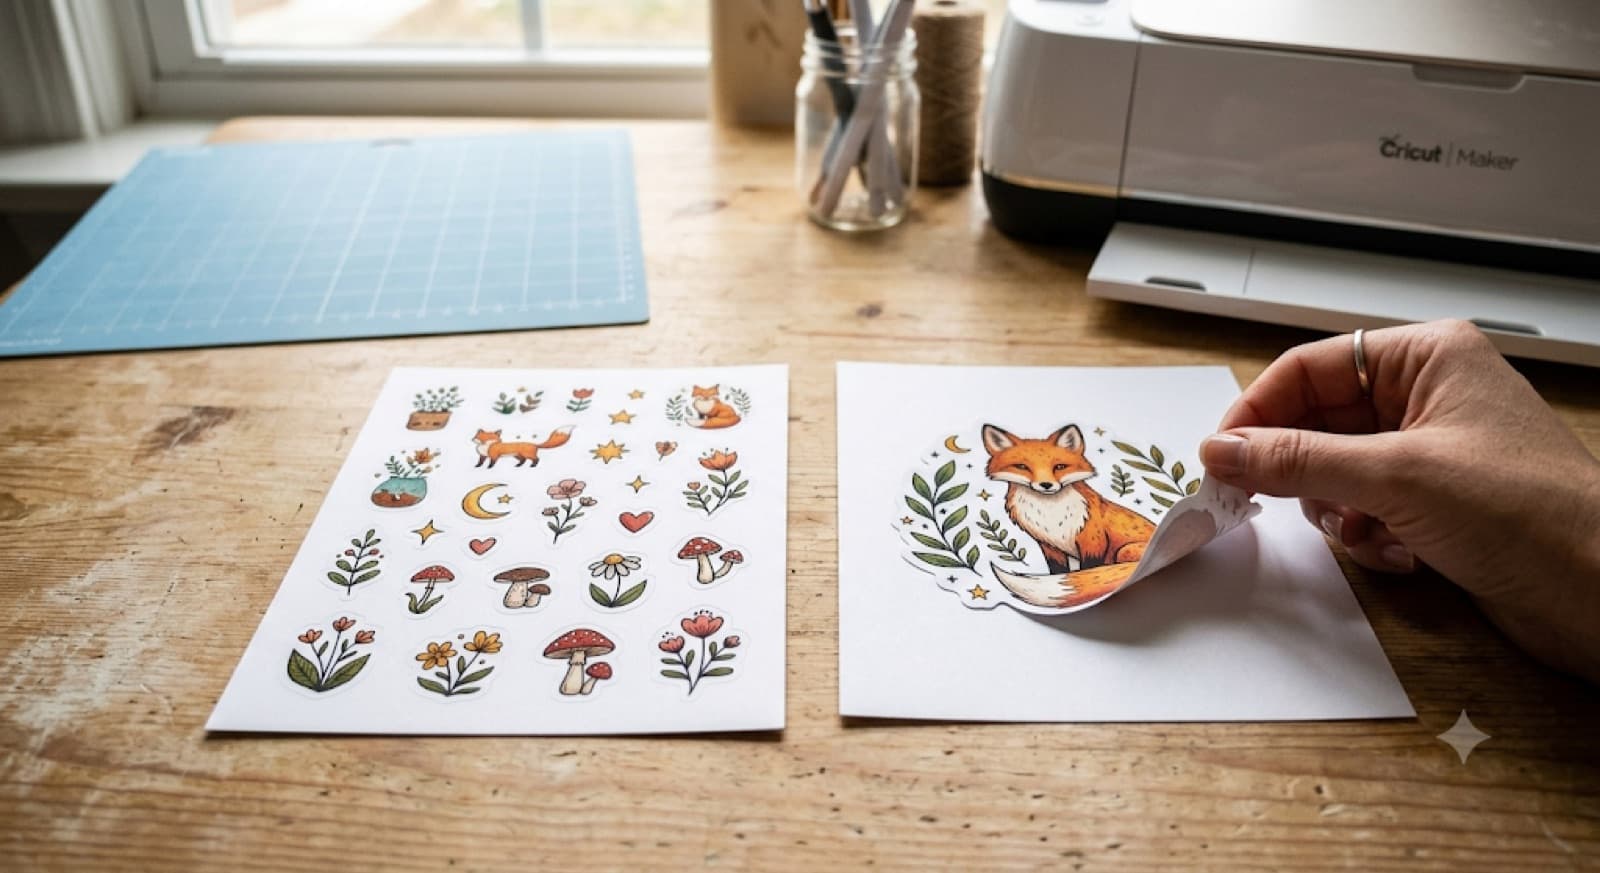
Kiss Cut vs Die Cut: Which One for Your Stickers?
Kiss cut vs die cut comes down to how deep the blade goes. Kiss cut stickers are cut through the top layer only, so the backing sheet stays in one piece and buyers peel individual stickers off it. Die cut stickers are cut all the way through, backing included, so each sticker is a standalone piece. Sticker sheets and multi-design listings usually call for kiss cut. Single logo stickers or standalone labels usually call for die cut.
Picking the wrong one after you've already printed a sheet is an expensive mistake. You either waste the sheet or you end up hand-trimming stickers that were supposed to peel apart cleanly. The good news is that the decision comes down to a handful of factors: how you're selling the design, what backing paper you're using, and how the machine setting needs to change.
What's the Difference Between Kiss Cut and Die Cut?
Kiss cut means the blade only cuts through the sticker material, the vinyl or paper on top. It doesn't cut through the backing sheet underneath. That's what lets a buyer peel one sticker at a time off a shared sheet, the same way you'd peel a sticker out of a sticker book.
Die cut means the blade cuts through everything, sticker material and backing both. Each sticker comes away from the sheet as its own separate piece. There's no shared backing left behind.
The mix-up usually happens because both cuts can look identical in the design file. The outline is the same shape either way. What changes is the blade depth and the material setting you choose when you send the file to the machine.
Nothing in your SVG says "kiss cut" or "die cut." The file only holds the outline. Blade depth and material settings decide which one you actually get.
Kiss Cut vs Die Cut Comparison Table
Here's how the two stack up across the decisions that actually affect your listing.
| Kiss Cut | Die Cut | |
|---|---|---|
| Best for | Sticker sheets, multi-design bundles | Single stickers, standalone logos or labels |
| Backing paper | Stays in one piece, stickers peel individually | Cut all the way through, no shared backing |
| Machine setting | Reduced blade depth, top layer only | Full cut-through depth |
| Etsy listing implications | Photograph as a full sheet, list as "sheet of X" | Photograph each sticker on its own, list as a single item or small set |
Setting Up Kiss Cut in Cricut Design Space
Both the Cricut Explore and Maker can kiss cut sticker material, either through a kiss cut material setting or by reducing the blade pressure. Results depend on the specific sticker paper you're using, which is why the test cut in step 4 matters so much.
If you're laying out a full sticker sheet with several designs, CutMagic's Etsy Studio can group your SVG designs into a sticker sheet for you, so you're not arranging every cut line by hand before you ever open Design Space.
Setting Up Die Cut in Cricut Design Space
Die cut is the simpler setup because you're using the standard cut. The main thing to get right is the cut line itself.
- Choose the standard material setting that matches your sticker paper or vinyl, not a kiss cut setting.
- Check that the cut line follows the outer edge of each sticker, not a shared sheet boundary. If your design has a border or white edge, make sure that border is part of the cut line, not sitting outside it.
- If you're printing the design first and then cutting it, confirm registration marks are turned on before you send the print job.
- Run a quick test cut, then check that it went all the way through the backing.
Misaligned registration is the most common reason a die cut sticker comes out shifted from its printed image. If that keeps happening, our guide to Print Then Cut registration errors on Cricut and Silhouette walks through the fixes.
If the blade is set too deep for a kiss cut, it slices the backing and you only find out when you peel. If it's too shallow for a die cut, the sticker stays stuck to the sheet. A scrap corner costs you nothing.
Setting Up Kiss Cut and Die Cut in Silhouette Studio
The logic is the same in Silhouette Studio. You're deciding whether the blade stops at the sticker material or goes through the full stack.
Kiss cut in Silhouette Studio
- Open the cut settings panel.
- Look for the option that limits the blade to the material thickness rather than the full stack. Depending on your Silhouette Studio version, it's labeled "kiss cut" or a reduced-depth setting.
- Test on scrap first, same as you would in Design Space.
Die cut with a printed design in Silhouette Studio
- Turn on registration marks under the Page Setup panel so the machine can align the cut to the print.
- Use the standard cut setting for your material.
- If the machine keeps missing the marks or cutting off from the printed image, check lighting and registration before you change anything else. That's almost always the problem, not a setting you got wrong.
If you've worked with Design Space's Attach or Weld tools before switching to Silhouette Studio, the underlying idea is similar. You're deciding whether pieces stay separate or get treated as one shape. Cricut Attach vs Weld: The Real Difference Explained covers that full breakdown.
Kiss Cut Quick Reference Card
Save this one for your craft table:
Which Sells Better for Sticker Sellers on Etsy?
Kiss cut sheets tend to do well in the planner sticker and multi-design niches. Buyers see more value in a sheet of 10 or 20 stickers than a single die cut piece, and the sheet format photographs nicely for a listing thumbnail. The tradeoff is handling time. If your designs are packed close together, weeding the excess between stickers takes longer and increases the chance of tearing a thin detail.
Die cut singles work better for logo stickers, brand stickers, and laptop decals, where the buyer wants one clean piece, not a sheet. They're also simpler to photograph and ship since there's no shared backing to account for.
One thing to watch: a die cut sticker doesn't necessarily use more material than a kiss cut sheet, but die cut singles usually need more spacing between designs since each one is cut fully apart. That can change how many stickers fit on a page, which changes your cost per sticker.
If you're building your first sticker sheet listing, How to Make Stickers With Cricut covers the full process end to end, from file setup through packaging.
The Takeaway
The kiss cut vs die cut choice should follow your listing format, not the other way around. If you're selling a sheet, kiss cut. If you're selling one sticker at a time, die cut. Once you know which one you need, building the file is the easy part, as long as every design sits on its own cut line before it reaches Design Space or Silhouette Studio.