
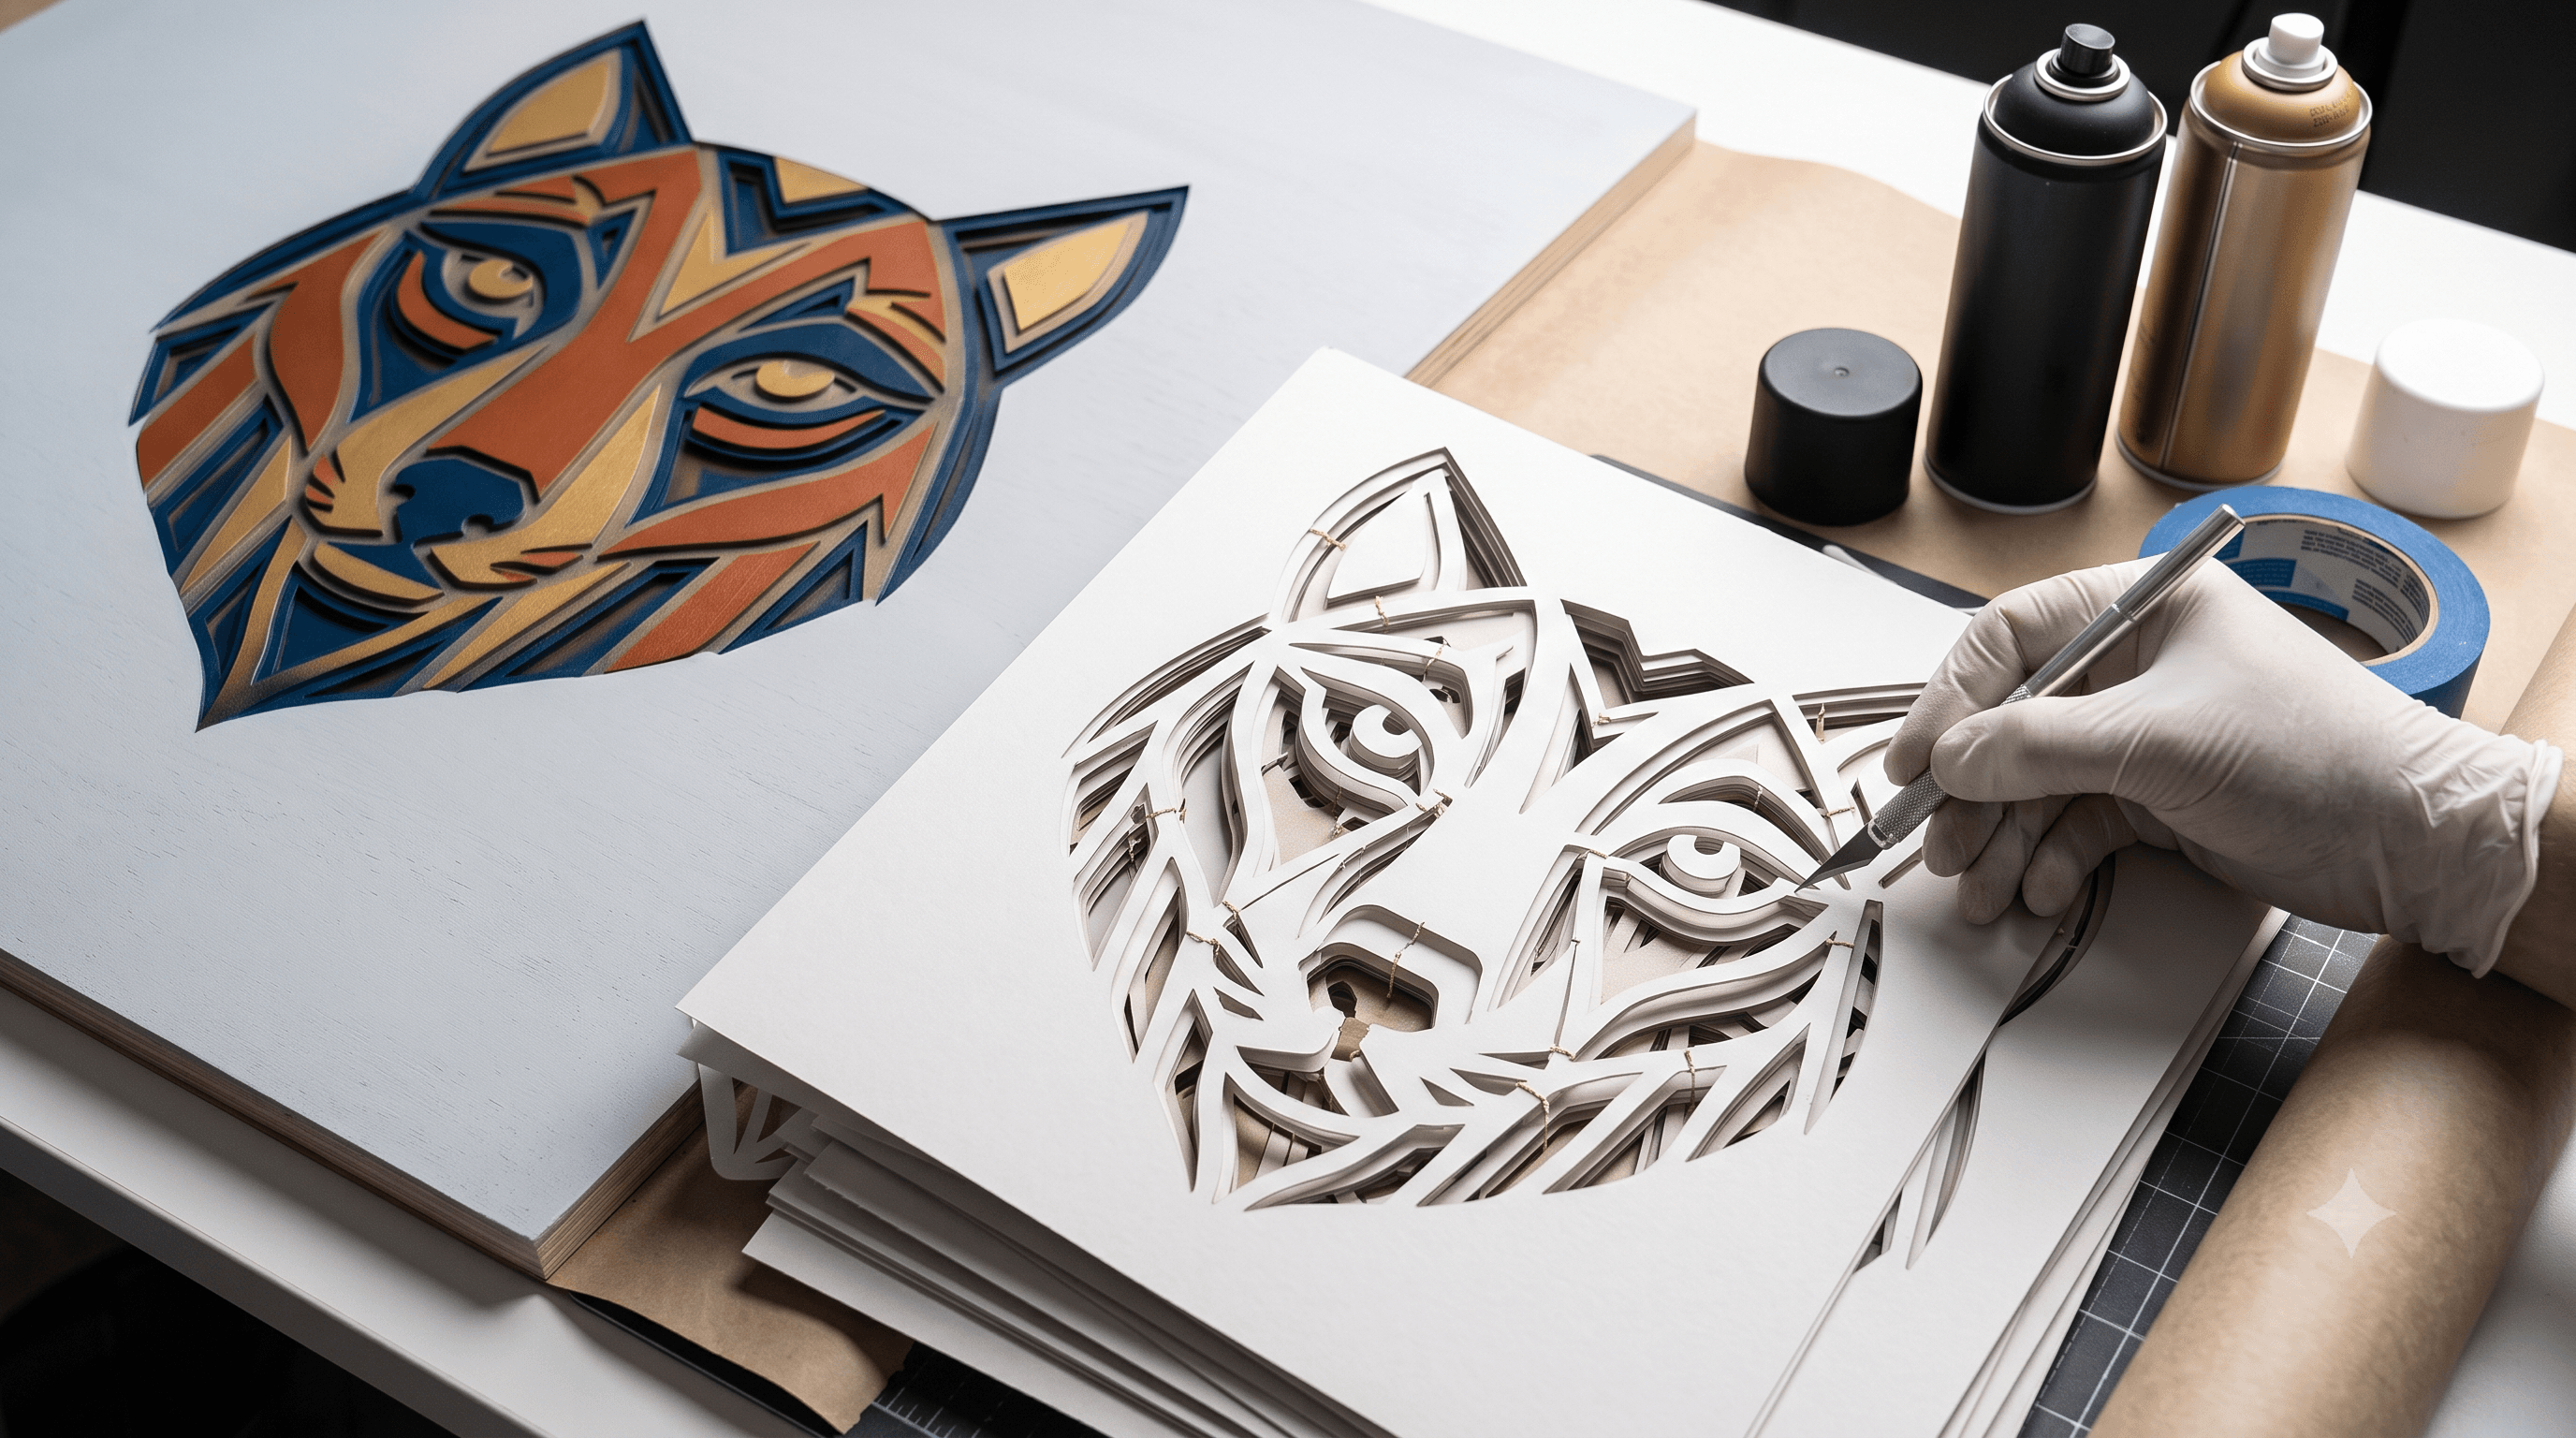
Prepping a Two-Layer Stencil for Spray Paint Without Bridges Collapsing
Most multi-layer stencil spray paint projects fail because of missing or too-thin bridges, not bad design or dull blades. If your center pieces are falling out or paint is bleeding into places it shouldn't, the fix is almost always in the bridging, not the artwork itself. Here's what actually causes it and how to prep a two-layer stencil so it survives the whole paint job.
Stencil Bridges Explained
A bridge is the small connecting strip that keeps an inner shape, like the center of a letter O, attached to the rest of the stencil. Without it, that inner piece has nothing holding it in place. It just sits there as a separate cutout waiting to move.
Stencil bridges explained simply: they're the structural glue of any stencil with enclosed shapes. Skip them, and paint bleeds through gaps where the center piece has shifted or fallen out entirely. You end up with blurry edges, overspray in places that should be crisp, and a design that looks nothing like what you cut.
Any enclosed shape (a hole, a ring, a donut center) needs a bridge. If you can trace a closed loop around a piece with nothing connecting it to the rest of the design, that piece will fall out.
Floating Island Stencil Design, Why It Happens
Any enclosed shape inside a larger cutout becomes a floating island if it isn't bridged. Letter holes, circles inside rings, the center of a donut shape. All of it. Once that inner piece has no connection to the rest of the stencil, it's structurally on its own.
This is floating island stencil design in practice, and it plays out two ways. Either the piece falls out during cutting and you don't notice until you're weeding, or it shifts mid-paint and ruins the edge you were trying to protect. Both outcomes mean redoing the layer.
If you're working with layered and overlapping paths in general, this shows up constantly in cardstock projects too.
How to Bridge a Stencil the Right Way
How to bridge a stencil correctly comes down to a repeatable workflow, not guesswork. Here's the order that actually works:
This is where a lot of people get tripped up. Unbridged shapes are genuinely easy to miss by eye, especially in busy or detailed designs, but easy to catch once you're looking at the layers in an editor like CutMagic's Canvas Editor. It's not a required step, just a practical way to catch what a quick visual scan tends to skip.
Setting Up the Two-Layer Version
Multi-layer stencil spray paint projects add a second variable on top of bridging: alignment. A stencil that looks perfectly fine as a single layer can still fail if the two layers don't register correctly when you're actually applying paint.
Think of it this way. Layer one lays down your base color and shape. Layer two adds detail or a second color on top. If those two layers shift even slightly relative to each other, the overlap creates ghosting, hard lines where there shouldn't be any, or gaps that expose the wrong color underneath. Bridging keeps each individual layer intact. Alignment keeps the two layers working together.
Mark registration points on both layers before you cut, and keep your material orientation consistent between them. This is the single easiest way to avoid ghosting on a two-layer stencil.
If you're converting artwork for a two-layer setup, our guide on How to Convert Any Image to SVG for Cricut (3 Methods) walks through handling multi-layer designs during that conversion step.
Finding the Right Cut Settings for Your Material
Bridge width only works if your cut settings match the material you're using. A bridge sized right for cardstock will shred on chipboard, and one sized for chipboard may barely register on thin stencil vinyl.
When a Stencil Keeps Falling Apart
If you've bridged everything and alignment is solid but you're still dealing with stencil falling apart bridges, the problem usually falls into one of three buckets.
The design may have more intricate detail than it can visually support with bridges. The material itself might be too thin or brittle for the number of cuts you're asking it to hold. And spray technique matters too. Heavy, close-range spraying near unsupported edges puts pressure on bridges that a lighter pass wouldn't.
If your design is throwing errors or getting flagged as overly complex before you even get to cutting, that complexity is often the same root cause behind structural failures later. Our post on How to Fix SVG File Too Complex Error in Cricut Design Space covers that overlap in more detail.
Bringing It All Together
Every enclosed shape needs a bridge, every bridge needs to be sized for the material you're cutting, and checking this layer by layer before cutting is what separates a stencil that survives spray paint from one that doesn't. Once bridging feels consistent across your projects, building a reusable multi-layer stencil SVG bundle is worth the time. You'll stop solving the same floating island problem from scratch every time.