
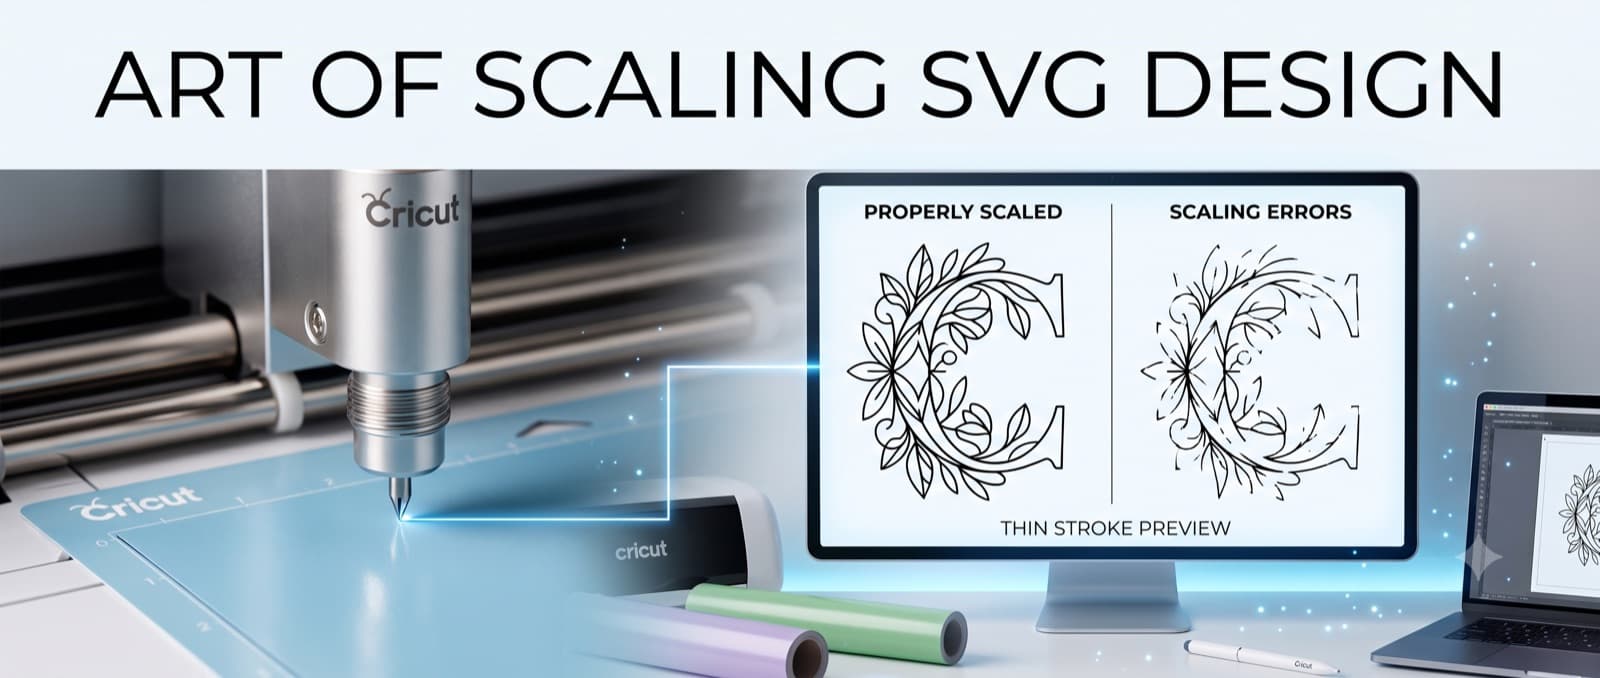
How to Scale a Design Without Breaking Stroke Widths and Small Details
You need to resize SVG without losing quality on Cricut, and the design that looked perfect at 4 inches suddenly looks wrong at 12. Lines that were clean now look ragged. Small details have disappeared, or two shapes that used to connect now float apart with a gap between them. The math behind SVG scaling is consistent, but stroke widths and fine details don't always survive that scaling the way you'd expect.
Why Scaling an SVG Isn't as Simple as Dragging a Corner
SVGs are built from vector math, not pixels, so the lines themselves stay sharp no matter what size you cut them at. That part isn't the problem. The problem shows up when you try to scale SVG and keep proportions intact across a wide size range, because every element in the file, including stroke width, scales by the same ratio as the overall design.
That creates two failure modes, and they pull in opposite directions.
Scale a design down, and a stroke that was already thin at the original size gets thinner still. At some point it drops below what your blade can physically cut, and Design Space either drops the detail or the machine can't separate it cleanly from the surrounding material.
Scale the same design up, and a line that looked appropriately delicate at 4 inches can end up looking thick and clunky at 12 inches, throwing off the visual balance of the whole piece.
Neither direction is wrong in terms of the file. The SVG is doing exactly what it's supposed to do. The issue is that a size that works for one part of the design can break another part of it, and you often don't see which until the design is already at its final size.
Before you resize anything, zoom into your design at 100% and note where the thinnest lines already are. That's the spot most likely to break first.
The Minimum Stroke Width Problem
Every blade has a minimum width it can cleanly separate from the surrounding material. Go thinner than that, and the blade either fails to cut through, drags the material instead of cutting it, or produces a jagged edge instead of a clean line.
This is the core reason behind most "why does my design look broken after resizing" problems, and it's directly tied to minimum stroke width for Cricut cutting.
A design that looks perfectly fine on your screen can still have strokes thinner than that physical minimum once it's resized. Screens don't show you material tolerance. They show you pixels.
Here's a general reference for how minimum stroke width shifts by material. Treat these as starting points, not hard rules, since blade sharpness and material batch also play a role.
| Material | General Minimum Stroke Width | Why |
|---|---|---|
| Cardstock / adhesive vinyl (fine-point blade) | ~0.02 in (0.5 mm) | Standard baseline for most fine-detail cuts |
| Iron-on vinyl (HTV) | ~0.03 in (0.75 mm) | Needs a bit more width to survive weeding |
| Chipboard | ~0.04-0.05 in (1-1.3 mm) | Denser material resists thin blade paths |
| Leather / faux leather | ~0.05 in (1.3 mm) or more | Requires a deep-point blade and wider lines |
A few practical notes to go with the table:
- Material changes the minimum. Thicker or denser materials need proportionally thicker strokes. A stroke that cuts cleanly on cardstock may fail entirely on chipboard.
- Check the thinnest point before you commit to a size. Zoom into the design at its intended final size and look specifically at the narrowest lines, sharp corners, and any small connecting points between shapes. If you can't confidently trace the line with your eye at that zoom level, the blade will struggle too.
If you're not sure which blade you're working with or when it needs replacing, this guide on Cricut Blades 101: Every Blade Type, Installation, and When to Replace breaks down what each blade can realistically handle.
The Cricut SVG Resizing to 12 Inch Bug
If you've searched for the Cricut SVG resizing to 12 inch bug, you've probably run into one of two symptoms. Either the design shifts or distorts when you type 12 inches directly in Design Space's canvas, or the proportions come out different than what you set, with some elements stretching more than others.
This tends to happen most often when a design is resized after it's already been placed on the canvas, especially when the width and height fields get adjusted separately instead of together.
Unlocking the proportion icon, even briefly, is one of the most frequent causes of this bug. Keep it locked the entire time you're resizing.
A few workarounds help avoid it:
- Resize before upload when possible. Setting the intended size in your design software before bringing the file into Design Space gives you more predictable results than relying entirely on the canvas resize tool.
- Always lock proportions. The lock icon next to the size fields keeps width and height tied together.
- Check the size in inches, not percentage. Percentage-based resizing compounds any rounding inconsistencies already in the file. Setting an explicit measurement in inches gives you a size you can actually verify against the finished cut.
None of these are guaranteed fixes for every version of Design Space, but they consistently reduce how often the bug shows up.
How to Resize SVG Files in Cricut Design Space the Right Way
Scaling Without Losing the Small Details
Most of the guesswork here comes from not being able to see stroke width and detail spacing clearly enough before the file reaches Design Space. CutMagic's Canvas Editor addresses this by letting you check the thinnest points of a design and edit the elements of the SVG, so if anything goes wrong, you can catch it before you commit to a final size rather than after a failed cut.
Need to nail down an exact final size before you cut? Run it through the size calculator first:
It's worth noting that scaling problems and file complexity problems often show up together, especially in detailed designs. If you've resized a file and started seeing an error about the design being too complex to cut, that's a related but separate issue, and How to Fix SVG File Too Complex Error in Cricut Design Space walks through how to resolve it.
Frequently Asked Questions
Why does my SVG look different when I resize it in Cricut Design Space?
Every element in an SVG, including stroke width, scales by the same ratio as the overall design. So a line that looked fine at the original size can end up too thin to cut cleanly when scaled down, or too thick and clunky when scaled up. The file isn't broken, the proportions just shifted along with the size.
What is the minimum stroke width Cricut can cut?
For a fine-point blade on standard cardstock or vinyl, aim for at least 0.02 in (0.5 mm). Denser materials like chipboard or leather need thicker strokes, often 0.04 in (1 mm) or more, since the blade has to work harder to separate the cut line from the surrounding material.
Why does resizing to exactly 12 inches sometimes break my design?
This is a known quirk in Design Space where typing a size directly into the canvas, especially after the design is already placed, can cause elements to shift or stretch unevenly. Locking the proportion icon and resizing in inches rather than percentage usually prevents it.
Can I fix a design after it's already too small to cut cleanly?
Sometimes. If the strokes are only slightly under the minimum width, thickening them in an SVG editor before cutting can solve it. If small details have merged or disappeared entirely at the smaller size, you'll usually get a cleaner result by going back to a version of the file at a larger size and re-scaling down more carefully, checking the thinnest points as you go.
Key Takeaway
Almost every scaling problem, whether it's a design that fails to cut cleanly or one that looks disproportionate at its final size, comes down to the same root cause: not checking the thinnest line in the design before resizing. Check it after, and you're troubleshooting a cut that's already failed. Check it before, and you catch the problem while it's still just a number on a screen.