
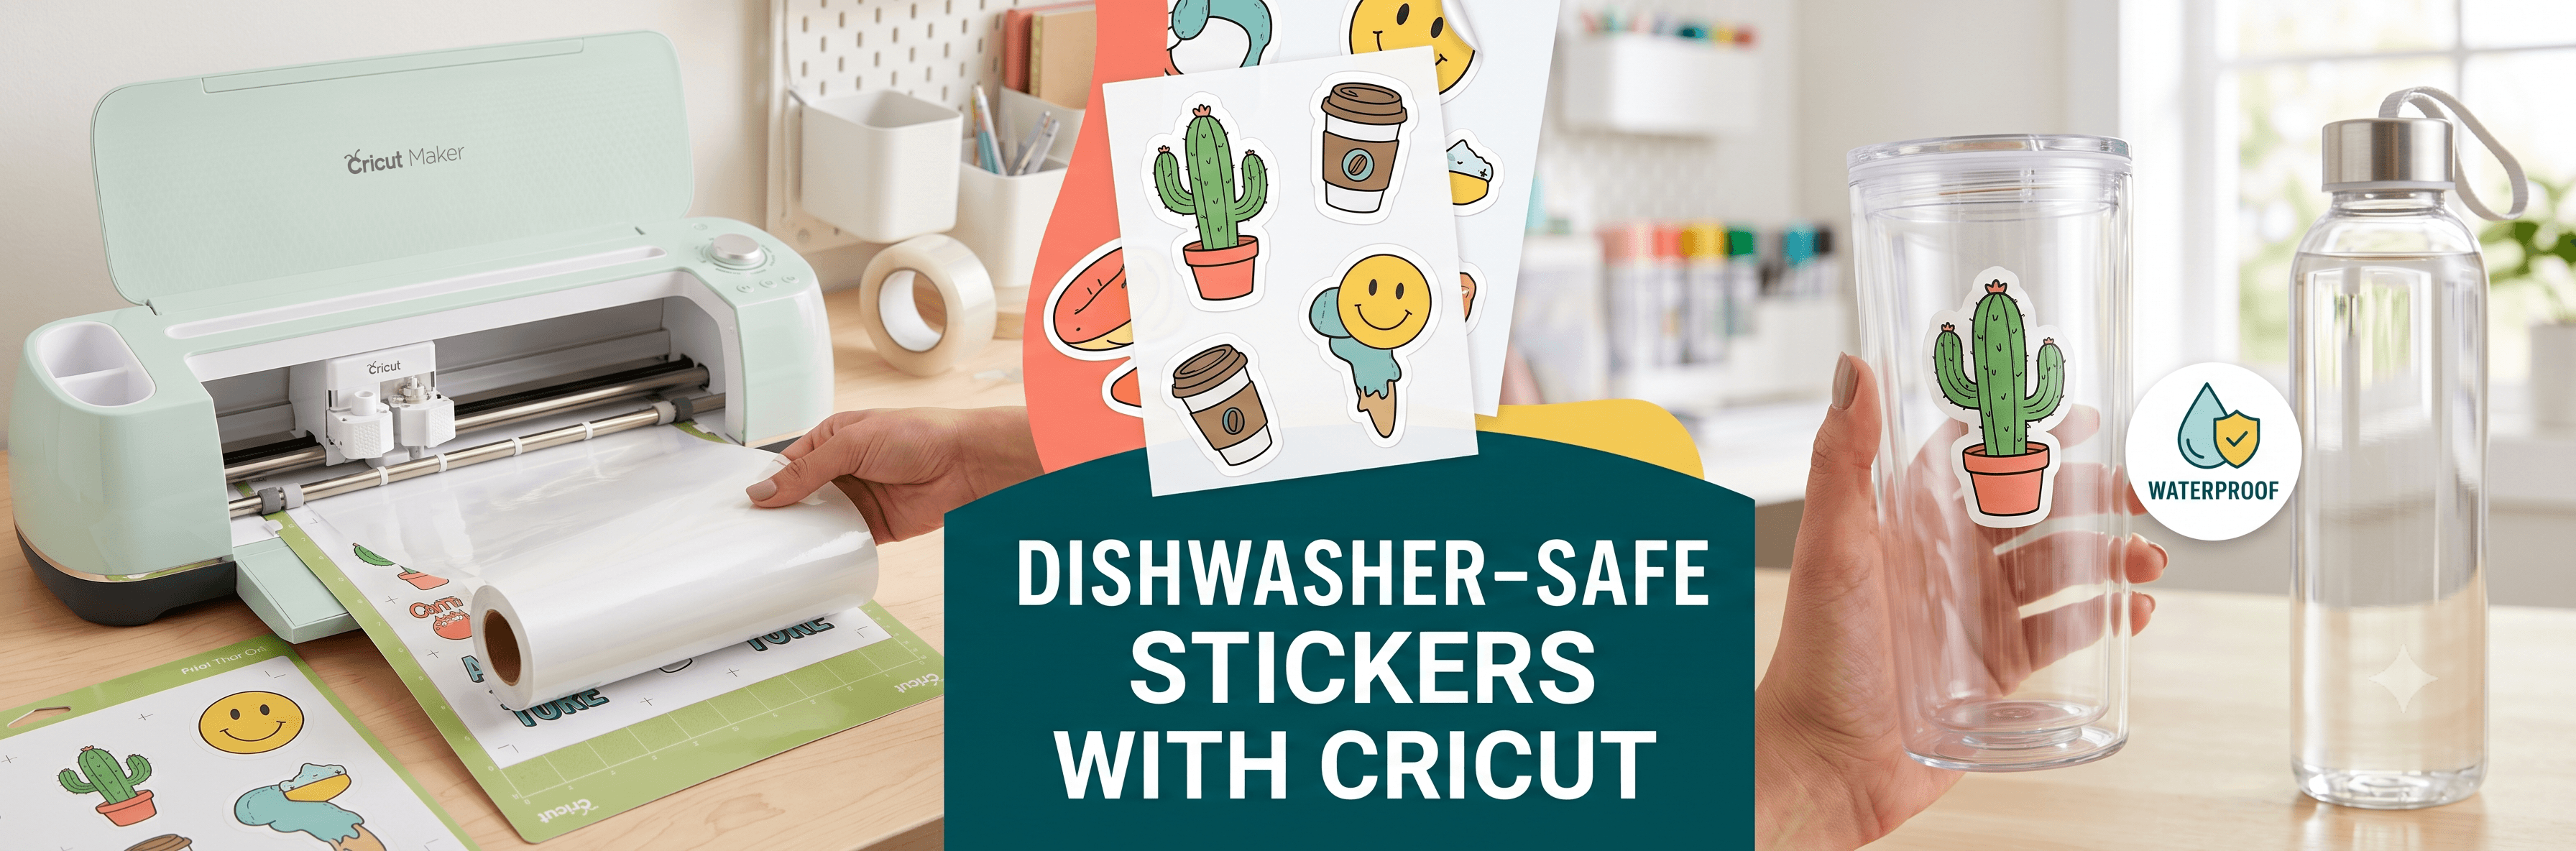
How to Make Dishwasher Safe Stickers Using Cricut
If you've ever stuck a beautifully designed label on a water bottle only to find it peeling and faded after the first wash, you know exactly why this tutorial exists. Making waterproof stickers with Cricut sounds like it should be simple, but there's a specific workflow that separates stickers that actually survive daily use from ones that give up after one cycle through the dishwasher.
The good news is that once you know what you're doing, making waterproof stickers Cricut-style is genuinely straightforward. You don't need a fancy setup or years of crafting experience. You need the right materials, a printer, and a Cricut machine. That's it. This guide walks you through every step, from designing your stickers all the way to applying them and keeping them looking good long-term.
Estimated Time: 45-60 minutes | Difficulty: Beginner | Cost: ~$5-12
Supplies You'll Need to Make Waterproof Stickers with Cricut
Before anything else, let's make sure you have everything on hand. Running out to grab supplies mid-project is frustrating, so take a few minutes to gather these first.
- Cricut machine: The Explore Air 2, Explore 3, Maker, Maker 3, and Cricut Joy all work. As long as your machine supports Print Then Cut, you're set.
- Inkjet printer: Non-negotiable. Laser printers use heat to fuse toner, which doesn't play well with specialty sticker paper and can cause ink to crack or flake under laminate. Inkjet only.
- Cricut printable waterproof sticker paper: Cricut's own sticker paper, designed for inkjet printing and Cricut cutting. It has a white printable surface on one side and a peel-and-stick backing on the other. It handles moisture well, but it's not dishwasher safe on its own.
- Clear laminate sheets: The step most beginners skip. Laminate is what actually makes your stickers dishwasher safe. Cricut makes compatible sheets, or you can use a third-party brand designed for printable media.
- Cricut Design Space: The free software for setting up your designs and sending files to your machine. You'll need a free account to use it.
- Weeding tool and scraper: Helpful for removing excess material and pressing your sheet onto the mat. Not required, but worth having.
Laser printers use heat to fuse toner, which cracks and flakes under laminate. Always use an inkjet printer for waterproof stickers.
Setting Up Your Design
Print Then Cut is the Cricut feature that makes all of this work. You design your stickers in Design Space, print them on your sticker paper, and your Cricut reads registration marks printed on the page to figure out exactly where to cut.
PNG files with a transparent background are the most practical choice for uploads, since the transparent background means your Cricut cuts around the shape of your design instead of a rectangle around it. SVG files give even cleaner cut lines since they're vector-based and scale without losing quality. If your SVG is giving you trouble with clipping paths or too many nodes, CutMagic's SVG tools can help clean it up before you import.
The Full Step-by-Step Workflow
Why Lamination Is the Step That Actually Matters
Here's what most tutorials gloss over: Cricut's printable sticker paper is water-resistant, not dishwasher safe. There's a real difference. Water-resistant means it'll hold up to splashes and condensation. Dishwasher safe means it can survive hot water, steam, detergent, and repeated washing cycles. To get there, you need laminate applied over the whole sheet before you cut, not to individual stickers afterward. That way the edges get sealed the moment your Cricut cuts through both layers together.
Peel back a few inches of the laminate backing, align it with the top edge of your printed sheet, and slowly press it down as you peel. Trapped bubbles in the middle are hard to remove after the fact, so work slowly and methodically.
Cut Settings for Laminated Sticker Sheets
Laminated sticker paper is thicker than plain paper, so it needs a slightly different cut setting than standard vinyl.
Printable Project Card
Save this for reference while crafting:
Why Won't My Cricut Cut Around My Stickers? (And Other Common Issues)
The Cricut can't read the registration marks
This is the most common Print Then Cut problem. It usually comes down to lighting (the machine needs even, moderate light to scan accurately), a dirty mat that's shifting the paper, or registration marks that printed too light because your ink is low. Make sure the room isn't too bright or too dim, and check that your mat is holding the sheet flat and firm.
Stickers are peeling after washing
If you skipped the laminate step or your laminate didn't fully adhere at the edges, water and detergent will get underneath and start separating the layers. Re-do the batch with a fully sealed laminate application, making sure the laminate extends right to the edges of your sheet before cutting.
Cut lines don't match the design
This is often an SVG issue. Complex files with excessive anchor points or odd clipping paths can confuse Design Space's cut line calculation. Simplifying the path or running the file through a cleanup tool before importing usually solves it. PNG with a clean transparent background sidesteps this problem entirely.
Ink smearing when you apply laminate
The ink wasn't fully dry before you applied the laminate. If you apply the laminate too soon, the slight pressure and movement can drag wet ink across the surface. Wait longer, especially on humid days, and apply the laminate gently without dragging.
Our AI SVG generator creates Cricut-optimized designs in seconds! Try SVG Generator →
Give It a Small Test Run First
Making waterproof stickers Cricut-style takes a bit of setup the first time through, but once you've done it once, the whole process moves quickly. The key things to remember are: inkjet printer only, laminate before cutting, and give your applied stickers time to bond before their first wash.
Start with a small batch if you're new to this. Print a single sheet, laminate it, cut it, and apply one or two stickers before you commit to a big order. That way if something's off in your design sizing or your printer settings, you've only used one sheet.
Once you've got the workflow down, it's genuinely fast. The kind of fast where you're making custom stickers for every water bottle in the house and wondering why you didn't start sooner.