
JPG to SVG for Cricut: The Complete Guide
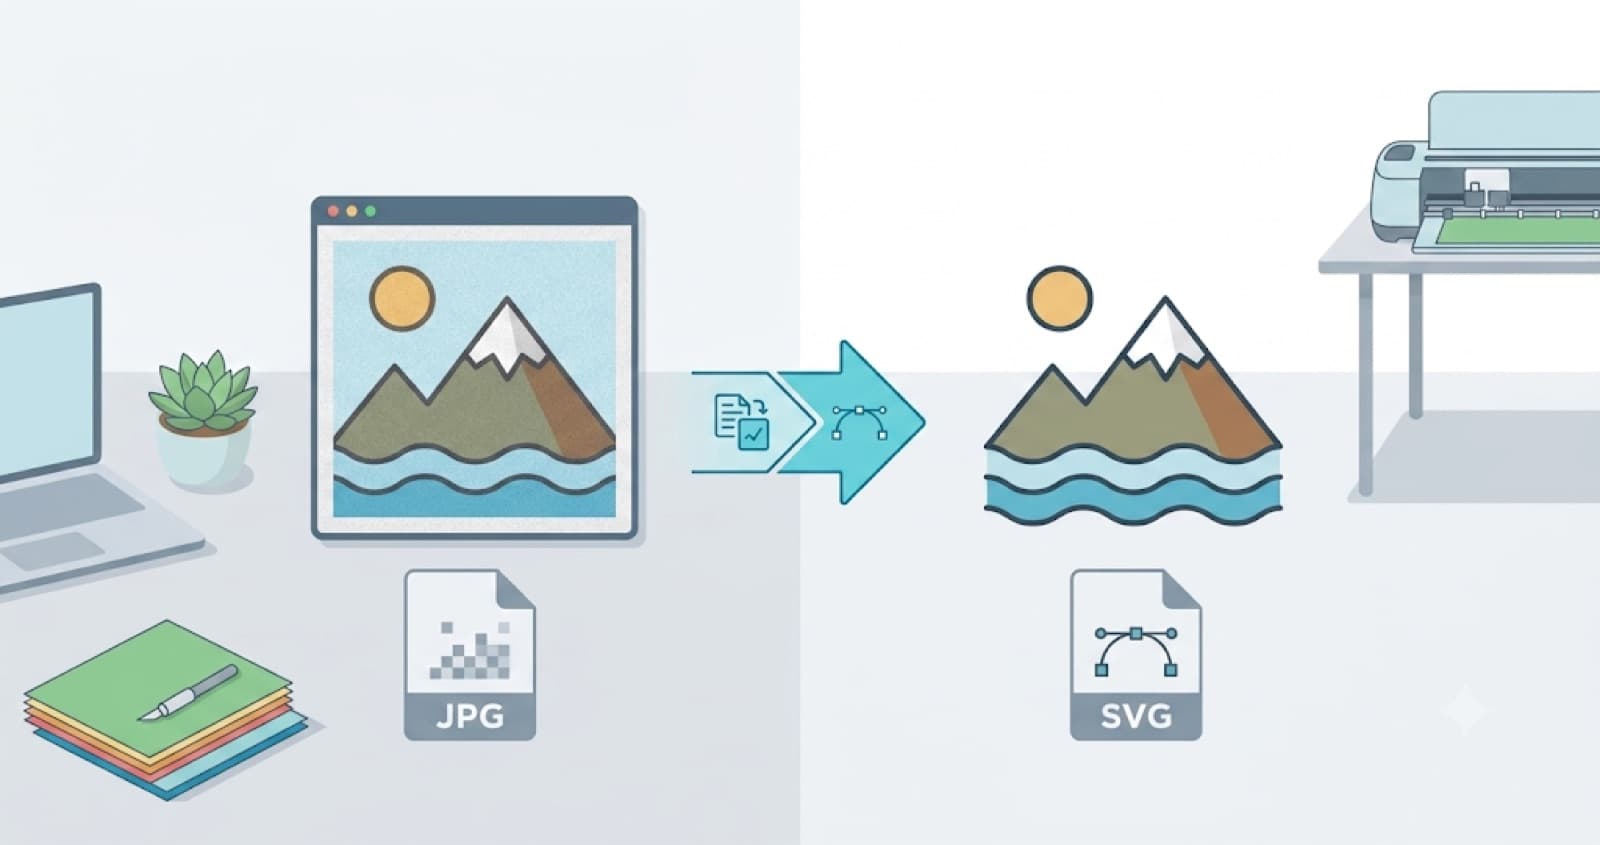
Yes, you can convert a JPG to SVG for Cricut. Any raster-to-vector tool can trace it into vector paths, and the conversion itself is the easy part. The catch is that JPGs carry compression artifacts and have no transparency, so they trace noisier than a PNG and usually need more cleanup before Design Space will accept the file.
That noise is the reason this guide exists separately from a general PNG-to-SVG walkthrough. If a PNG converted smoothly for you and the same process hit a wall on a JPG, this is why.
Why JPG to SVG Conversion Is Noisier Than PNG
JPG compression works by discarding pixel data to shrink the file size. That's fine for viewing a photo. It's a problem for tracing one, because the compression leaves small blocky artifacts along edges, and a trace algorithm reads those artifacts as real detail. You end up with more nodes than the same image would produce as a PNG, sometimes a lot more.
JPG also has no alpha channel. A PNG can have a transparent background, but a JPG can't. So when you trace a JPG, the background comes along as a solid shape unless you remove it first. Skip that step and you get a rectangle around your design instead of a clean cutout.
The two problems compound each other. Compression noise adds extra nodes along every edge, including the edge between your subject and the background you haven't removed yet. So a JPG trace isn't just a bit rougher than a PNG trace. It's rougher across a larger area of the file.
Put those together and you get the pattern most people run into: same subject, rougher trace, more manual cleanup, and higher odds of tripping Design Space's node ceiling. The node math behind that ceiling is worth understanding on its own, so we break it down in why Cricut throws a "file too complex" error.
JPGs can't be transparent, so the background traces as a solid shape. If you see a rectangle behind your design after uploading, that's the culprit.
Free Ways to Convert JPG to SVG for Cricut
You don't need paid software for this. Here are three free routes, in order of how much manual cleanup they typically need.
1. Design Space's built-in Upload tool
Start a new project, click Upload, then Upload Image, and select your JPG. Toggle Preview and use Erase to clean up the background by hand.
Because of the compression noise, plan on spending more time here than you would with a PNG. High-contrast JPGs with a plain background work best. Busy or low-contrast photos will fight you at every step.
2. Inkscape's Trace Bitmap
Inkscape gives you the most control of the free options. Here's the full process, including the extra cleanup pass JPGs need.
That extra Simplify pass is clearing out the compression-driven noise specifically. Expect to run it more times than you would on a PNG.
3. General online vectorizers
Tools like Vectorizer.AI or Adobe Express's SVG converter will trace a JPG in seconds. They're useful when you want a fast result, but they're built for general design use, not for Cricut's node limits or fill requirements. The output still needs a check before it uploads.
Some of these tools also charge per conversion or gate higher resolutions behind a subscription, so check before you commit to one for repeat use.
If one of these routes leaves you with a file that still won't upload, that's usually a different problem than the trace itself. A leftover embedded image, an unconverted pattern fill, or text that never got turned into paths are the usual suspects. We cover the full list in why your SVG won't upload to Cricut.
JPG to SVG Converter Comparison
| Route | Built for | Handles JPG noise well | Cricut-specific handling |
|---|---|---|---|
| Design Space Upload | Native Cricut tool | Manual cleanup required | Yes, but basic |
| Inkscape Trace Bitmap | General vector editing | Manual cleanup required | No |
| General online vectorizers | General vectorization | Varies, not built for it | No |
None of these are wrong for what they're built for. The gap is that none of them were designed around JPG's specific noise problem or Cricut's node ceiling, which is a narrower job than general vectorization. A tool built for logo design or print assets has no reason to know Design Space's practical limits, so it doesn't optimize for them.
So which free option should you pick? Design Space's Upload tool works for simple designs if you're willing to do the cleanup yourself. Inkscape gives you more control at the cost of more manual steps.
What Makes a JPG-Traced SVG Cut-Ready
Once you've traced a JPG, check for these before uploading:
- Node count is reasonable. If Inkscape's status bar still shows a high number after a few Simplify passes, keep going. Extra passes won't change the shape, only the point count.
- Background is actually removed. Not just visually transparent in your editor, but gone from the file. Open the SVG in a text editor if you're unsure. A leftover background often shows up as one large path sitting behind everything else.
- No embedded raster left behind. A trace that didn't fully convert can leave the original JPG data inside the SVG as a base64 image instead of real vector paths. That defeats the point of converting.
- File size is reasonable. A properly traced and simplified SVG from a JPG should land well under Design Space's practical size ceiling. If it's still large after simplifying, look for leftover raster data.
Open the SVG in a text editor and search for "base64". If you find it, there's an embedded image in there and the trace isn't truly vector yet.
Skip the Manual Cleanup with CutMagic
If you'd rather not run Simplify passes by hand, CutMagic's SVG Creator takes your uploaded JPG and does that work for you. The node reduction that JPG compression normally forces you to do manually happens automatically, along with background removal and sizing for Design Space. You get a file that's already cleaned up instead of one that needs a pass or two before it's usable.
Already converted a JPG somewhere else and it's still giving you trouble? That's a different job: fixing an existing file rather than converting a new one. The SVG Fixer runs the same kind of node reduction and cleanup on a file you already have, so you don't have to start over from the original JPG.
Want to try the conversion on your own image? Open SVG Creator and upload your JPG.
Your JPG to SVG Checklist for Cricut
To convert JPG to SVG for Cricut without the headaches, remember three things. Remove the background before or during the trace, simplify until the node count drops, and confirm no embedded raster is hiding in the file.
Do those and the same JPG that fought you at every step will upload to Design Space and cut cleanly.