
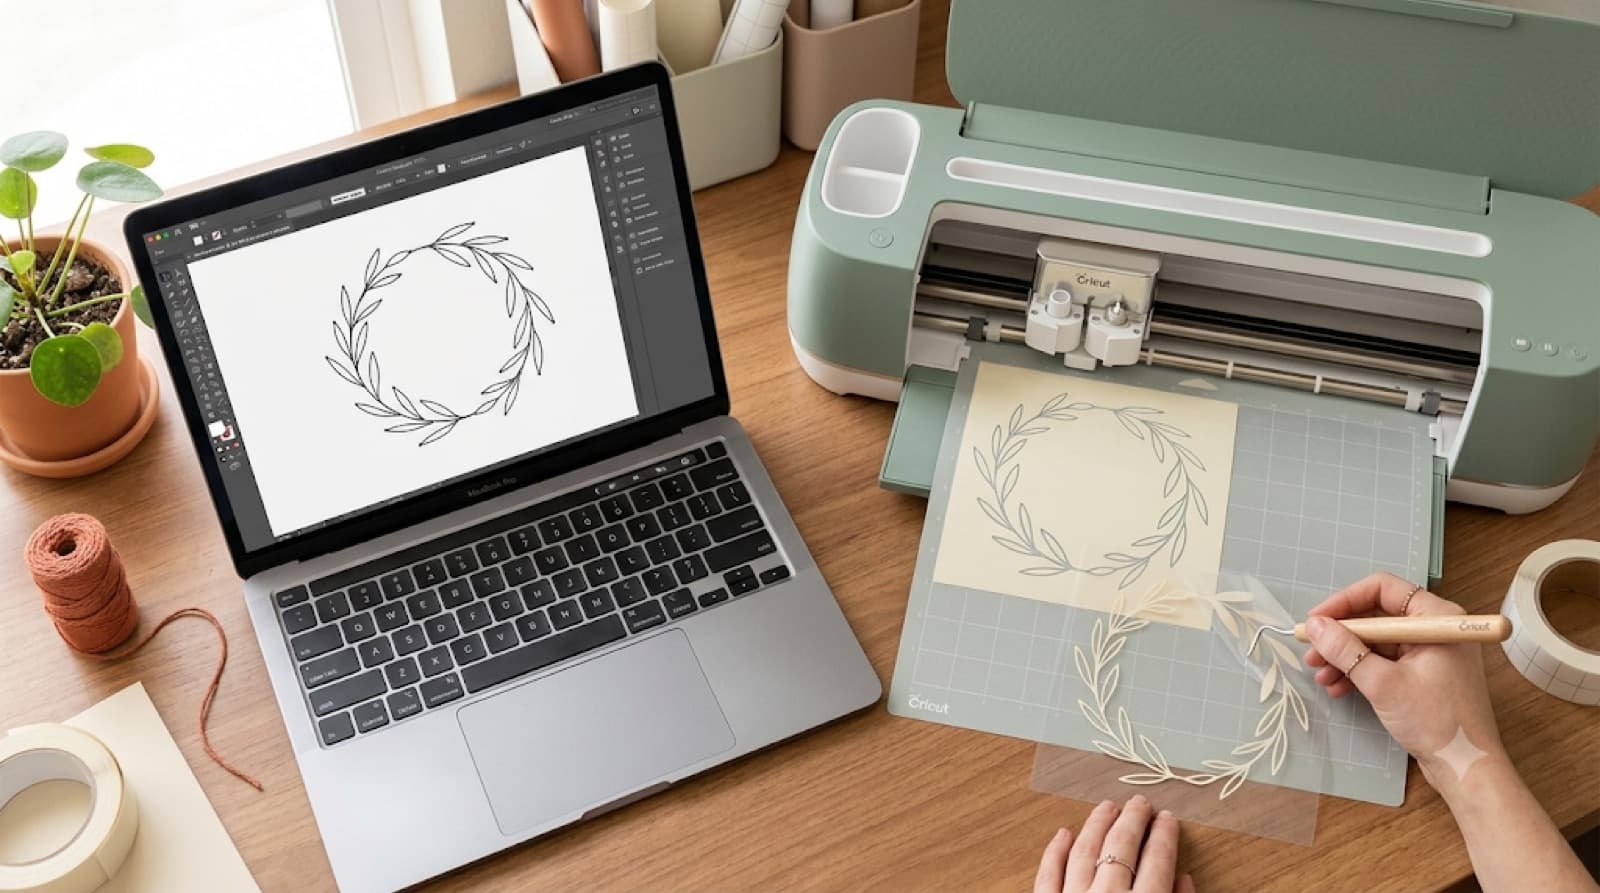
AI SVG Generator: From Text Prompt to Cut-Ready File
Type a description into an AI SVG generator and you'll get a file back in seconds. Whether that file actually cuts clean is a different question. Some tools generate an image first and trace it into paths, which leaves you with jagged curves and a node count your cutting machine chokes on. Others build vector paths directly, which is what gets you a file you can send straight to Design Space or Silhouette Studio.
If you've typed a prompt into an AI SVG generator expecting something cut-ready and gotten a mess instead, you're not doing anything wrong. Most of these tools don't tell you which method they're using under the hood, and that method is the whole ballgame. By the end of this, you'll know what to check before you hit generate, and what a clean prompt-to-cut-file workflow looks like.
A cut-ready AI SVG has flat fills, closed paths, and a low node count. If your output has gradients, soft edges, or hundreds of tiny nodes, the tool probably traced an image instead of building paths.
How a Text to SVG Generator Actually Works
An AI image generator stops at pixels. A text to SVG tool has to go one step further, and there are two fundamentally different ways it can get there. Most people never find out which one they're using until the cut goes wrong.
Diffusion-image-then-vectorize. This is the more common approach because it's easier to build. The tool generates a raster image (the same kind of output you'd get from an AI art generator), then runs an auto-trace over it to convert it into paths.
The problem is that auto-tracing produces a huge number of tiny nodes trying to approximate every curve and shading artifact in the source image. You end up with jagged edges, unnecessarily complex paths, and sometimes open paths where the trace couldn't close a shape cleanly.
Native vector generation. This approach skips the raster step entirely and builds the SVG's paths directly. Because there's no image to trace, the output tends to have far fewer nodes, cleaner closed shapes, and flat fills that behave predictably when you import them into cutting software.
The frustrating part is that both approaches look similar in a preview thumbnail. The difference only shows up once you're staring at the node count in your editor or watching your blade skip through a path that never closed.
If you've hit the same node-count problem after converting an existing picture rather than generating from scratch, this guide to converting an image to SVG for Cricut shows how that plays out.
CutMagic's SVG Creator uses native vector generation for exactly this reason. When you type a prompt, it builds the paths directly instead of tracing a generated image, so what comes out is already close to cut-ready rather than something you have to clean up first.
What to Look For in an AI SVG Generator If You Own a Cutting Machine
Not every AI SVG tool is built with cutting machines in mind. Most are built for general design use, where a messy path or an open shape doesn't matter because nothing downstream has to physically cut along it. If you're generating files for Cricut or Silhouette, you're checking for a narrower set of things.
- Flat, closed fills. Every shape should be a single solid color with no gradients and no partial fills. A gradient usually signals the file was generated as an image first, and gradients don't translate to a cut path.
- Low node count. Zoom into a curve in your editor. A clean vector path describes a smooth curve with a handful of nodes, while a traced image often uses dozens for the same curve. That slows cutting and raises the odds of a jagged edge.
- Fully closed paths. Every shape needs to be a closed loop. An open path (one where the start and end points don't meet) won't register as a cuttable region, and it's one of the most common reasons a file uploads fine but cuts wrong or not at all.
- A quick sanity check before you commit. Before sending anything to Design Space or Silhouette Studio, zoom in on the smallest details in your preview. Soft, blurry, or overly complex edges on a simple shape are the tell that you're looking at a traced image.
If your preview shows any gradient, shading, or texture, stop there. That look almost always comes from a raster image that was traced afterward, and it will fight you at the cutting stage.
You don't need Illustrator to run any of these checks. A basic SVG editor lets you zoom in and see the nodes. If you do end up with a heavy traced file, this walkthrough on the "file too complex" error covers simplifying paths, but starting from a native vector is less work than rescuing a traced one.
For the fuller prep checklist that applies to any SVG, not just AI-generated ones, this troubleshooting guide goes deeper.
10 AI SVG Generator Prompts and What They Output
Vague prompts tend to produce vague, overcomplicated shapes. Specific prompts that describe a single-layer object tend to produce cleaner, more cut-ready output. Here's how that plays out in practice.
- "A single-layer floral wreath, no shading": specifying single-layer and no shading tells the generator to avoid gradient fills, which keeps the output flat and cuttable.
- "A simple mountain range silhouette, flat fill": silhouette-style prompts naturally produce closed, solid shapes with minimal nodes.
- "A geometric fox face, line art only": "line art only" pushes toward vector-native output rather than a shaded illustration.
- "A monogram letter with a wreath border, single color": a good test case because it combines text and decorative elements, which is where node count issues show up fastest.
- "A minimalist coffee cup icon, one solid color": icon-style prompts are generally the most reliable for clean output since icons are inherently simple shapes.
- "A paper-cut style bird, no gradients": "paper-cut style" signals flat, layered shapes rather than a photorealistic render.
- "A retro sun with rays, flat design": repetitive geometric elements like rays come out cleanly if you specify flat design upfront.
- "A simple cactus in a pot, two colors max": capping the color count keeps the generator from adding unnecessary shading detail.
- "A cursive quote in a single continuous line": text-based prompts are the trickiest, and specifying "single continuous line" reduces the odds of broken letterforms.
- "A basic pumpkin outline, solid fill, no texture": "no texture" is doing the real work here, since texture is what pushes a generator toward the raster-trace method.
The pattern across all ten: the more explicitly you describe flat fills, single colors, and simple geometry, the more likely you are to get something close to cut-ready on the first try.
Here's the formula in a card you can save:
Worked Example: A Monogram, Start to Cut-Ready
A monogram is a good stress test because it combines text, a decorative border, and usually more than one shape that needs to stay separate and cleanly closed.
Starting from a prompt like "a monogram letter M with a laurel wreath border, single color, flat fill," SVG Creator builds the paths directly rather than tracing a rendered image. The preview shows the letter and wreath as distinct closed shapes, which means they can be recolored, resized, or separated individually once exported.
For the full version of this exact workflow, including how to adjust the letter and wreath independently after generation, this monogram walkthrough covers it in detail.
From Prompt to Cut File: The Full Workflow
Will a generated SVG cut correctly in Cricut Design Space out of the box? Only if the paths are closed, the fills are flat, and the node count is reasonable. Natively generated vector files are more likely to pass without extra steps, while traced files usually need adjustment first.
Here's the whole workflow, so you can catch problems before they cost you material.
Once the file looks right, dial in your machine settings for the material you're using.
The Honest Limits of AI SVG Generation
AI SVG generation is genuinely useful for fast iteration, but it isn't a replacement for hand-built vector work in every case.
Fine detail and small text are still the weak point. Anything below a certain size tends to lose legibility or merge into neighboring shapes, and that usually needs a manual pass in an editor afterward.
Complex, multi-color layered designs (the kind you'd build for a detailed HTV project with several registration layers) are often faster to build by hand or edit heavily after generation than to get right from a prompt alone.
For brand work where consistency and precision matter, an AI generator is better suited to drafting and exploring ideas quickly than to producing a final, polished asset without human review.
One more thing before you sell anything made this way: commercial rights depend on the specific tool's terms, not on the technology itself. Check the generator's usage policy first, since it varies from tool to tool.
Pick the Method Before You Pick the Prompt
The prompt box looks the same across every AI SVG generator, but what happens after you hit generate isn't. If you're cutting on a Cricut or Silhouette, the method behind the tool (traced image versus native vector) matters more than the prompt itself.
Write specific prompts, check for flat fills and closed paths before you upload, and keep the honest limits in mind for detailed or multi-layer work.