
Cricut Not Cutting Through Vinyl: Blade, Pressure, and File Fixes
Half a cut is worse than no cut. You weed for ten minutes before you realize half your letters are still stuck to the backing, and now the whole sheet is trash. If your Cricut isn't cutting through vinyl, work through these five checks in order: blade condition, pressure setting, mat cleanliness, blade housing debris, and (the one almost nobody checks) a file with duplicated cut lines.
Most of the time it's not the machine. It's one of these five things, and usually it's the first one.
Before you change any setting, cut a small test shape on scrap vinyl. It takes 30 seconds and tells you whether to look at the blade, the pressure, or the file.
Check the blade first when your Cricut isn't cutting through vinyl
A dull or wrong blade is the most common reason vinyl won't cut all the way through. Vinyl is thin, so it's tempting to assume blade condition doesn't matter much. It matters more than almost anything else on this list.
Dull blade vs. wrong blade
These look similar but aren't the same problem.
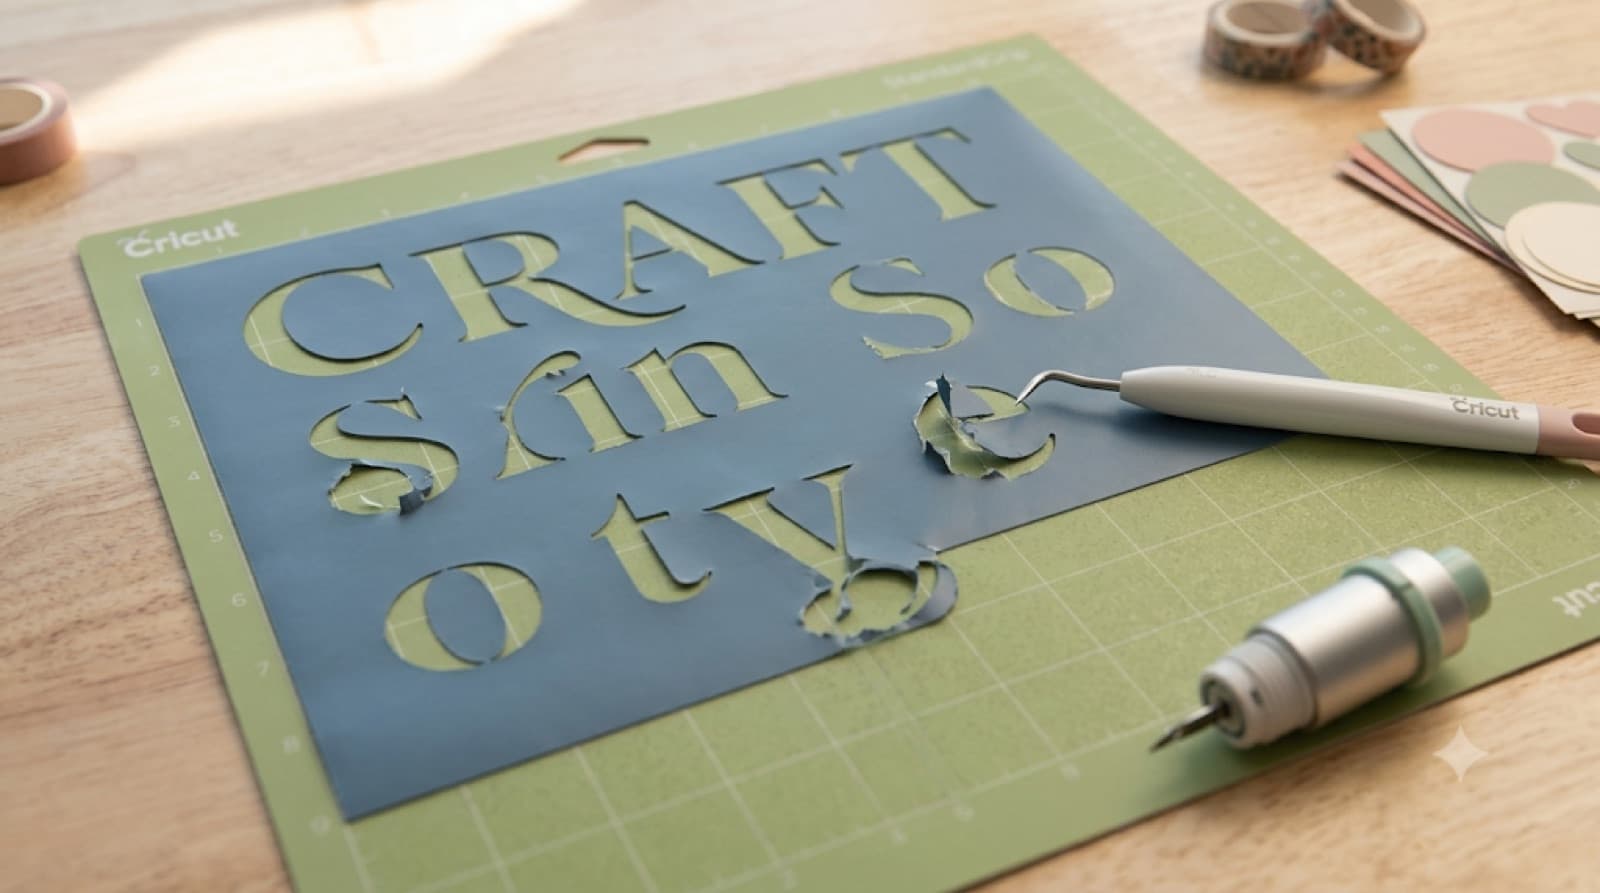
A dull blade drags instead of slicing. You'll see tearing at the edges of letters, especially on curves, and the vinyl backing paper might get scored or nicked even where the vinyl itself doesn't fully separate.
A wrong blade is usually a Deep-Point mounted where a Fine-Point should be, or vice versa. The Fine-Point blade (silver housing) is the standard choice for adhesive vinyl and handles it cleanly. The Deep-Point (black housing) is built for thicker materials like chipboard and craft foam, and it can skip or drag on thin vinyl because the angle is wrong for the material.
The 30-second test cut
Cut a simple shape, like a circle or a single letter, on a scrap piece before committing to a full design. Peel a corner. If it lifts clean, you're fine. If it tears or the backing resists, the blade is your problem, not the pressure setting.
When to replace the blade
| Blade type | Housing color | Typical cut life | Replace when |
|---|---|---|---|
| Fine-Point | Silver | Roughly 3 to 6 months, depending on material thickness | Tearing, dragging, or missed spots on vinyl and cardstock |
| Deep-Point | Black | Varies by material thickness | Struggling on thick material it was designed for |
| Rotary | Pink | Long-lasting, fabric-specific | Fraying edges on fabric cuts |
Not sure which blade you're even looking at, or how the Adaptive Tool System maps to Explore vs. Maker machines? The complete Cricut blade guide covers every blade type, installation steps, and replacement signs in one place.
Match pressure setting to your vinyl type
If the blade checks out and you're still seeing a Cricut cutting too light, pressure is next. Vinyl isn't one material. Standard adhesive vinyl, premium or metallic vinyl, and glitter vinyl all cut differently, and Design Space's material presets account for that, but only if you're picking the right one.
A few things worth checking:
- Confirm the material setting matches what's loaded. "Vinyl" and "Premium Vinyl" are different presets with different pressure defaults, and picking the wrong one is an easy miss when you're moving fast between projects.
- If the preset pressure isn't cutting through, use Custom pressure rather than guessing at a different material preset. Nudge it up in small increments and retest, rather than jumping straight to maximum.
- Do a small test cut after any pressure change, same as the blade check above. One bad full-sheet cut costs more time than five thirty-second tests.
Glitter and textured vinyl often need more pressure than standard vinyl of the same nominal thickness, because the texture isn't uniform. If you're getting clean cuts on plain vinyl but not on glitter or metallic, this is usually why.
Clean the cutting mat
A mat that's lost its grip lets the vinyl shift mid-cut, which looks exactly like a pressure problem: partial cuts, missed spots, edges that don't quite meet. It's easy to blame the blade or the pressure setting when the real issue is that the material moved slightly while the blade was mid-pass.
Adhesive residue, dust, and bits of backing paper build up on a mat over time and reduce how well it grips. A mat that feels tacky in spots and slick in others isn't holding vinyl flat and steady anymore.
Blade or mat? Here's the quick tell. If the vinyl tears or drags during the cut, it's the blade. If the vinyl shifts position or the mat feels slick and won't hold material flat, it's the mat.
To clean it, use warm water and a little dish soap, scrub gently with a soft brush or old toothbrush, then let it air dry completely before using it again.
Don't use alcohol or harsh solvents on your mat. They strip the adhesive faster than normal wear does.
If a mat still won't grip after a proper clean, it's worn out. Mats don't last forever, and a slick mat will keep producing partial cuts no matter how good the blade or pressure setting is.
Clear debris from the blade housing
This one's easy to skip because it's invisible from the outside. Vinyl backing paper sheds dust as it's cut, and that dust works its way into Clamp A or Clamp B over repeated projects. Enough buildup around the blade housing can throw off how consistently the blade contacts the material, especially on longer or more detailed cuts.
If your Cricut is cutting fine at the start of a design but not all the way through by the end, or the depth of cut seems to drift partway through a project, housing debris is worth checking before you touch pressure settings again.
- Remove the blade housing from the clamp.
- Check for visible dust or vinyl fragments around the opening and the housing itself.
- Wipe with a dry cloth or use a small brush to clear debris from the housing and the clamp opening.
- Reseat the housing and confirm it clicks fully into place before your next cut.
This takes under a minute and it's easy to forget entirely, which is exactly why it stays on the list even though it's rarely the first cause.
Rule out an SVG file problem
Here's the one that doesn't show up in most vinyl troubleshooting guides, because it has nothing to do with the machine at all. If you've checked blade, pressure, mat, and housing and vinyl is still cutting wrong, the SVG file itself might be the actual cause.
Some SVG files contain duplicated cut lines stacked directly on top of each other, invisible in the Design Space preview because the two paths render as one. The machine cuts the first path, then goes back and cuts the second path in the same spot. Depending on tiny variations in material shift or blade depth between passes, that second pass can look like a partial cut, a skipped edge, or a slightly offset double line.
This is especially common in traced or auto-vectorized designs, where an outline gets converted into two overlapping paths instead of one clean line. It also shows up in files with self-intersecting paths, where a single path crosses back over itself and creates gaps that look exactly like a pressure or blade issue. If you've dealt with that pattern before, this breakdown of self-intersecting paths walks through how to spot and fix it.
The tell: if the same design cuts fine on a fresh test shape but shows the same partial-cut pattern every single time on one specific file, regardless of blade, pressure, or mat, the file is the problem, not the machine.
Skip the manual hunt for duplicate paths in a vector editor. Running the file through CutMagic's SVG Fixer checks for overlapping or duplicated paths in about 30 seconds, before you waste another sheet of vinyl.
The fix ladder, in order
Work through these in order and you'll usually find the cause by step two or three.
The file check is the one worth remembering for next time, since it's the only item on this list that has nothing to do with your machine. Next time your Cricut isn't cutting through vinyl, run the test cut first and let the result tell you where to look.