
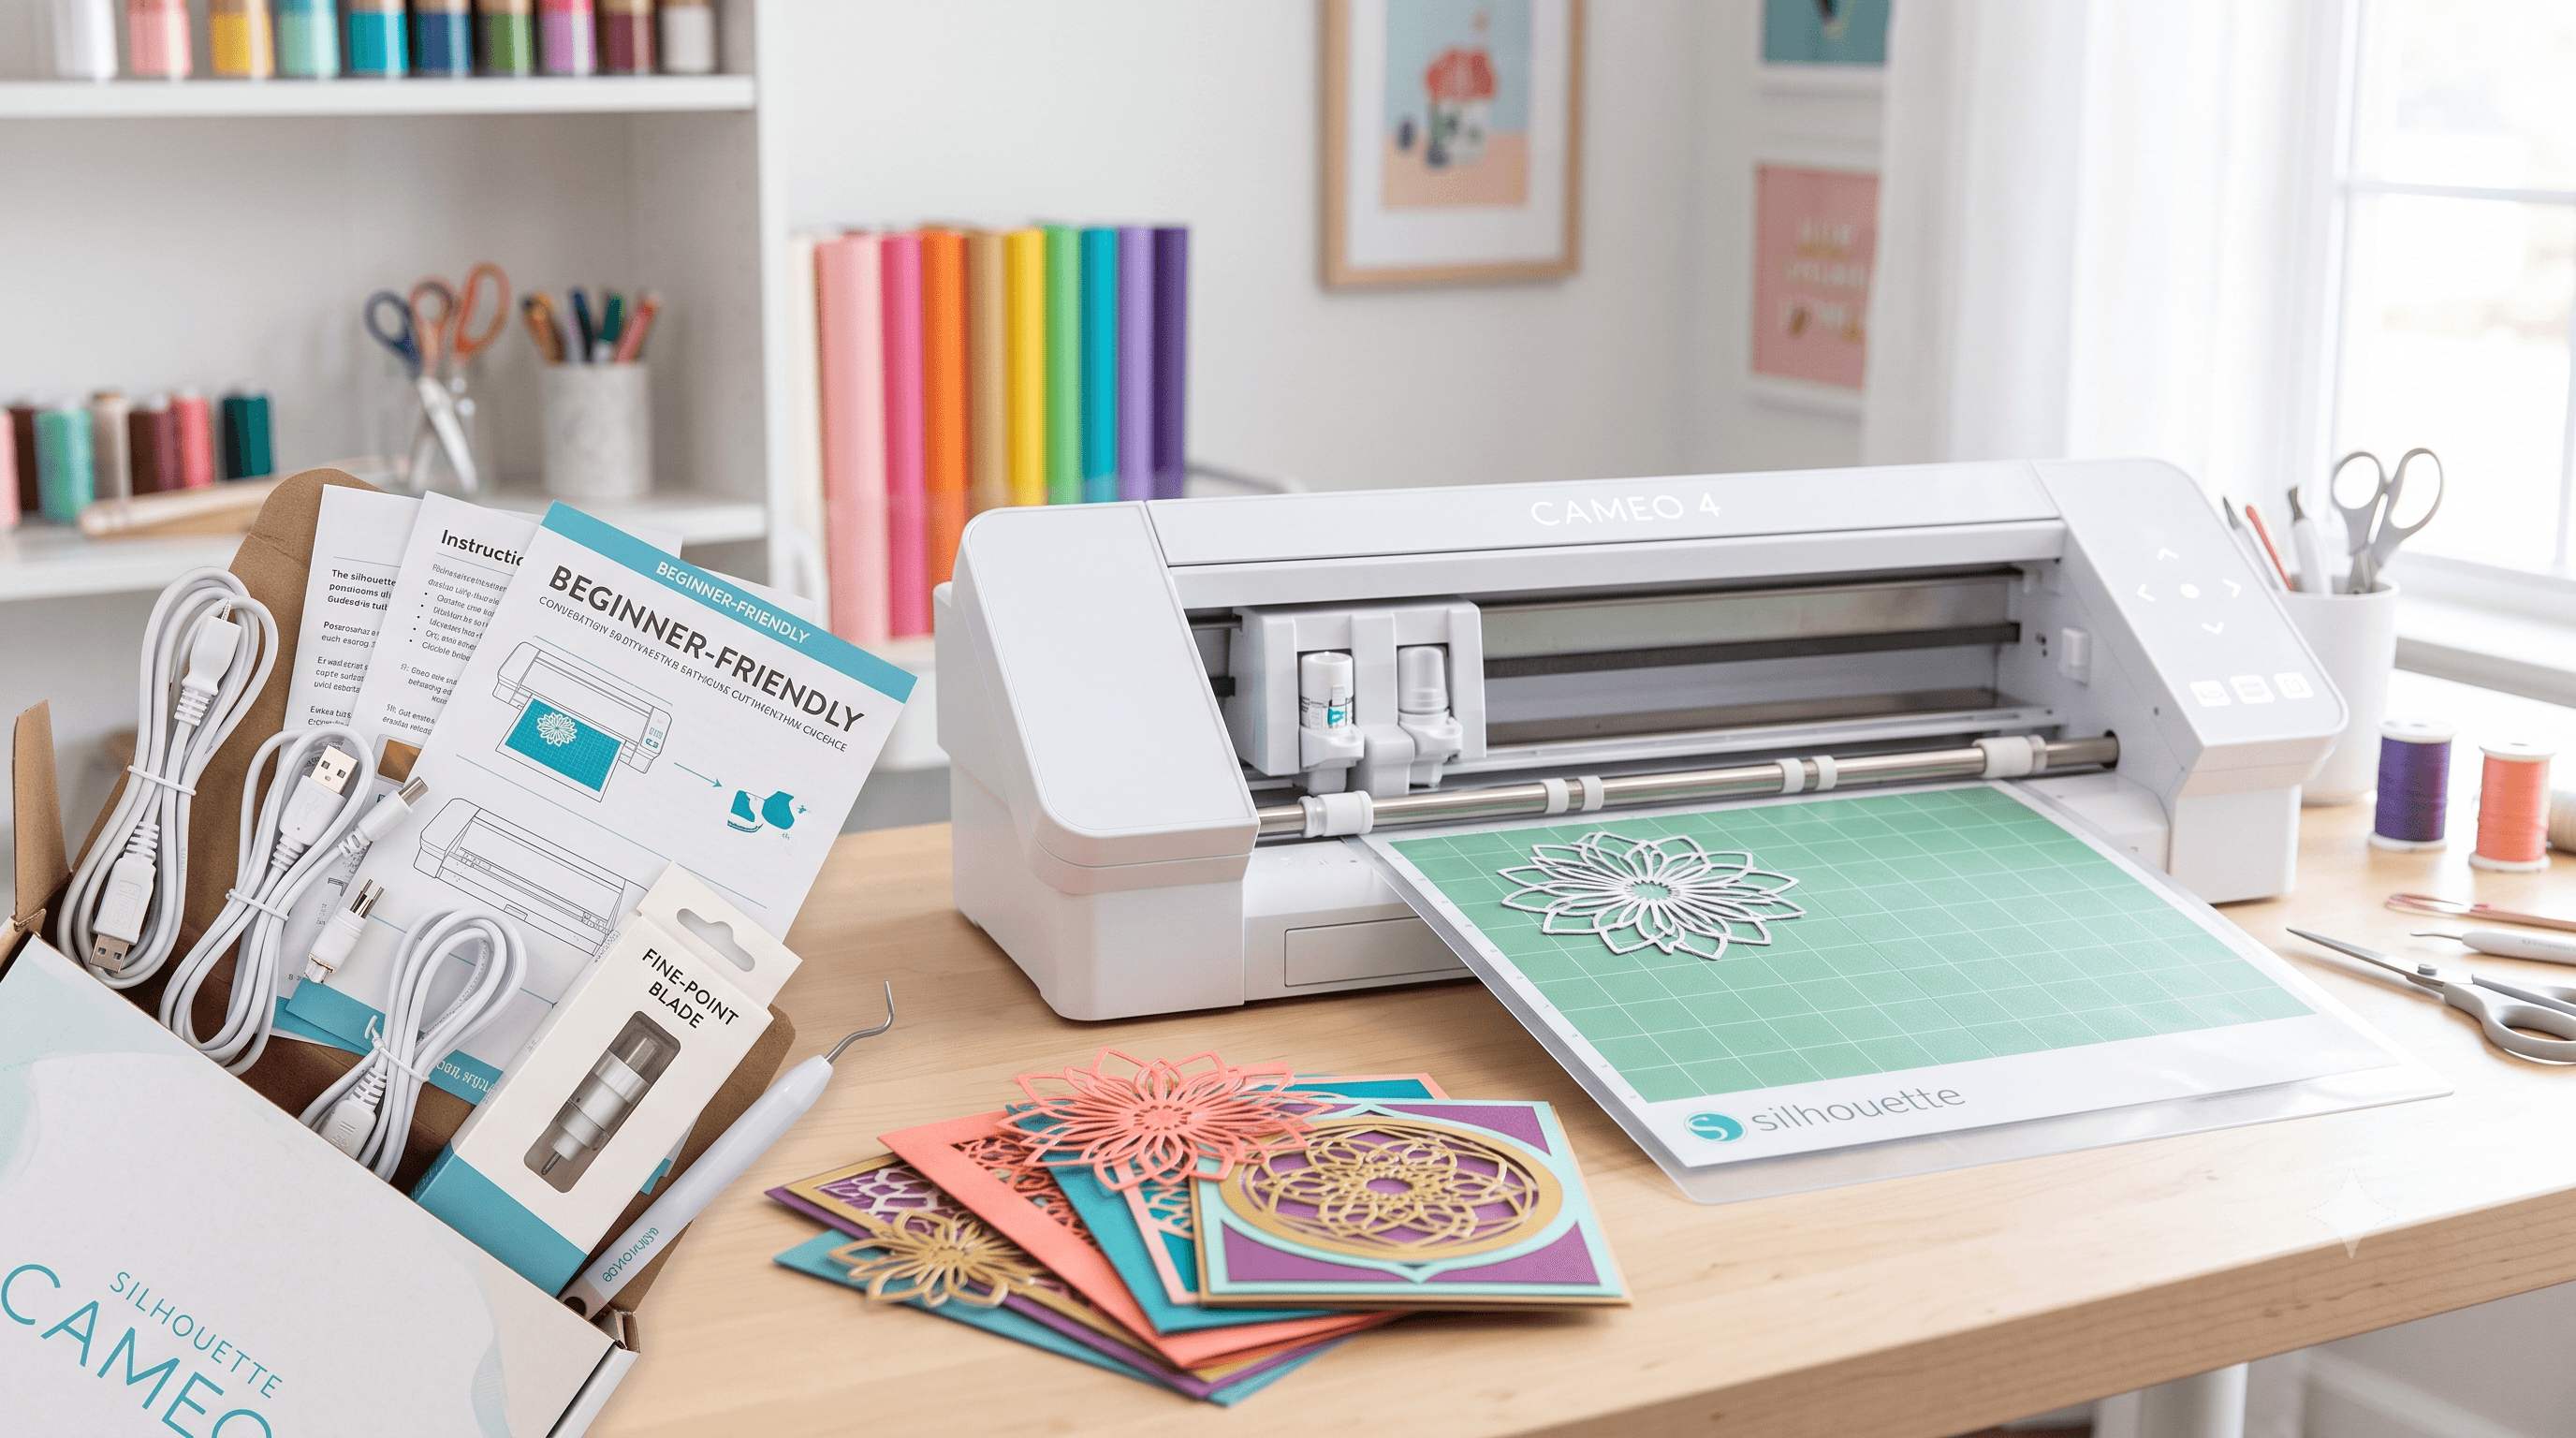
Silhouette Cameo Cutter Setup: From Unboxing to Your First Cut
The box is open. There are cords and components spread across the table, and the included instruction sheet isn't telling you much. That's a familiar feeling for anyone who's just unboxed a Silhouette Cameo cutter for the first time. This guide walks through the entire setup in plain language, from what's in the box to your first successful cut, with nothing skipped or assumed.
What Comes in the Box
The exact contents vary slightly by model, but most Cameo packages include the machine itself, a power cord, a USB cable, a cutting mat, a blade and blade housing, and a small test sheet of material.
The cutting mat is a sticky surface that holds your material in place while the machine cuts. The blade housing is the small cylinder you insert into the machine. The blade sits inside it, so you're working with the housing, not the bare blade.
The Silhouette Cameo 1 and Silhouette Cameo 2 are older models still in regular use, and they came with slightly different accessories and blade housing styles. If you picked up a secondhand machine, the setup process is essentially the same as a newer unit. The Silhouette Cameo 3, Silhouette Cameo Pro, and the newest Cameo models include updated accessories and Bluetooth capability on most versions. If yours came with an Auto Blade (the blade that adjusts its depth automatically), it loads the same way as a standard blade housing.
Setting Up Your Machine, Software, and First Cut
Everything from positioning the machine to making your first successful cut follows one continuous sequence. Work through it in order.
A Few Things Worth Knowing Before Your Second Project
Do a test cut on scrap material before cutting into anything you actually want to use. It takes thirty seconds and prevents real waste.
Blade depth matters more than beginners expect. Too deep and you'll score the mat. Too shallow and the material won't cut through cleanly. Start with the recommended settings for your material and adjust from there.
When peeling material off the mat, bend the mat away from the paper rather than peeling the paper up off the mat. It lifts cleanly without tearing or distorting your cut shapes.
The machine cuts more accurately on a flat, stable surface. Vibration from an unsteady table does noticeably affect cut quality on detailed designs, so a solid table makes a real difference.
Save your project file after every session. Rebuilding a design from scratch because you forgot to save is a frustrating way to learn that lesson.
If you plan to use SVG files downloaded from the internet, be aware that not all of them are immediately ready to cut. Some have file errors that cause problems inside the software. CutMagic is a tool that fixes those issues before the file goes into Silhouette Studio.
You're Ready to Start
First-time setup feels more complicated than it is. Once the software is installed and the blade is loaded, the learning curve drops off quickly.
Start with something low-stakes: a basic shape on copy paper, just to confirm the machine cuts cleanly before you move on to a real project. Most questions that come up from there have straightforward answers once the basics are solid. You've got everything you need.