
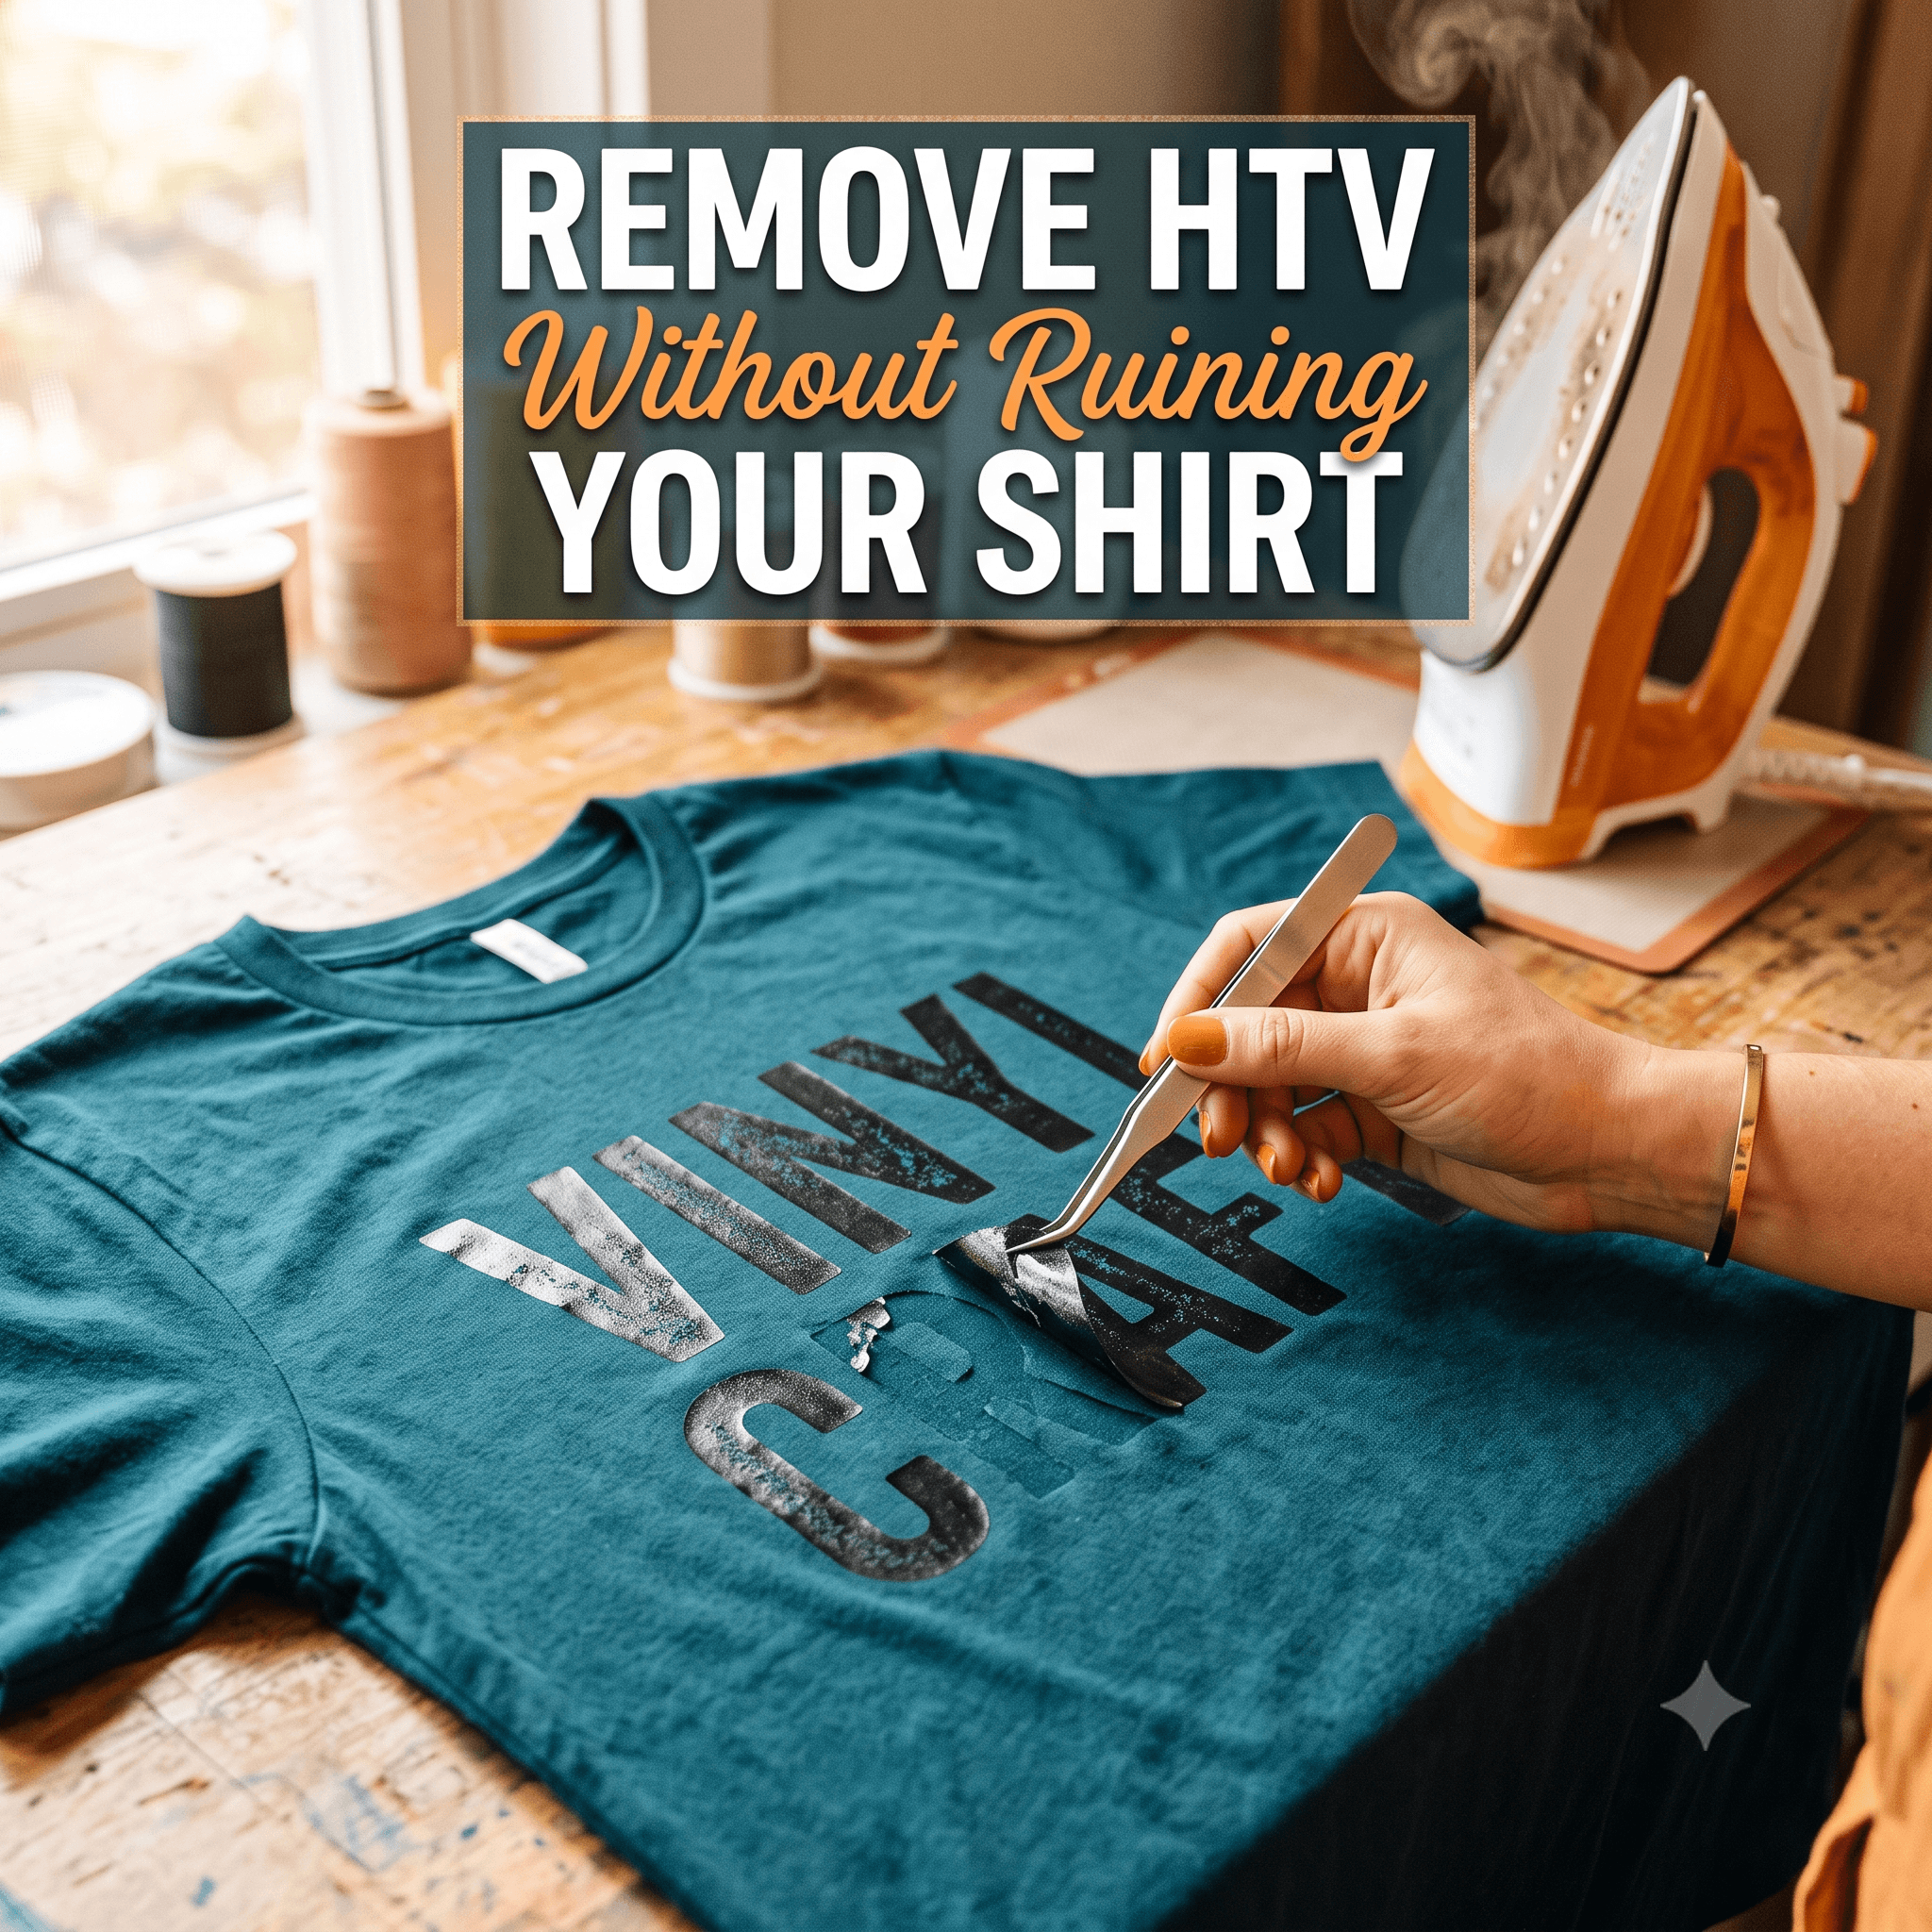
How to Remove Heat Transfer Vinyl from a Shirt (Without Ruining It)
Messed up a press? It happens to everyone, even people who have been doing this for years. The real question is whether you can fix it. Most of the time, you can remove HTV from a shirt and still salvage the fabric. There is a right way to do it, though, and a few things that will make it worse.
Estimated Time: 10-20 minutes | Difficulty: Beginner | Cost: Under $5
Can Heat Transfer Vinyl Actually Be Removed?
Yes, you can remove HTV from a shirt in most cases. But it is not always a clean, perfect result, and being upfront about that matters.
Freshly applied vinyl (within the last few days) tends to come off more cleanly than something that has been washed a dozen times. The heat bonding process gets stronger over time, so older applications can leave more residue or even damage the fabric underneath.
Standard PU vinyl is generally the easiest type to remove. Specialty HTV like glitter, flock, or puff is trickier because the adhesive layer bonds more aggressively. If you are working with rayon, tri-blend, or other delicate materials, the fabric itself might show some puckering or slight discoloration even after a careful removal. That is just the reality.
The clock matters more than most people realize. A press from this week comes off far more easily than one that has been through the wash five times. If your removal is not going well, that is likely why, not something you are doing wrong.
What You'll Need to Remove HTV
You probably already have most of this at home, and you will not need all of it for every method.
- Household iron or heat gun. Either works. A heat gun gives you more precise control, which helps on delicate fabrics.
- Tweezers or a weeding tool. For peeling edges and lifting vinyl while it is warm, without burning your fingers.
- Rubbing alcohol (90% or higher). Lower concentrations have too much water and are not as effective on adhesive.
- Adhesive remover. Useful for stubborn sticky residue after the vinyl is off.
- Clean cloth or cotton balls. For applying solutions without spreading residue around.
That is really it. No fancy setup required.
The Best Way to Remove HTV from a Shirt Using Heat
Heat is the most reliable method, and for most people, it is the best way to remove HTV from a shirt without a lot of guesswork.
Don't rush this. Some vinyl lifts in one satisfying piece. Others come off in chunks and you will need to be patient. Overheating does not speed things up. It scorches the fabric or fuses the vinyl even harder, which makes everything worse.
How to Remove Leftover HTV Adhesive (The Sticky Residue)
Once the vinyl is off, you are often left with a sticky, slightly shiny residue. This is the adhesive layer, and a regular wash cycle alone rarely gets rid of it. You will want to treat it directly.
Method 1: Rubbing alcohol. Dampen a cloth or cotton ball with 90%+ isopropyl alcohol. Rub in circular motions over the residue. It should start lifting and balling up. Once clean, wash the shirt normally.
Method 2: Adhesive remover. Apply a small amount directly to the residue, let it sit for one to two minutes, then rub gently with a clean cloth. Rinse thoroughly before washing, since these products can leave their own oily residue if you skip that step.
Either method works well. Rubbing alcohol is usually faster and less messy, so it is worth trying that first.
Removing HTV Without Heat (The Cold Peel Method for Fresh Applications)
If you just pressed your design in the last 24 to 48 hours, it is worth trying a cold peel before you reach for the iron. Sometimes freshly applied HTV, especially if it was not pressed at full temperature, can be peeled off slowly by hand.
Work at a very low angle and peel back slowly. Do not yank. If it is resisting or the fabric is pulling up with it, stop and switch to the heat method.
This approach is unreliable overall, and heat is almost always more effective. But on a delicate fabric where you want to minimize exposure to additional heat, it is a reasonable first attempt. Just manage your expectations.
Tips for Removing HTV from Delicate or Stretchy Fabrics
Fabric type matters a lot here, so it is worth adjusting your approach depending on what you are working with.
100% cotton is the most forgiving. It handles heat well and is the safest material for the standard iron method.
Polyester blends need more care. Polyester can melt or pucker at higher temperatures, so use lower heat settings and test on a hidden area first before going straight for the design.
Tri-blend fabrics (cotton, polyester, and rayon mixes) are the trickiest. The rayon content especially is prone to puckering or scorching, so go slow, use lower heat, and expect that removal might not be perfect.
Athletic or performance fabrics are heat-sensitive by design. A heat gun on its lowest setting gives you more control here than an iron, since you can direct heat more precisely and avoid overheating any one spot.
Whatever fabric you are working with, test your heat method on a small hidden area (inside a seam, under the collar) before committing. It takes 30 seconds and saves you from finding out the hard way.
Quick Reference Card
Save this for the next time a press goes wrong:
What to Do After You Remove the HTV
People remove HTV for all kinds of reasons: a placement that was off by half an inch, a color that looked different in person, a design they have outgrown. Whatever brought you here, the shirt can usually be saved.
If you are starting fresh with a new design, make sure your SVG file is clean and cut-ready before you press anything. CutMagic's SVG tools check your files for Cricut Design Space compatibility and fix common issues before you cut, so you are not redoing this whole process over a bad file.
Once you are ready to reapply, a few practical steps make a big difference:
- Wash and dry the shirt thoroughly before pressing new vinyl. Any residue from the removal process needs to be fully out of the fabric.
- Pre-press the shirt for a few seconds to remove moisture and wrinkles. A damp or uneven surface causes poor adhesion.
- Double-check that your design is mirrored correctly before you cut. It is one of the most common and most frustrating mistakes.
A redo like this eats into your margin fast. CutMagic's cost calculator helps you price in material waste and rework time so a bad press does not turn a profitable order into a loss.
Frequently Asked Questions
Can you remove HTV without damaging the shirt?
In most cases, yes, especially on 100% cotton with heat applied at medium temperature. Delicate fabrics like rayon or tri-blends carry more risk of slight puckering, so test on a hidden area first.
How long does HTV removal take?
Most single-design removals take 10 to 20 minutes, including the heat-and-peel cycles and residue cleanup. Older or larger designs can take longer.
Will the sticky residue wash out on its own?
Rarely. A regular wash cycle does not fully remove adhesive residue. Treat it with rubbing alcohol or an adhesive remover first, then wash.
Conclusion
Removing HTV takes patience more than skill. The heat-plus-alcohol combination handles most situations, and as long as you work slowly and do not rush the process, you have a good shot at saving the shirt. Taking a few extra minutes on prep, and getting your next cut file right the first time with CutMagic's SVG tools, means you hopefully will not have to do this again.