
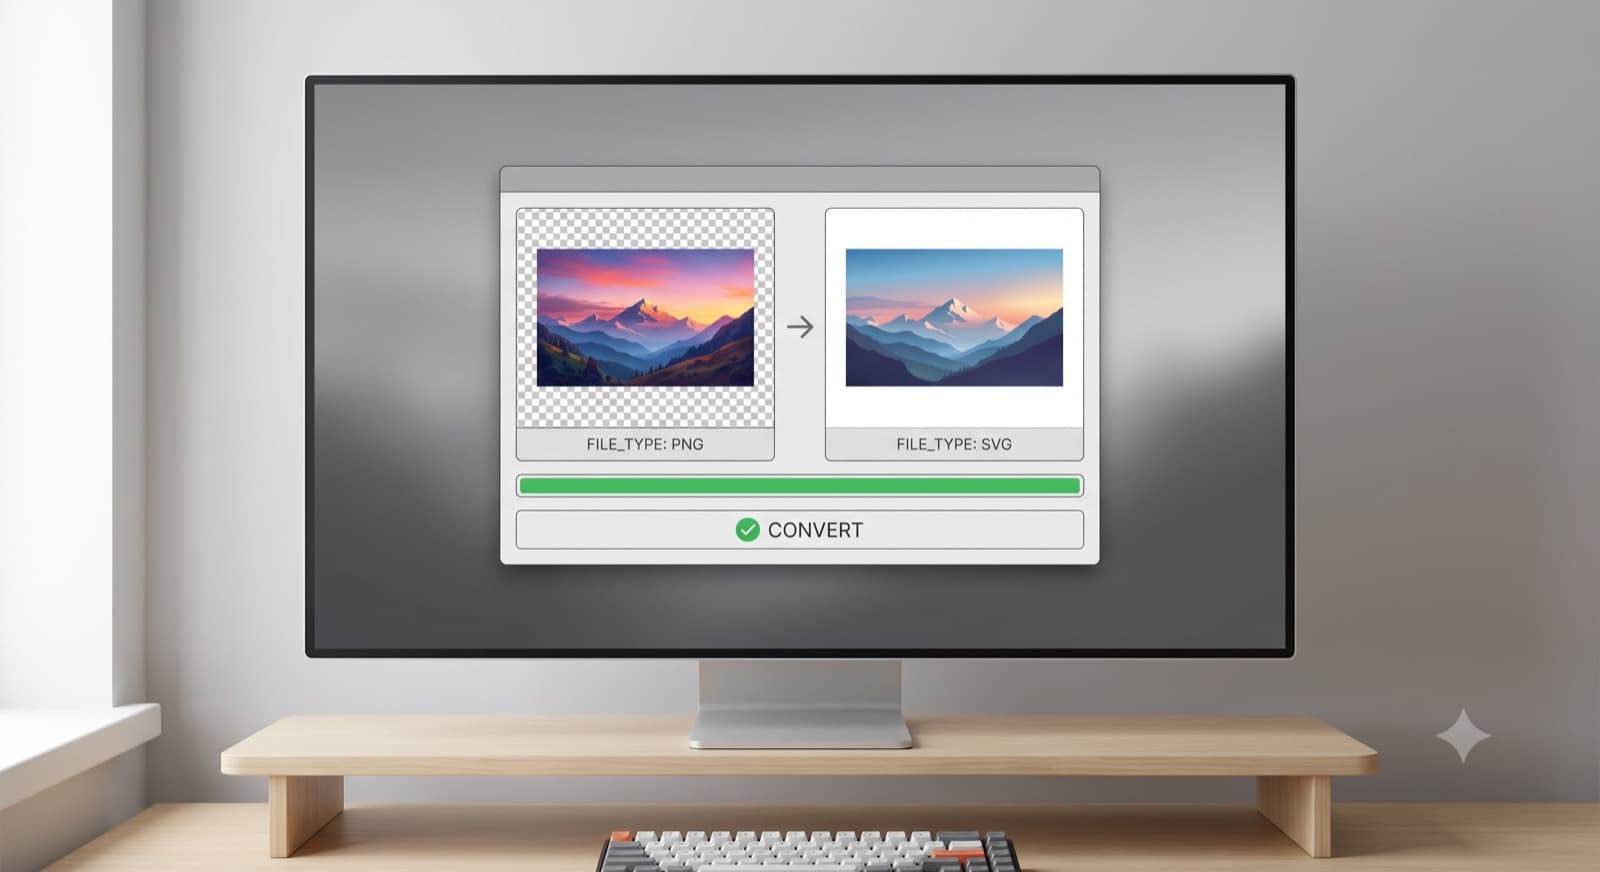
PNG to SVG for Cricut: Free Converters That Actually Cut
Converting a PNG to SVG takes about ten seconds. Type "PNG to SVG converter" into Google and a dozen free tools will hand you a vector file before your coffee finishes brewing. For Cricut, that's usually where the trouble starts. The file is technically a vector now, but Design Space throws a "file too complex" error, uploads as a solid black box, or shows pattern fills as blank shapes.
Getting a valid SVG is easy. Getting one Design Space will actually cut is a different problem, and it comes down to a handful of specific things: node count, flat fills instead of gradients, no embedded images, text converted to paths. Below are the free ways to convert a PNG, an honest look at where each one still leaves you cleaning up afterward, and the checklist to run before you trust any file to upload clean the first time.
What "PNG to SVG" Actually Means (And Why Cricut Makes It Harder)
A PNG is a grid of pixels. Zoom in far enough and you'll see the individual squares, which is why enlarging one makes it blurry.
An SVG describes the same image as math instead, paths and curves defined by coordinates. It stays sharp at any size because the computer redraws the shape rather than stretching a fixed grid. Converting between the two is called vectorization, or tracing: software looks at where colors change and draws a path around each region. The two terms describe the same process, just named two different ways.
A black silhouette on white traces cleanly. A photo with soft gradients and hundreds of colors gives the software far more edges to guess at, and it often produces way more paths than the image actually needs, especially with high-resolution or low-contrast source images.
This is where Cricut gets specific. Design Space isn't just checking for an .svg extension. It has a practical ceiling on how many anchor points (nodes) a shape can carry before it chokes, no support for pattern fills or gradients (they upload as blank or black), and no tolerance for embedded raster images or text that hasn't been converted to outlines.
A vectorizer built for web graphics has no reason to care about any of that. One built for a blade that has to physically trace every node does.
Free Ways to Convert PNG to SVG for Cricut
None of these cost money. They differ in how much cleanup they leave you to do afterward.
1. Design Space's built-in Upload tool
This is the fastest option, and it's already in the app you're using. It also handles PNG files directly, so you don't strictly need to pre-convert anything for cutting purposes alone.
Click Upload, then Upload Image, and choose your PNG. Design Space walks you through Preview mode, where you toggle between the original and a black-and-white trace so you can check the edges. For high-contrast images (a bold logo, a simple silhouette) this works fine. Once the preview looks right, choose Complex Image if your design has multiple colors or layers, use the magic wand tool to clean up stray pixels around the edges, and save it as a Cut Image.
The limitation is real. Anything with soft shading, low contrast, or fine detail confuses this tool fast. You'll see it as jagged edges or missing pieces in the preview. If you want a reusable SVG file for a design library, rather than a one-time cut, converting separately still gives you more control.
2. Inkscape's Trace Bitmap
Inkscape is free, open source, and gives you far more control than Design Space's built-in tool.
Import your PNG, select it, then go to Path > Trace Bitmap. The dialog gives you a few modes worth knowing: Brightness Cutoff for simple black-and-white shapes, Colors for multi-color images, and Grays for photos you want traced in shades. Adjust the threshold slider and preview before committing. A threshold set too low or too high will either lose detail or trace noise you don't want.
Trace Bitmap's default settings often produce far more nodes than a design actually needs, so you'll usually want to follow up with Path > Simplify, sometimes applied more than once, and check the result at actual cut size before calling it done. Budget 15 to 30 minutes for anything beyond a simple shape.
3. General online vectorizers
Tools like Vectorizer.AI and Adobe Express convert PNG to SVG in the browser, no software install required.
Upload your image, wait a few seconds for the trace to process, and download the SVG. They're built for general design use, turning a logo into a scalable asset, prepping an image for print, and they do a genuinely competent job of tracing an image into paths.
What they're not built for is cutting-machine constraints specifically. The output can still carry pattern fills, high node counts, or embedded elements that trip up Design Space, even though the file opens fine in a browser or a design tool. If the output from any of these still won't upload, the problem usually isn't the conversion itself. It's one of the specific issues covered in the checklist below.
PNG to SVG Converter Comparison
| Tool | Built for | Output formats | Pricing | Cricut-specific handling |
|---|---|---|---|---|
| Vectorizer.AI | General vectorization | SVG, EPS, PDF, DXF | Web app unlimited from $9.99/month | None, general-purpose |
| Convertio | General file conversion | Multiple formats, basic tracing | Free tier, paid plans available | None |
| Adobe Express | Quick design-suite conversion | SVG | Free, paid plans available | None |
| CutMagic | Cutting files for Cricut and Silhouette | SVG, PNG | Free tier, paid plans from $14.99/month | Node reduction, pattern-fill flattening, sized for Design Space |
None of the three general tools here are doing anything wrong. Vectorizer.AI and Adobe Express are built for logos, print assets, and general design work, and they're genuinely good at that job. Convertio handles quick one-off conversions across a wide range of file types.
The gap is that none of them were built with Cricut's specific constraints in mind. A logo destined for a website doesn't care about node count, and a print asset can carry a gradient without any consequence. A design headed into Design Space cares about both, because too many anchor points and unsupported fills are two of the most common reasons files fail to upload.
General vectorization and cutting-machine-ready vectorization are related jobs, but they're not the same job, and a tool optimized for one won't automatically handle the other. That's not a knock on Vectorizer.AI, Convertio, or Adobe Express. It's just a reminder to check the output against the checklist below before you assume a successful download means a successful upload.
What Makes an SVG "Cut-Ready" (Not Just Vector)
A file can pass every check for "is this a valid SVG" and still fail the moment you try to cut it. Design Space cares about a narrower, more specific set of things.
Node count
Every curve and corner in your design is a node. A hand-drawn logo might have 50. An auto-traced photo can easily have thousands, and this is usually the underlying cause behind a "file too complex" error. Design Space starts struggling well before it hits its hard limit, showing lag, slow previews, or an outright rejection.
Aim to keep intricate designs under a few hundred nodes where you can. If a trace comes in higher, run Simplify (in Inkscape, or an equivalent tool) before you upload, sometimes more than once, rather than uploading the raw trace and hoping.
No pattern fills or gradients
Cutting software needs flat, solid colors because the blade cuts one shape at a time, not a shaded gradient. A gradient background usually uploads as a black box or a blank shape rather than an error message, which is part of what makes it confusing to diagnose the first time it happens.
No embedded raster images
If your SVG contains an embedded PNG or JPG inside it (common when a design tool exports a "vector" file that's really a picture with a vector frame around it), Design Space will either reject it or cut the frame and ignore the image entirely.
No clipping paths or masks left unflattened
A clipping path hides part of a shape behind an invisible mask rather than actually removing it. Cutting software reads the full shape underneath, not the visual result, so what looks like a cleanly cropped design in a preview can cut as the uncropped original.
Text converted to paths
If text in your SVG still exists as an editable font rather than a fixed outline, and the software doesn't have that font installed, the text will render wrong or vanish. Converting text to paths locks in the shape regardless of what fonts are available on the machine doing the cutting.
Under the file size limit
Design Space rejects uploads over 5MB, and auto-traced files blow past this more often than hand-drawn ones, since tracing tends to generate far more nodes than the design visually needs. If a file is close to the limit, that's usually a node count problem in disguise.
Skipping the Cleanup Step Entirely
Upload a photo to CutMagic, or type a description, and what comes back is already sized, node-reduced, and flattened for Design Space, so there's no manual cleanup pass required. Pattern fills convert to flat colors, node counts come down while the visible shape stays intact, and clipping masks or embedded images get flattened instead of left as hidden structure Design Space can't parse. Its SVG Fixer runs the same fixes on an SVG you already have, if that's where you're starting from.
It's not a replacement for Inkscape if you want full manual control over every path, and it's not free the way a browser-based vectorizer is; there's a free tier to start, then paid plans for regular use. What it does is skip the sequence this guide has walked through: trace, check node count, flatten fills, convert text.
The Bottom Line
If you're comfortable spending a few minutes cleaning up a trace, the free path works: Design Space's Upload tool for simple, high-contrast images, Inkscape when you need more control, and a general online vectorizer when you just need a quick conversion for something other than cutting. All three get you a valid SVG.
What they don't do is account for the specific things that make a file cut-ready on a Cricut. Neither path is wrong, one just skips the cleanup step the other one leaves for you to do. Either way, run the same checklist before you trust any file to upload clean the first time: node count, flat fills, no embedded rasters, text as paths, under 5MB.