
How to Use Your Cricut Card Mat for Perfect Cards
If you've spent time carefully cutting a card front only to realize it's slightly off-center once you fold it, you already understand the frustration the Cricut card mat was built to solve. Lining up layers, scoring a clean fold, cutting an insert to fit, and aligning everything by hand takes patience. Sometimes it works. Sometimes it doesn't.
The card mat removes most of that guesswork. You insert a pre-folded card blank into the mat, load it into your machine, and Design Space handles the score and cut in a single pass. This guide covers what the mat is, which machines support it, a full walkthrough, and tips for clean results.
What Is the Cricut Card Mat and What Does It Actually Do?
The Cricut card mat is a specialized cutting mat with a built-in pocket. You slide a folded card blank into that pocket, and the mat holds it flat and aligned while your machine scores and cuts the design onto the front panel. No tape, no manual measurement, no guessing.
There are three versions:
Cricut Joy card mat: Designed for the standard Cricut Joy. It fits A2 card blanks, the most common greeting card size at 4.25 x 5.5 inches when folded.
Cricut Joy Xtra card mat: Made for the Joy Xtra's wider cutting area. Supports larger card sizes that won't fit on the standard mat.
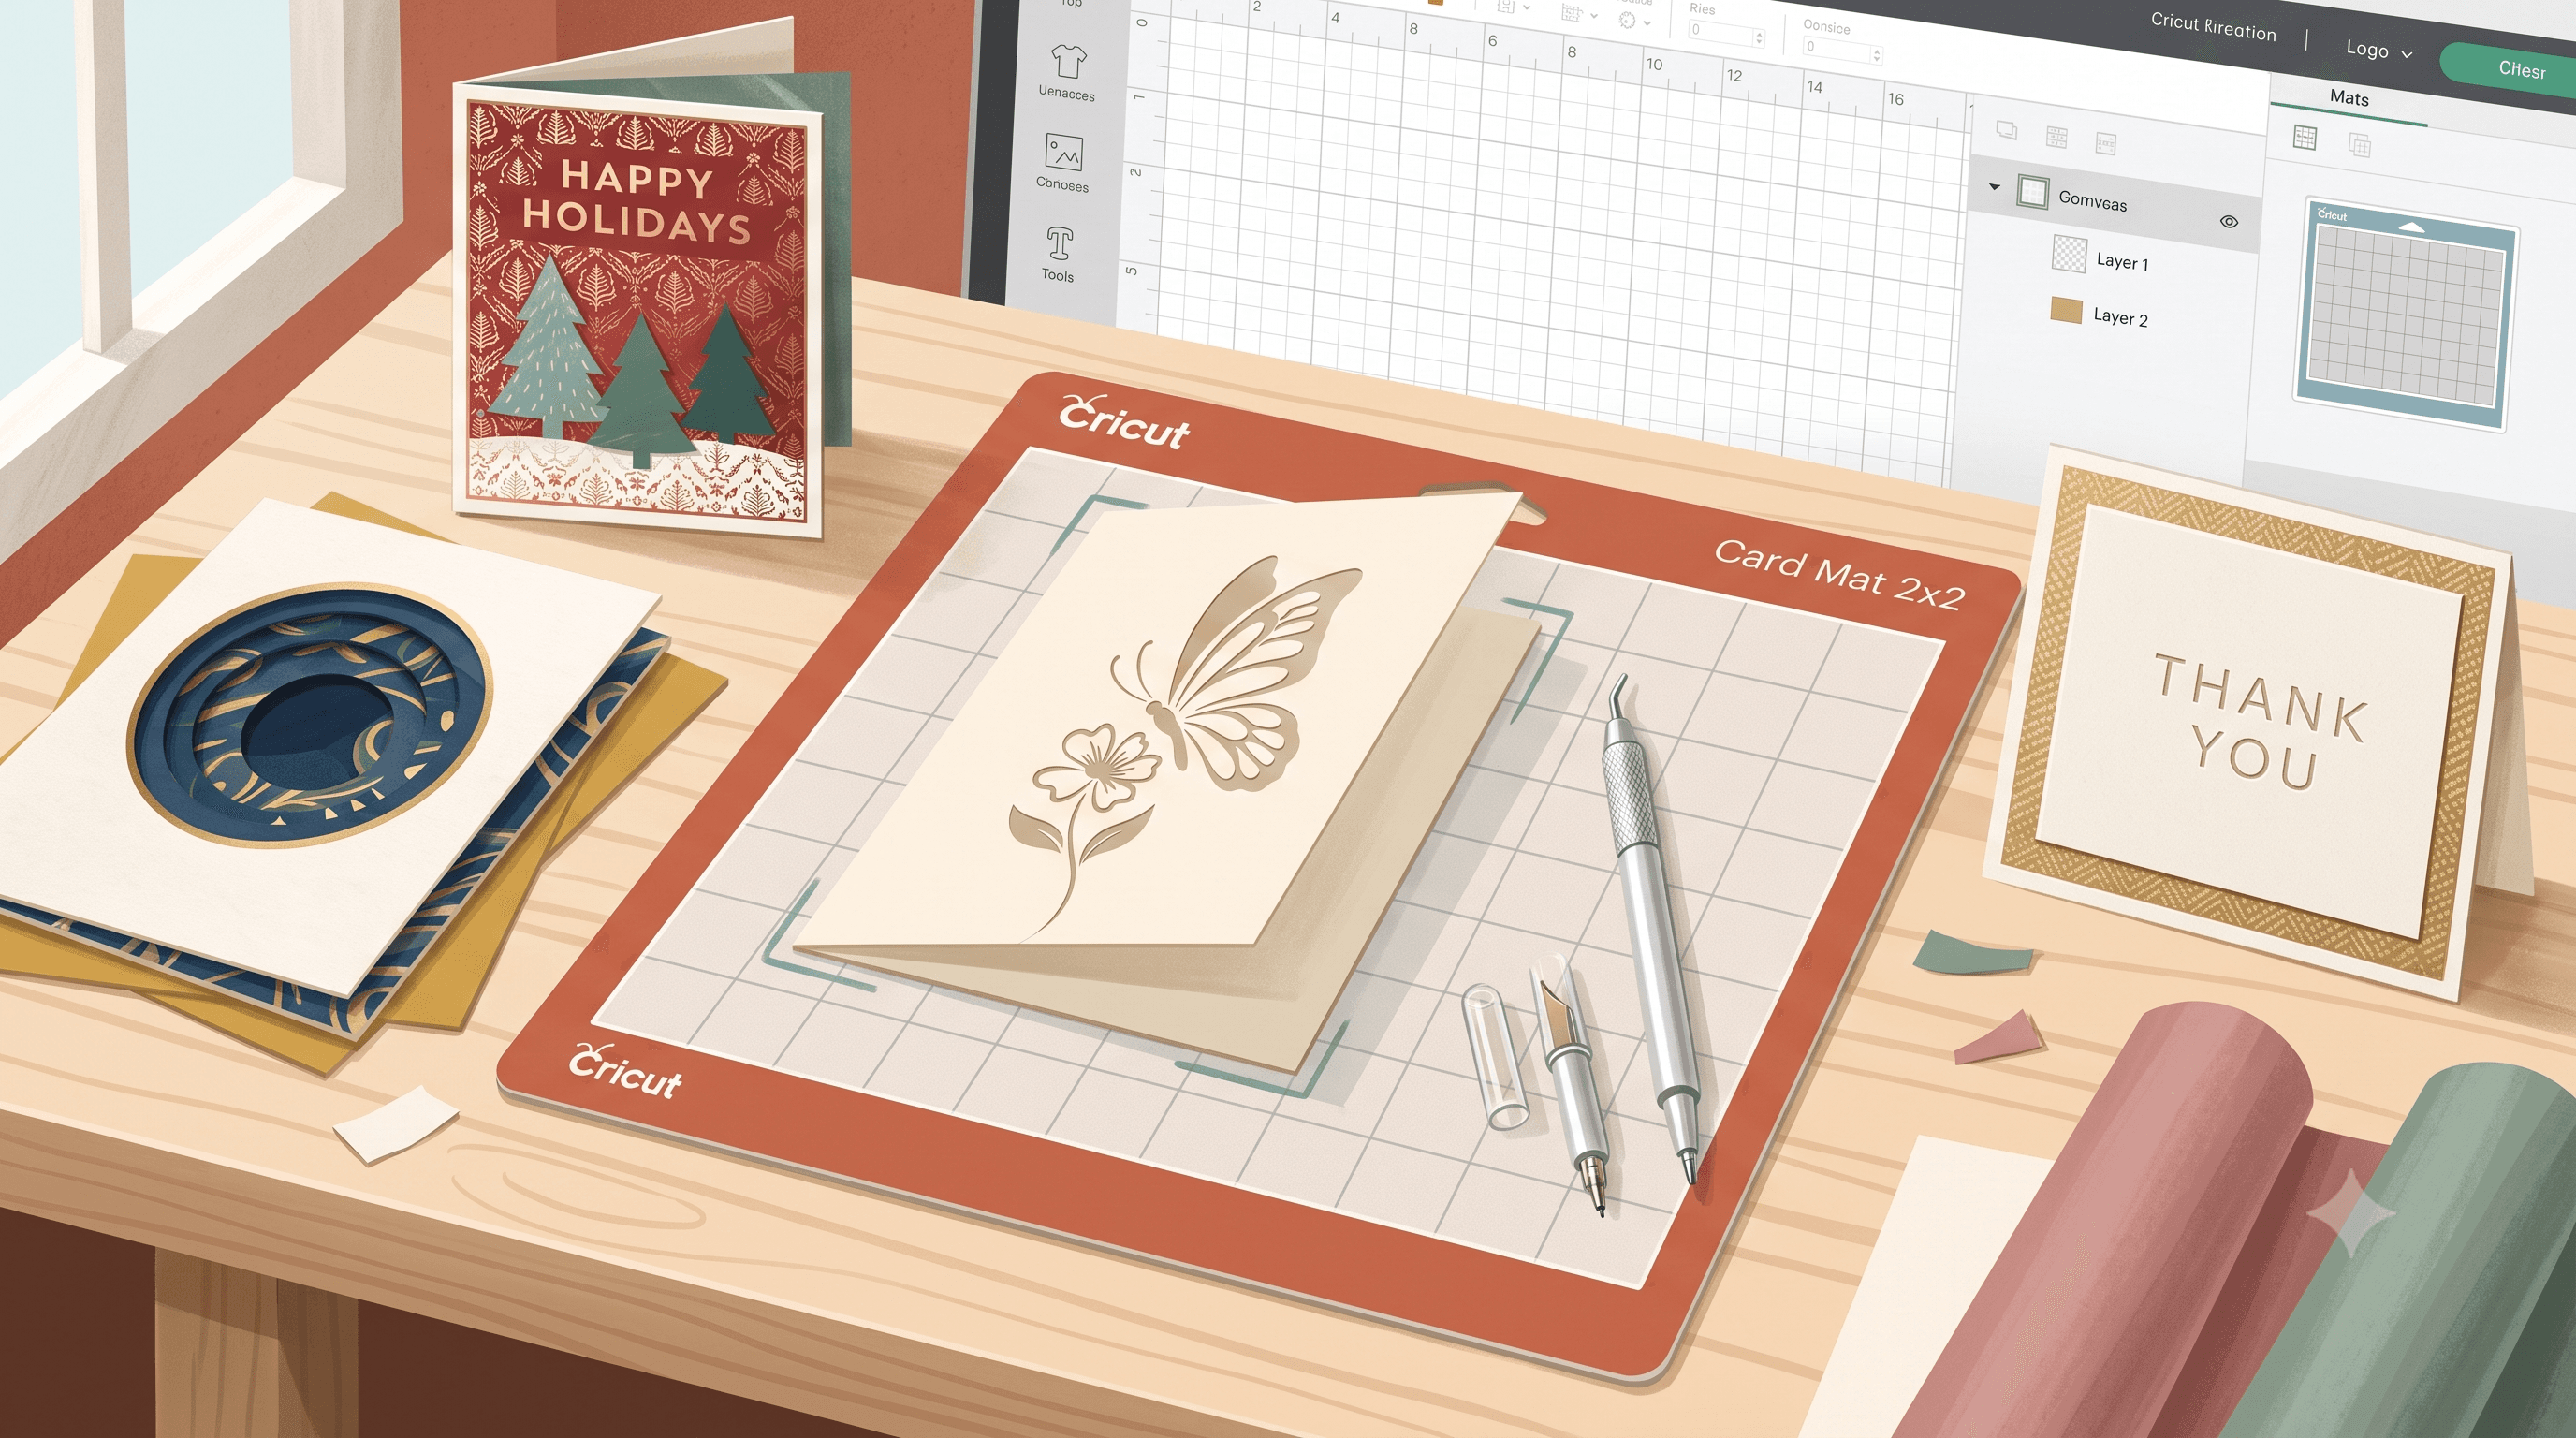
Cricut 2x2 card mat: A smaller mat for mini insert cards, roughly 2 inches by 2 inches when folded. Great for gift enclosures and batch projects.
Each mat is machine-specific. Using the wrong one, or a card blank that doesn't match the spec, causes alignment problems every time.
Which Machines Can Use the Card Mat?
This is the most common source of confusion. The card mat is a Joy and Joy Xtra exclusive.
Cricut Explore and Maker machines do NOT use the card mat. They use standard adhesive mats with manual card placement. If someone says they use a "card mat Cricut" setup on their Explore 3, they're positioning a card blank on a standard mat by hand. Different approach, different tool.
The mat was designed for the Joy line because those machines have a narrower feeding system that guides the mat through in a controlled, repeatable way.
How to Use the Cricut Card Mat: A Full Walkthrough
This is the sequence that matters. Follow it in order and the results are consistent.
Knowing how to use the Cricut card mat really comes down to this sequence: score first, cut second, always seat the blank fully. Run it once on a plain blank before using anything specialty or expensive.
Tips for Clean Results
Any gap between the blank and the pocket guides will shift your design off-center before the machine even starts.
Match your cardstock weight to your design. Standard 80 lb cuts more cleanly on intricate designs than 110 lb. Heavier stock is fine for simple shapes but can drag on fine details.
Don't skip the score line. Without it, your fold will be uneven or cracked. The score is what gives you a crisp crease.
Prep custom SVG files before uploading. Overlapping paths and open nodes cause cut errors. CutMagic is a quick cleanup tool worth knowing before you send files to Design Space.
Before you use specialty paper or foil cardstock, run the design on a basic blank. Catch problems before they waste good materials.
What to Make With Your Card Mat Setup
Once the workflow is familiar, here's where it actually gets useful:
- Birthday cards with layered window cut-outs for a simple but polished effect
- Holiday card sets where consistency across 20 cards actually matters
- Thank you cards for weddings or baby showers, personal and fast to batch
- Gift enclosures using the 2x2 mat, small enough to tuck into an envelope or tie to a gift
- Custom pop culture cards from your own SVGs, with precision the machine handles and you couldn't freehand
- Business thank you cards for Etsy sellers, consistent branding produced in batches
Closing Thoughts
Making cards that look clean and intentional doesn't require hours of measuring and repositioning. Once the card mat workflow clicks, it genuinely speeds things up. Score, cut, done.
Start with one design, one card blank, one test run. Get comfortable with the sequence before moving into custom SVGs by CutMagic or specialty materials. The learning curve is short, and once you're past it, batch card making becomes one of the more satisfying things you can do with a Joy.