
Easy Cricut Pop Up Card Tutorial for Beginners
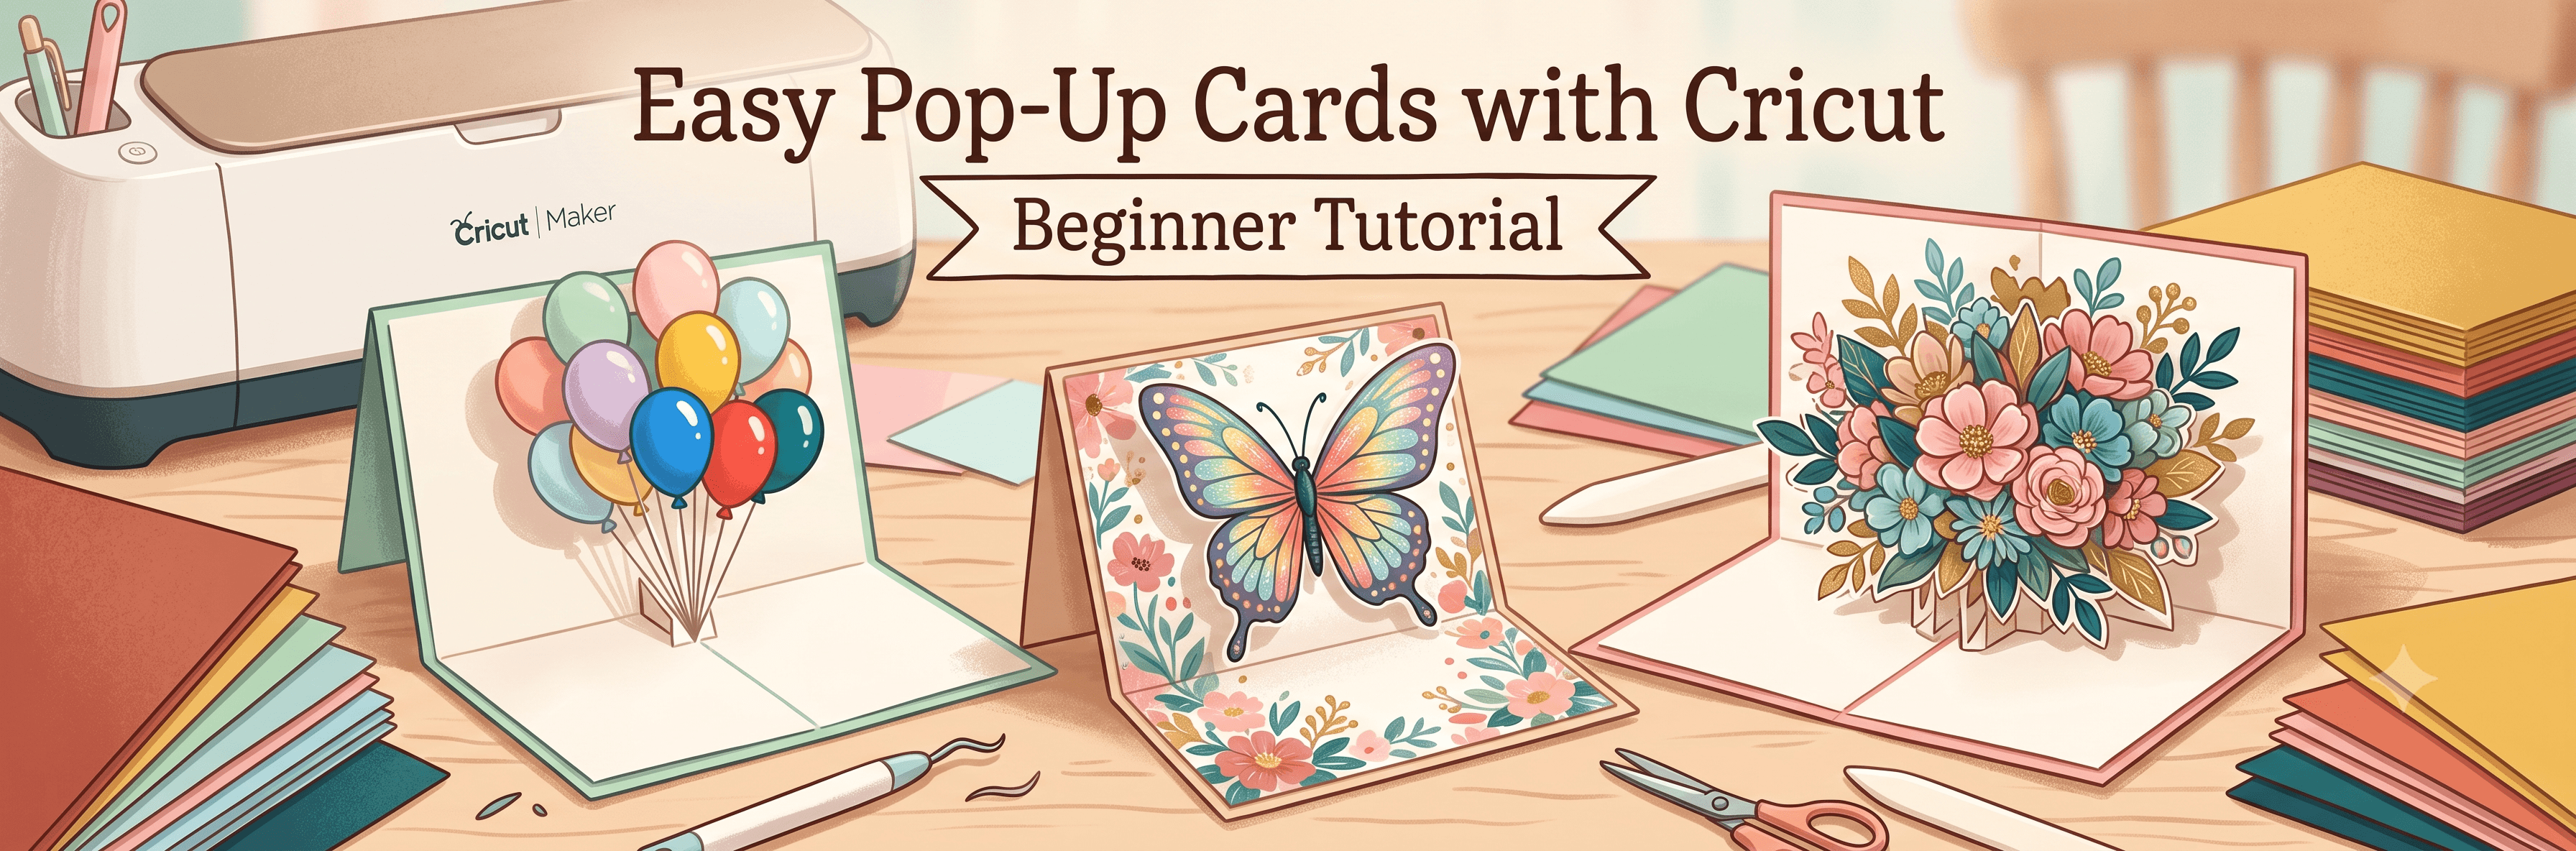
Pop-up cards tend to look like they require serious skill, but making a Cricut pop up card is more beginner-friendly than it appears once you understand the mechanics. Your Cricut handles the precision cutting, and you fold, score, and assemble. I'll cover four popular designs here: balloon, butterfly, bouquet, and Christmas tree.
What Makes a Pop Up Card Work
The secret behind 3D cards with Cricut is tension. When you score and fold cardstock along specific lines, then anchor cut shapes to a card base, opening the card creates a spring-like action that pushes everything upward. Making 3D pop up cards Cricut style comes down to getting those score lines right and folding cleanly, both of which become second nature quickly.
Your Cricut handles the hardest part: precision cutting. Every notch, curve, and anchor point lands exactly where it needs to. Cardstock weight matters here too. Stick to the 65 to 110 lb range for best results. Lighter paper won't hold its shape, and anything heavier may not fold cleanly.
What You Need to Get Started
You don't need much to make your first card. Here's what I keep on my desk:
- Cricut Explore or Maker (either works well for card projects)
- Cardstock in chosen colors (65 to 110 lb weight range)
- Scoring stylus or scoring wheel (the wheel gives cleaner folds on thicker stock)
- Bone folder (essential for crisp folds after scoring)
- Adhesive (glue stick or double-sided tape; more on this below)
- SVG design file for your chosen card
One thing worth knowing upfront: cut file quality matters more than most beginners expect. Before loading any SVG into Design Space, it's worth running it through CutMagic's SVG checker, a free tool that checks your file for compatibility issues before you waste good cardstock on a cut that won't come out right.
Basic Pop Up Card Assembly Steps
These steps apply to all Cricut 3D pop up cards, whatever design you choose:
Your first card will take longer than you expect, and that's completely normal. The second one goes noticeably faster, and by the third, the whole process starts to feel easy.
Popular Cricut Pop Up Card Designs (And What Makes Each One Work)
Balloon Pop Up Card
Designing a balloon pop up card using Cricut is a great starting point because the shapes are bold and generous. Large, rounded balloons are forgiving to assemble, and if one piece is slightly off, it's rarely noticeable once the card is opened. Birthdays are the obvious occasion here, but graduations and new baby cards work just as well.
The one place to be careful with a Cricut balloon pop up card is the strings. They're usually the thinnest part of the cut, so handle them gently when removing from the mat. Layering two or three balloon colors adds visual interest without adding much complexity.
Butterfly Pop Up Card
Butterflies work beautifully as pop-up designs because the wing spread happens naturally as the card opens, giving you that satisfying reveal without any extra effort. It's one of those designs where the mechanics and the visual feel like they were made for each other. The butterfly pop up card Cricut files are well-suited for spring cards, Mother's Day, and "thinking of you" notes.
Most butterfly files come with layered wings in two sizes. Using complementary colors (soft pink over dusty rose, or teal over sage) adds depth and makes the design look noticeably more finished than a single-color version would.
Bouquet Pop Up Card
A bouquet pop up card using Cricut looks more involved than it actually is. Multiple flower layers stack and spread as the card opens, creating a 3D effect that reads as impressive even though each step is straightforward. These work for birthdays, anniversaries, thank-you notes, and sympathy cards.
Color choice makes a real difference here. Using different shades of the same color (three tones of pink, for example) or complementary colors (coral and peach, or purple and yellow) gives the bouquet dimension. A single-color bouquet tends to look flat, so this is one design where mixing it up is worth the extra planning.
Christmas Tree Pop Up Card
The Christmas tree pop up card with Cricut uses stacked tiers that rise as the card opens, creating a clean, simple 3D silhouette. Classic green with gold or white accents is always popular, but kraft cardstock with red details gives it a warmer, more handmade feel. These are practical 3D Christmas cards done with Cricut for anyone making a larger batch, because once you've assembled five, the process is almost automatic.
Quick Reference Card
Save this for your next pop-up card project:
A Quick Note for International Crafters
Pop-up card making has a genuinely global community, and that's one of the things I love about it. Whether you search "carte pop up Cricut" in French or look for regional variations in your own language, you'll find an active community on Pinterest and YouTube with crafters generously sharing free SVG files and tutorials.
If you want custom SVG files, use CutMagic to create your own with plain English text. Try the SVG Generator →
Wherever you're starting from, you're not starting alone.
Once you've made your first pop-up card, the whole process clicks into place. The Cricut handles the precision, and folding becomes intuitive faster than you'd expect. If you're not sure where to start, the balloon and butterfly designs are the most forgiving. When you're ready to take it further, the bouquet and Christmas tree are natural next steps. And here's something worth remembering: people keep handmade cards. Store-bought ones usually go in the recycling. Yours won't.