
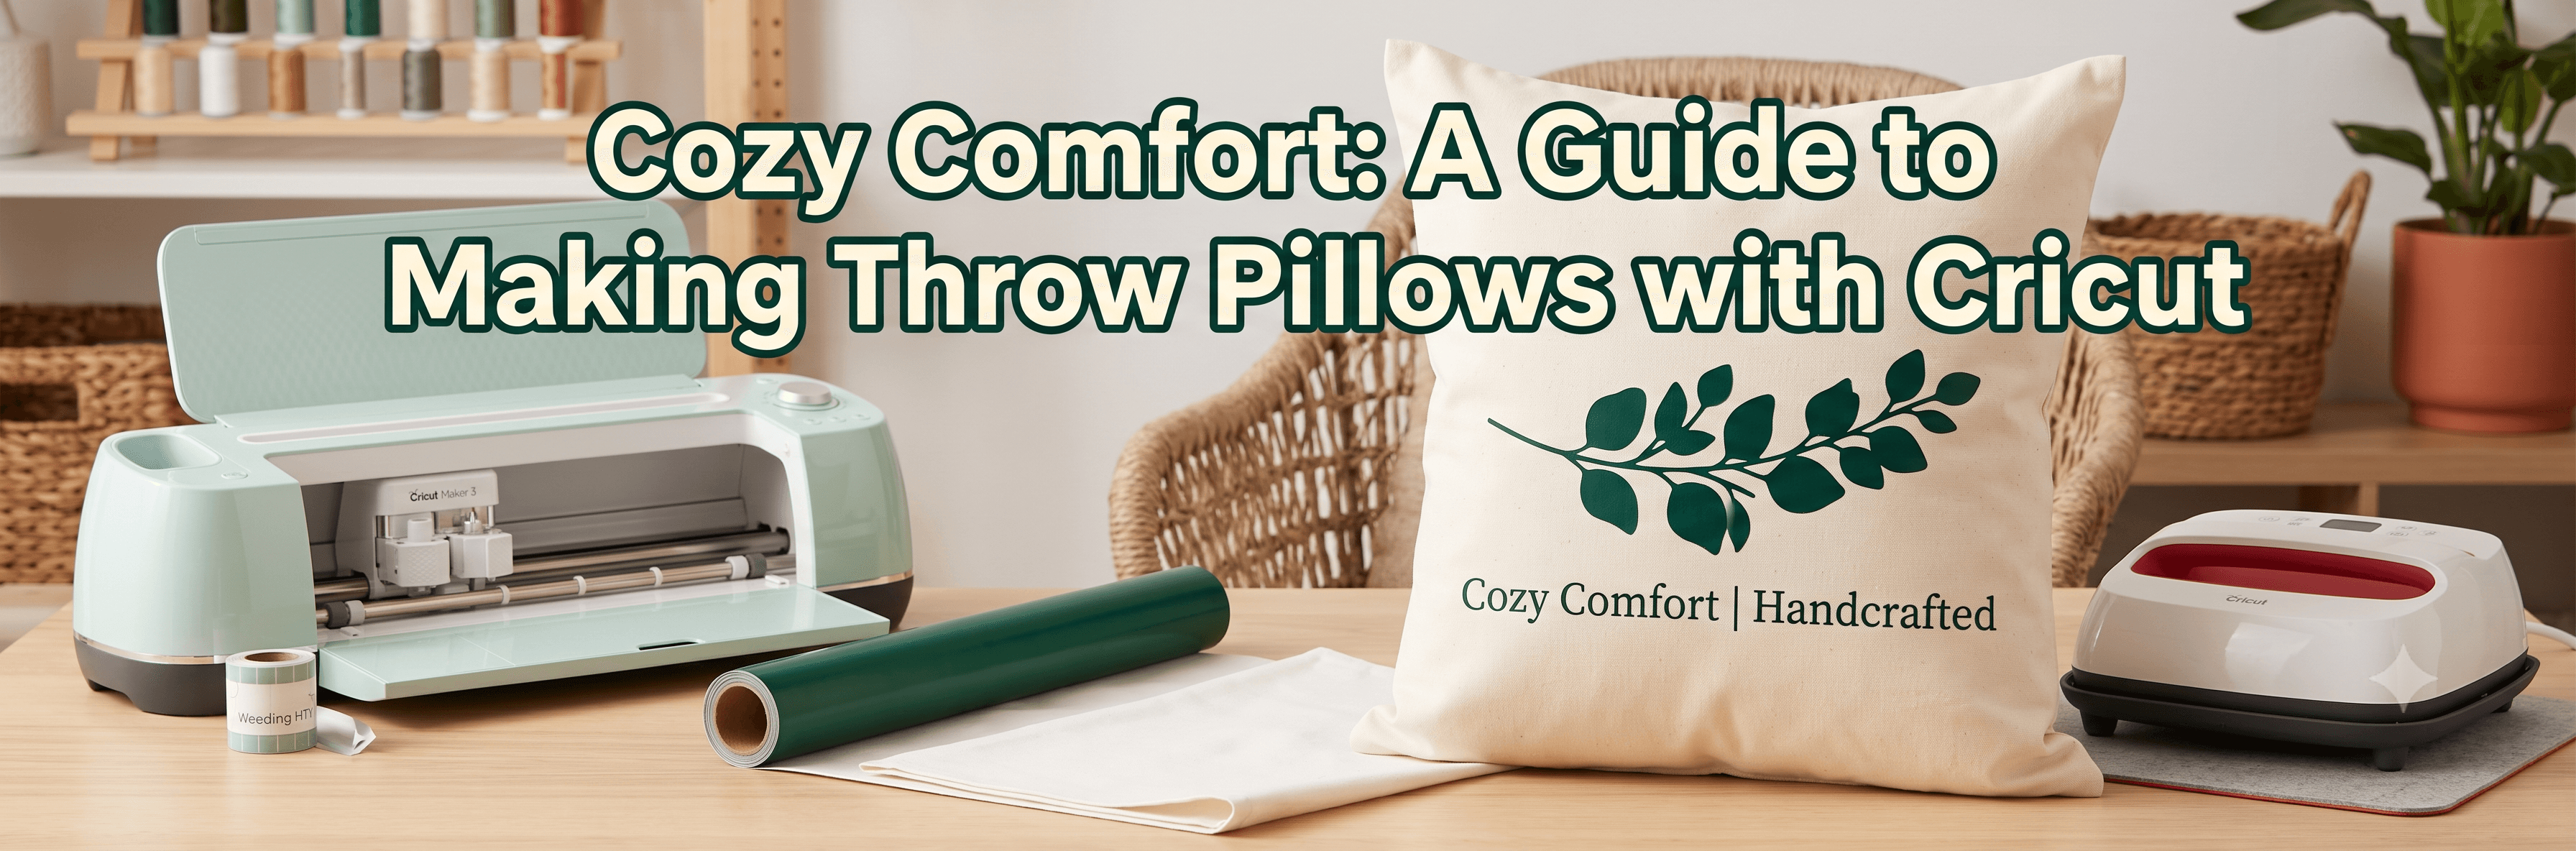
Create Cozy Comfort: A Guide to Making Throw Pillows with Cricut
You know that feeling when you see a $60 throw pillow at a home décor store and think, "I could make that"? You absolutely can. Making pillows with Cricut is one of the most satisfying projects you can tackle because you get complete control over the design, the fabric, the colors, and the words on it. This guide covers everything from picking your materials to pressing your final design, so you're not left guessing at any step.
Why Throw Pillows Are a Perfect Cricut Project
Store-bought custom pillows are expensive. DIY ones are not. A blank canvas pillow cover runs a couple of dollars, and a sheet of HTV costs just a few more. Beyond the price, pillow covers are genuinely forgiving for beginners because small mistakes hide in seams and folds. And unlike a t-shirt or tote bag, a pillow sits in your living room and gets noticed every single day. You make one, people ask where you got it, and you get to say you made it yourself.
What You Need Before You Start
You don't need a studio full of equipment. Here's what actually matters and why:
- Cricut machine. The Explore Air 2, Explore 3, Maker, and Maker 3 all work for HTV projects. If you plan to cut fabric directly, the Maker is the better call because of its Rotary Blade support.
- Heat Transfer Vinyl (HTV). This is the most common method for applying a design to a finished blank. Cricut's Everyday Iron-On is a solid starting point.
- Infusible Ink transfer sheets. An alternative to HTV with better color results, but they only work on polyester-heavy blanks.
- Blank pillow cover or pillowcase. Canvas, cotton, and polyester all work, but the method you choose depends on which fabric you pick. Fabric type matters more than you think.
- Pillow insert. Buy it to match your cover size, usually 18x18 inches for a standard throw.
- Cricut EasyPress or a household iron. The EasyPress gives more consistent results because it holds temperature across the whole plate.
- Weeding tools. You'll need these to remove the negative HTV pieces after cutting.
- Cutting mat. StandardGrip for HTV, LightGrip for lighter or thinner materials.
- An SVG or design file ready in Design Space. Finding the right design is honestly half the battle.
Not sure how much material you'll actually need for your cover size? Our material calculator can help you plan before you buy:
If you want something specific you can't find in the Design Space library, CutMagic lets you generate custom SVG files in seconds that are already formatted and ready to import. It's especially useful when you need a one-of-a-kind design.
Choosing the Right Method for Your Pillow
There are three main routes for making a Cricut throw pillow. Each has a different skill level, finish, and setup. Pick the one that fits where you are right now.
Iron-On HTV on a Premade Pillow Cover
This is the most beginner-friendly path by a long shot. You buy a plain pillow cover, cut your design in HTV, weed away the excess vinyl, and press it on with heat. It works especially well on cotton and canvas blanks.
This is the single most common mistake beginners make. Since HTV goes face-down on the mat and gets flipped when applied, skipping the mirror step means your design comes out backwards. Set the mirror toggle in Design Space before you hit cut, every time.
Infusible Ink Transfer Sheets
Infusible Ink gives you richer, more vibrant color because the ink actually bonds into the fabric fibers instead of sitting on top. The tradeoff is that it only works on blanks made with at least 85% polyester. If you press Infusible Ink onto cotton, it won't transfer properly.
It's worth the extra setup when you want a design that looks printed rather than applied, especially for detailed artwork or gradient-style designs.
Cutting the Fabric Itself with the Cricut Maker
If you want total creative control, the Maker can cut fabric directly using the Rotary Blade or Knife Blade. This lets you create pillow covers from scratch, choosing your own fabric type, dimensions, and shape.
Stabilize your fabric with fusible interfacing before loading it onto the mat. Without it, the fabric shifts during cutting and your pieces won't line up cleanly when you sew.
Setting Up Your Cricut Pillow Designs in Design Space
Not sure which settings to use for your specific HTV or fabric? Our cut settings guide can help you dial it in:
For multicolor pillow designs, each color is a separate cut. You'll apply them bottom to top, starting with the color that sits underneath everything else. Take your time with layering because alignment matters.
Pressing and Applying Your Design
This is where most problems show up, and most of them are avoidable.
Start by preheating your pillow cover for about 5 seconds. This removes moisture from the fabric and helps the HTV bond properly.
Place your weeded design on the cover with the shiny carrier sheet facing up. For Everyday Iron-On on cotton, the EasyPress settings are 315°F for 30 seconds with firm, even pressure. That said, settings vary by HTV brand and fabric type. Always check the Cricut Heat Guide for the exact combination you're using.
Let it cool completely before peeling the carrier sheet. Standard HTV is a cold peel, meaning you pull the carrier only after the material has fully cooled. Pulling it warm is one of the top reasons designs lift or peel at the edges.
After peeling, press again for about 15 seconds to set the edges fully.
Common mistakes to watch for:
- HTV not sticking: Usually a temperature or pressure issue. Press longer, press harder, and double-check your material settings.
- Design peeling at edges: Often from not pressing the edges firmly enough, or from pulling the carrier while it's still warm.
- Carrier sheet leaving residue: Make sure you're using the right HTV type for the fabric.
- Insufficient press on thick seams: Seams don't compress as easily. Use a folded towel underneath to even out the surface, or press from both sides.
Assembling Your Pillow from Scratch (Fabric Cutting Method)
If you're cutting your own fabric with the Maker, here's a simple process to follow.
Cut two identical fabric squares or rectangles, adding a half-inch seam allowance on all sides. Stabilize the fabric with fusible interfacing before loading it onto the mat. After cutting, place the two pieces right sides together and sew three sides closed. Turn it right side out, stuff with your pillow insert, and close the final edge with a hand stitch or slip stitch.
Apply your HTV design before you assemble the pillow. It's much easier to press a flat piece of fabric than to work around a stuffed pillow.
If sewing isn't your thing, an envelope-style cover is a solid no-sew option. Cut three pieces with the Maker, fold over the back edges, and secure them with iron-on hem tape. The back panels overlap to create a pocket that holds the insert in place without a single stitch.
Cricut Pillow Case and Cover Ideas to Get You Started
Sometimes you just need a direction. Here are some ideas that actually look good and are worth making:
- Eucalyptus leaf silhouette on a cream linen cover for a minimal, bedroom-friendly look
- A custom quote pillow with a family motto, inside joke, or meaningful phrase
- Seasonal swap set: pumpkins and leaves for fall, snowflakes for winter, florals for spring, all on the same neutral base covers
- Kids' room pillows with their name paired with a dinosaur, animal, or favorite shape
- Wedding or anniversary date pillows as a personalized gift that costs a fraction of what stores charge
- Pet portrait pillows using a simple outline SVG of your dog or cat
For pillow covers with custom designs like pet outlines or specific florals, generating the SVG yourself is often faster than searching Etsy or the Design Space library. CutMagic handles that kind of custom work quickly.
Troubleshooting Common Problems with Pillow Projects
Real problems, real fixes:
- HTV not sticking: Temperature or pressure is off. Pull up the Cricut Heat Guide, double-check your settings, and press again with more downward force.
- Design peeling at edges: You either didn't press the edges firmly enough, or you pulled the carrier sheet too soon. Re-press and let it cool fully before peeling.
- Fabric shifting during a cut: Brayer the fabric down more firmly before you start. If it keeps moving, add fusible interfacing as a stabilizer.
- Design looks blurry or pixelated after cutting: Your SVG might not be a true vector file. Raster images converted to SVG often have this problem. Files generated through CutMagic are built as proper vectors from the start, so this doesn't come up.
- Cricut not cutting through HTV fully: Check that your blade isn't dull and that you've selected the right material setting. If you're not sure how worn your blade is, check our guide on when to replace your Cricut blade.
Also worth noting: if you're sourcing designs rather than making them, our guide on buying SVG files on Etsy can help you know what to look for.
Conclusion
Pillows made with Cricut don't have to be perfect to look great. The beauty of making something yourself is that it fits your space, your taste, and your budget in a way no store-bought option ever will. Start simple: grab a plain canvas cover, pick a design you love, cut it in HTV, and press it on. Get comfortable with that process, then level up to Infusible Ink or fabric cutting when you're ready.
Making pillows with Cricut gets a lot more fun when you're not stuck searching for hours. Try CutMagic →