
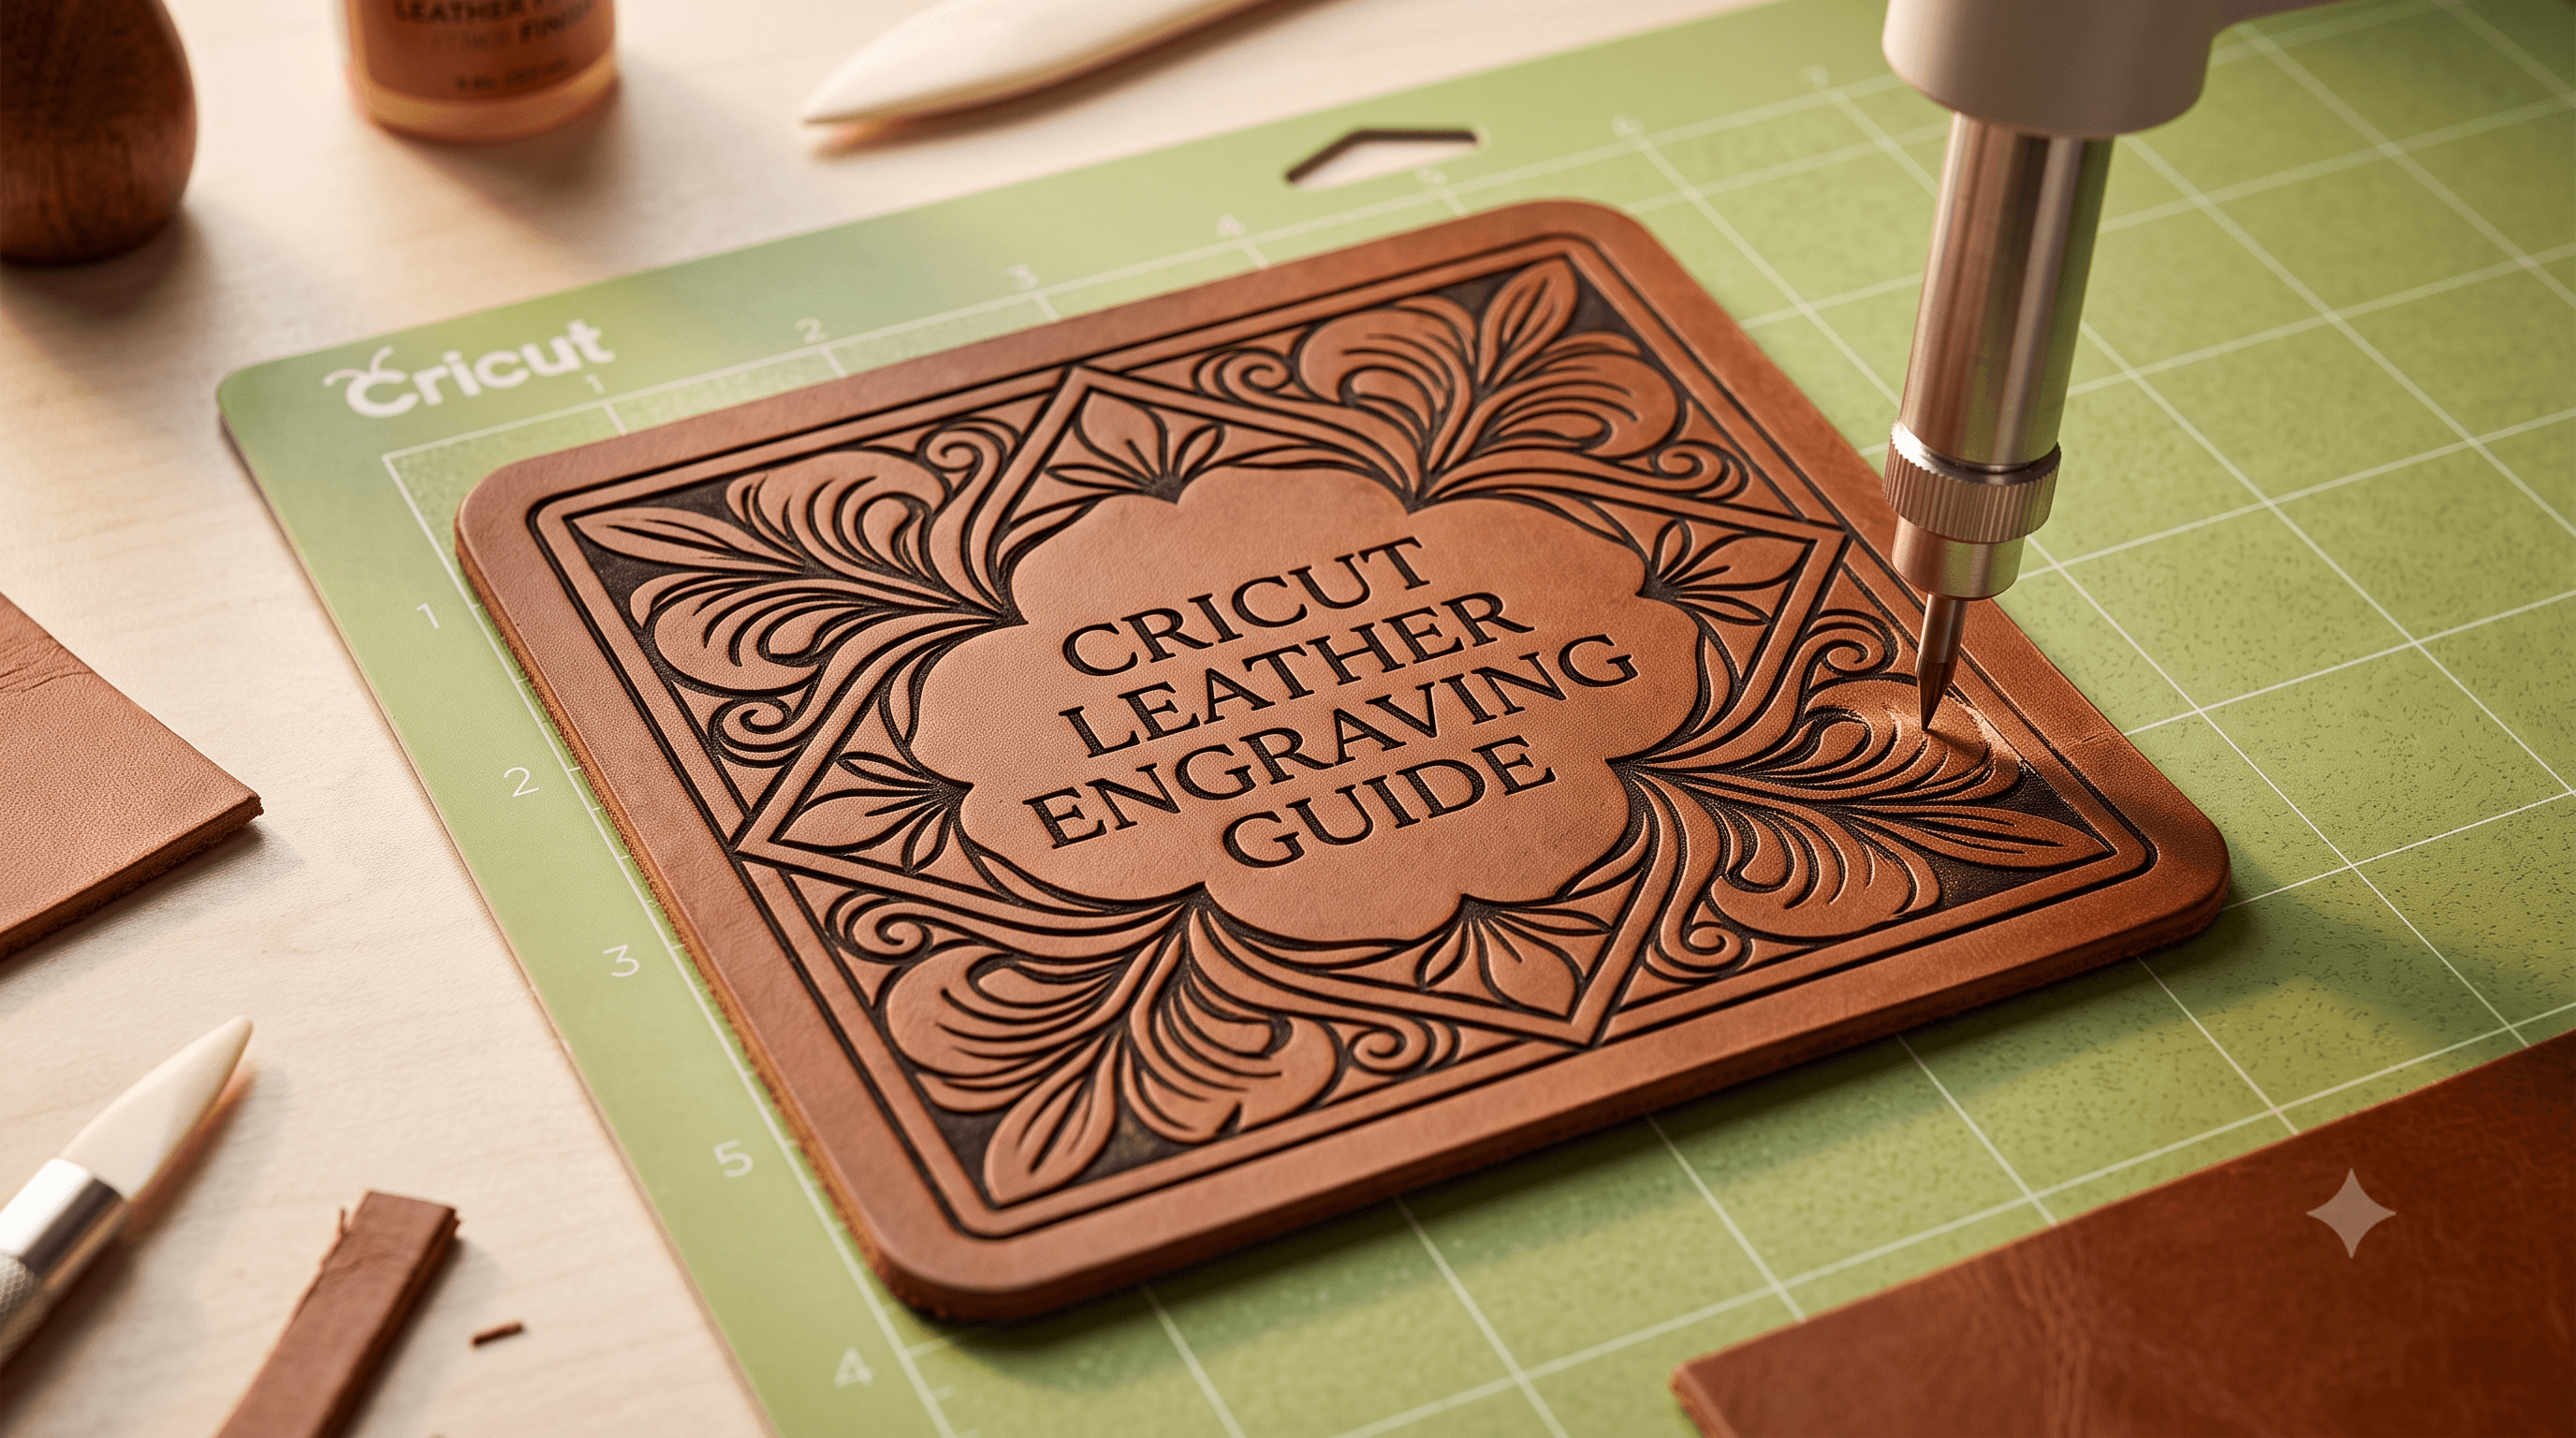
Stop Scratching the Surface: The Real Guide to Cricut Leather Engraving
You run the engraving tip across a leather wallet panel, load it into the Cricut Maker, hit go, and wait. The machine moves. It sounds like it's doing something. You pull the leather off the mat and tilt it toward the light to see the result. Faint scratches. Barely visible. Definitely not the crisp, confident lines you were expecting.
That frustration is common, and it's almost always fixable. Cricut leather engraving genuinely works, but only when the right machine, tip, leather type, and design settings all line up correctly. This post covers exactly that: which machines support engraving, how to set everything up, which leather types perform best, and how to troubleshoot the most common disappointing results.
What Engraving Actually Does to Leather
Before adjusting any settings, it helps to understand what the engraving tip is physically doing. The tip uses a carbide point (a very hard, sharp material) that drags across the leather surface under controlled pressure. It removes a thin layer of the surface to create a visible line. It does not cut through the leather. It doesn't score it for folding, either. Cricut engraving leather is purely surface decoration.
Scoring, by comparison, creates a fold line so material bends cleanly. Cutting goes all the way through. Engraving sits between them: it marks the surface with a line you can see and sometimes feel, but the leather stays intact underneath.
Engraving works beautifully for monograms, simple line art, initials, and clean icons, but struggles with intricate designs full of thin, tightly packed paths. Give it too much detail and the lines blur together.
Which Cricut Machines Can Actually Engrave Leather
This is where a lot of people hit a wall, so here's the direct answer.
The engraving tip requires the Adaptive Tool System to function. The Adaptive Tool System is the mechanism in the Cricut Maker and Maker 3 that applies consistent, calibrated downward pressure during a pass and allows tool tips to be swapped out quickly. Without it, the engraving tip doesn't work correctly because pressure management is what makes the carbide point create a clean, consistent line rather than a random scratch.
Cricut Maker leather engraving is fully supported. Engraving leather with Cricut Maker 3 is also fully supported, and the Maker 3 adds the benefit of faster overall cutting speeds on other materials, though the engraving pass itself runs at the same controlled pace.
Cricut Explore Air 2 leather engraving is not possible with the engraving tip. The Explore Air 2 uses a different tool system that accepts blades for cutting, not tips for engraving. The Deep-Point blade can score a decorative line pattern on thin faux leather, but the lines are compressed rather than removed, the contrast is lower, and it only works on narrow material types. It's a workaround, not a substitute.
For a full breakdown of which tools work with which machines, this guide to every Cricut blade and tip explained covers the full Cricut tool lineup in detail.
Setting Up the Cricut Leather Engraving Tool
Once you've confirmed you're working on a Maker or Maker 3, setup is straightforward. These are the steps that actually matter.
The Cricut leather engraving tool moves noticeably more slowly than a cutting blade. That's intentional. The slow, consistent pass is what creates clean lines. Let it finish without rushing.
What Kind of Leather Actually Engraves Well
Not all leather behaves the same under the engraving tip, and the differences matter.
Genuine leather, specifically vegetable-tanned smooth-grain leather, engraves most cleanly. When the tip removes the surface layer, there's a visible color contrast between the original surface and the engraved line beneath it. Heavily textured or pebbled leather hides that contrast. The lines are there, but the texture competes with them visually.
Faux leather results vary by product. Thinner faux leather sold specifically for Cricut projects engraves more predictably than thick upholstery-grade faux leather. The thick stuff can gum up slightly or melt a little under the friction of the tip, which makes lines look inconsistent.
Engraving faux leather with a Cricut on lighter-colored material shows up far more clearly than on dark leather, because the contrast between the surface and the removed layer is higher. Dark leather can produce very subtle results even with a good setting.
Engraving faux leather with Cricut generally gives you more consistent results when the material is designed for craft use, not upholstery or furniture.
Cricut Leather Engraving Projects Worth Trying
These are good starting points, especially if you're still testing your settings. All of them use simple, bold shapes that suit the engraving tip well.
- Monogrammed leather keychains: small scale, simple shapes, fast to complete, low material cost if something goes sideways.
- Engraved leather wallet panels or cardholders: flat surface, good for initials or a simple line design, meaningful as a gift.
- Personalized leather journal covers: a full leather journal cover tutorial walks through the full process if you want to go further with this one.
- Engraved leather coasters: thick vegetable-tanned leather works well here, and the design gets seen every day.
- Leather luggage tags with names or initials: practical, travels well, genuinely useful.
- Engraved leather earrings: thin faux leather made for crafting works well at this scale, and the small size keeps design complexity manageable.
All of these Cricut leather engraving projects share one thing: they use simple, well-spaced paths that the tip can handle cleanly.
Why Your Engraved Design Might Look Faint or Uneven
If your results aren't matching expectations, one of these three issues is almost always the cause.
Lines too faint: the material setting in Design Space doesn't match your actual leather. The tip isn't pressing hard enough for the material you're using. Fix it by testing at a slightly more aggressive setting on a scrap piece until the contrast is where you want it.
Lines inconsistent or wobbly: the leather shifted during the engraving pass. This usually comes from a mat that's lost its tack or leather that wasn't pressed down firmly before loading. Use a StrongGrip mat and press the leather down with a scraper tool before you load the mat into the machine.
Design too detailed: engraving works with bold, clean lines. Intricate designs with thin paths and tight spacing blur together because the tip physically can't replicate the crispness of a cut edge. The fix is simplifying the design before you send it: thicken thin lines, remove unnecessary detail, and give each path room to breathe. Clean, well-spaced paths engrave far more predictably than tightly packed detail.
Need help dialing in settings for your specific material?
If your SVG files are the source of the problem, this guide on how to prep clean SVG files for Cricut covers the prep steps in detail.
CutMagic cleans up overly complex SVG files and simplifies paths so they engrave more predictably, so overly detailed designs stop blurring together on the leather.
Conclusion
Engraving leather with a Cricut works, but only on a Maker or Maker 3, only with the right leather and mat combination, and only after you've tested your settings on a scrap piece. That's the honest version.
Start small. Pick a bold, simple design. Use a scrap piece of the same leather you plan to use for the real project. Once your settings are dialed in, leather engraving produces results that are genuinely worth the setup time.