
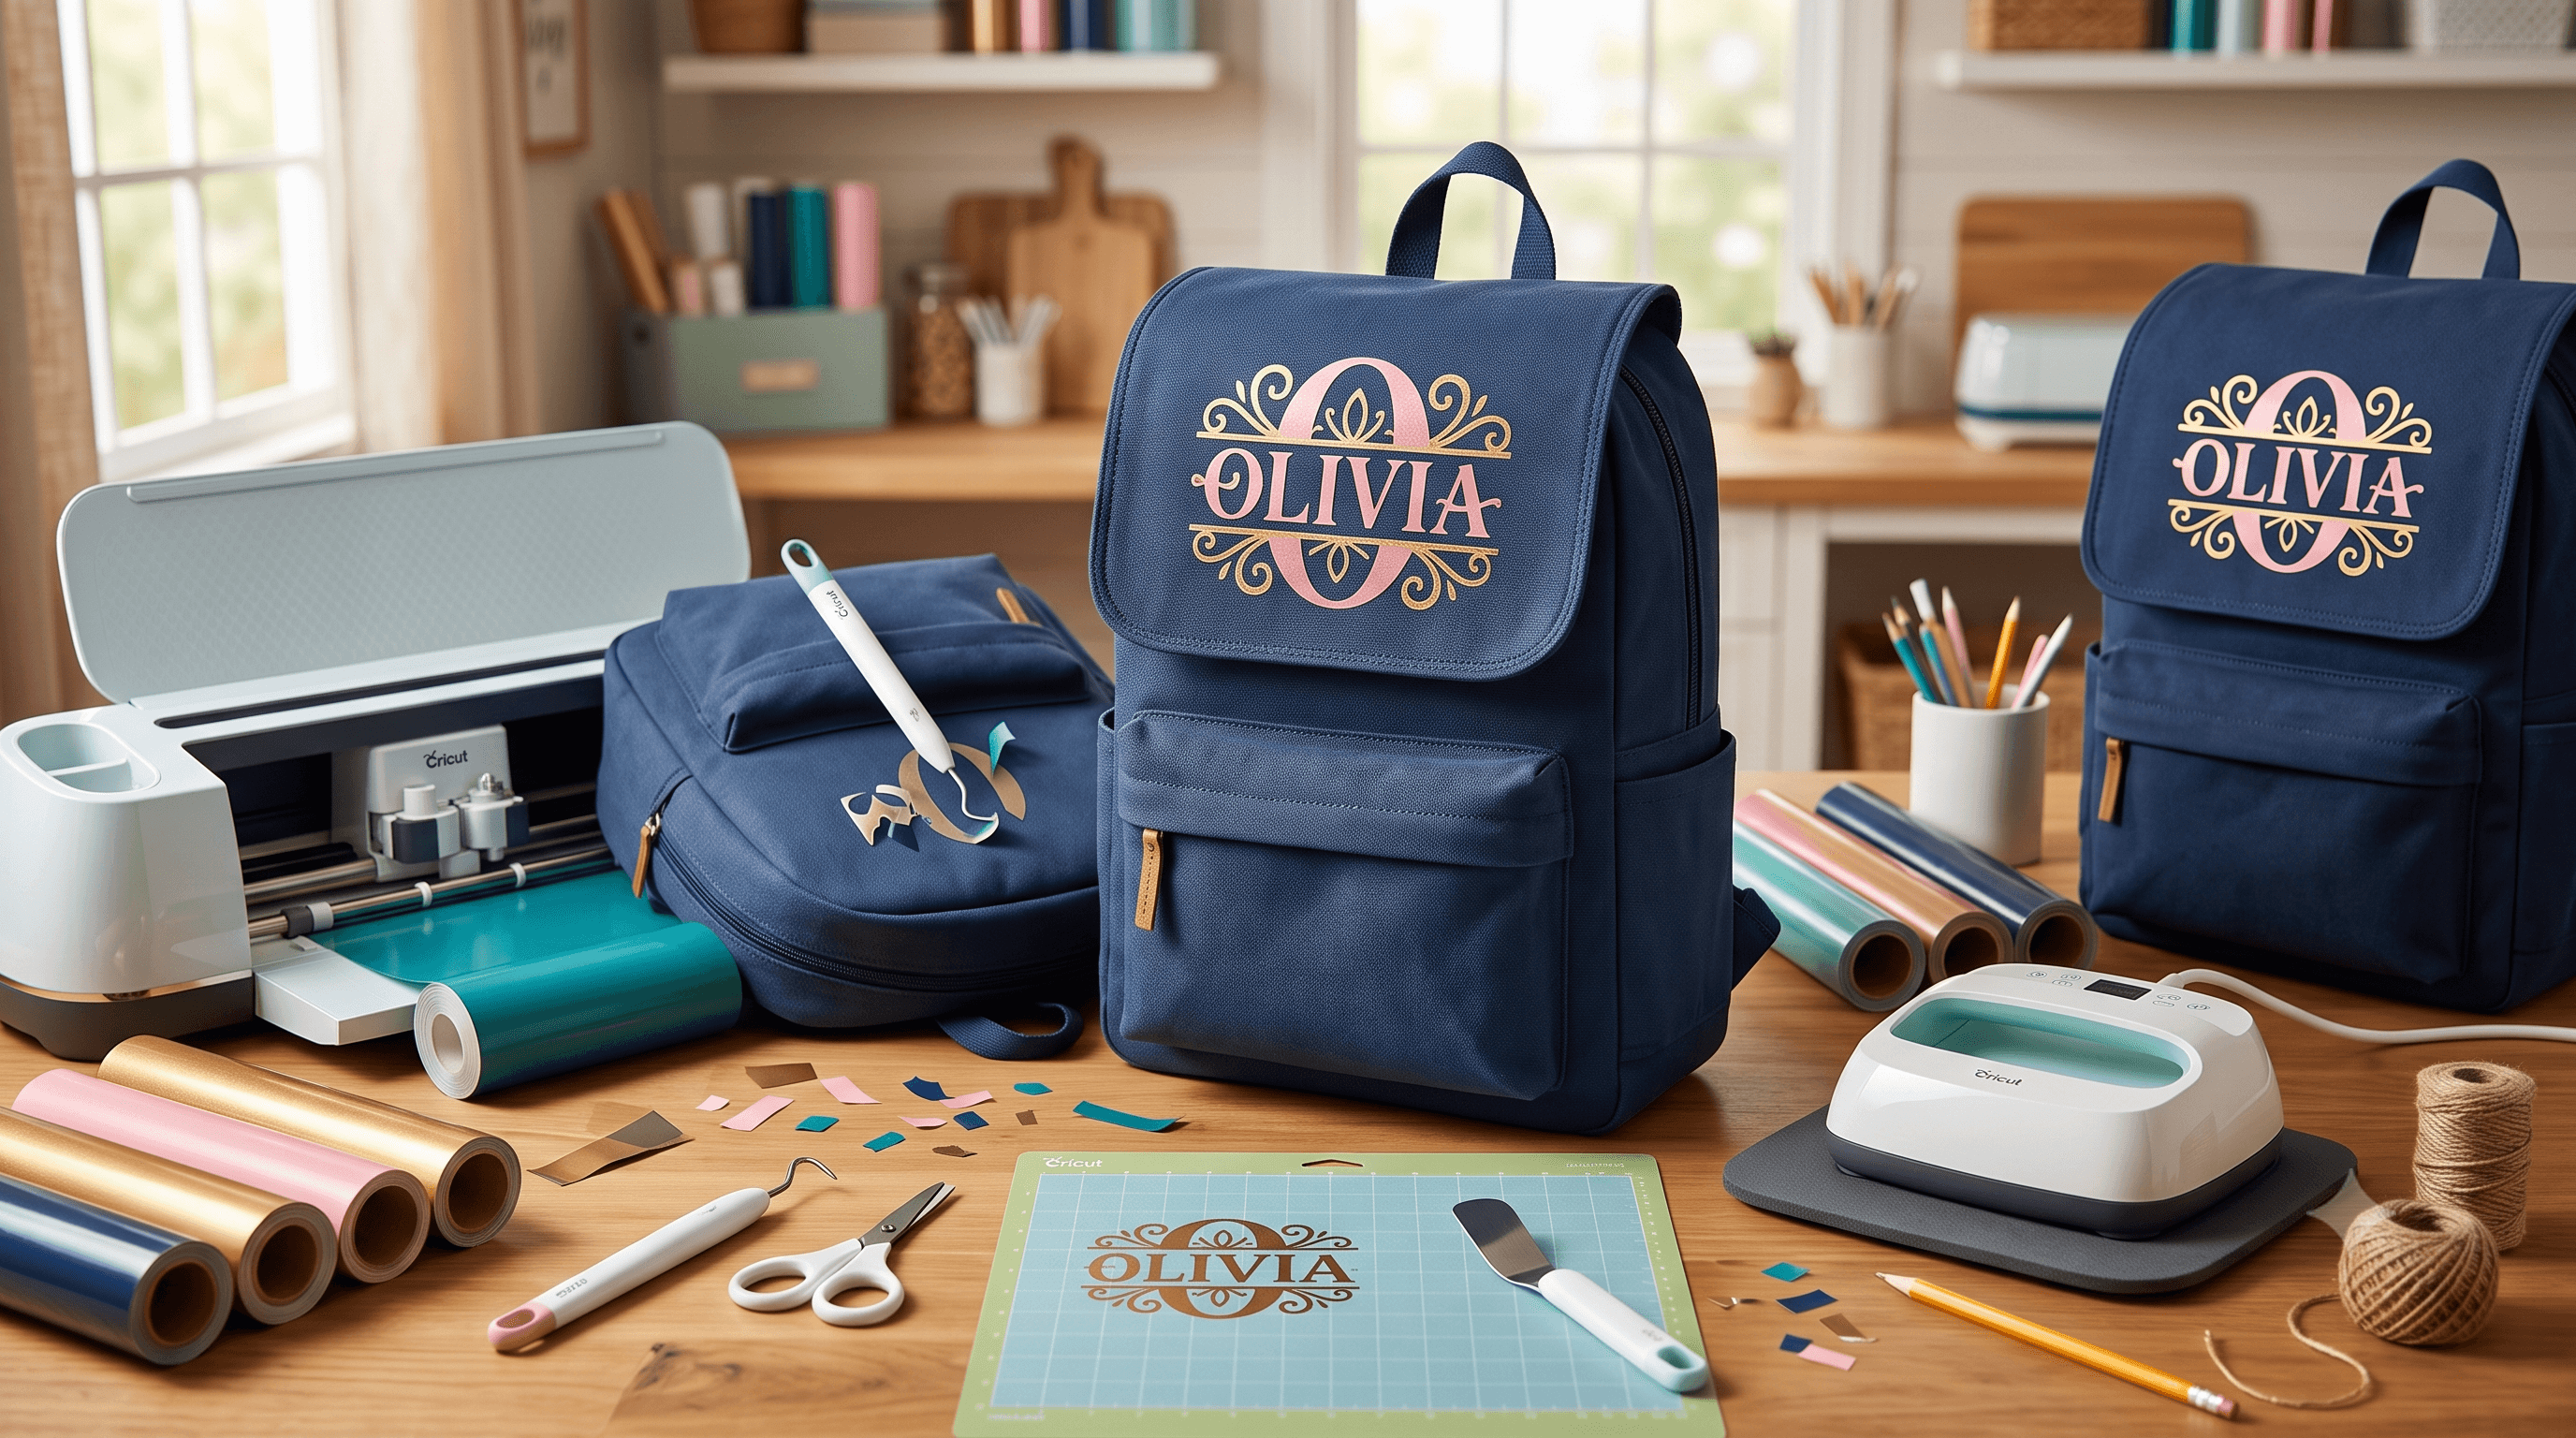
Step-by-Step Guide to Adding Names and Designs to Your Backpack with Cricut
Back-to-school season hits fast, and suddenly every kid's bag looks identical in the lost-and-found pile. Whether you're personalizing a kid's school bag, a travel pack, or a gym tote, adding a Cricut name on a backpack is one of the fastest and most satisfying projects you can do. This guide covers everything from material prep to pressing, start to finish.
What You Need for This Project
Gather these before you start so you're not hunting mid-project:
- Cricut machine (compatible models: Explore Air 2, Explore 3, Maker, Maker 3)
- Heat Transfer Vinyl (HTV) for fabric backpacks, the go-to for soft surfaces
- Permanent adhesive vinyl for hard shell or coated backpack panels
- Cricut EasyPress or household iron (EasyPress gives more consistent heat)
- Weeding tool for picking out negative space without lifting good vinyl
- Cutting mat (StandardGrip works for most HTV)
- SVG or text file ready in Design Space
If you want custom artwork beyond what Design Space offers, CutMagic lets you generate SVG files quickly and import them straight into your project.
Know Your Backpack Material First
Most tutorials skip this step. Don't. The material your backpack is made from determines everything about your approach with Cricut vinyl on a backpack.
Polyester and nylon: HTV bonds to both, but nylon is heat-sensitive. Keep your temperature between 270–290°F and shorten your press time.
If you press too hot on nylon, you'll melt it. Always test on a hidden seam before committing to the front panel.
Canvas: HTV applies beautifully on canvas at standard settings (around 315°F) with firm pressure. It's the most forgiving fabric for beginners.
Coated or water-resistant fabric: HTV bonds poorly to these surfaces. Switch to permanent adhesive vinyl instead. It won't peel the way HTV does on slick coatings.
Hard shell backpacks: Skip HTV entirely. Permanent adhesive vinyl is your only real option here, and it holds up well on rigid surfaces.
Setting Up Your Design in Cricut Design Space
Open a new canvas and size it to match the panel you're working on. The standard front pocket runs 9–11 inches wide, so keep your Cricut backpack name or design between 4–8 inches to avoid overcrowding the space.
Use the text tool to type a name or monogram, or upload an SVG file you've made or downloaded. For a Cricut monogram backpack design, choose a font with clean detail, but avoid fonts with so many overlapping paths that weeding becomes a nightmare. Simple is faster and usually looks sharper.
This is not optional with HTV. The shiny carrier sheet goes face down on the mat, so if you don't flip the design first, it'll come out backwards on your backpack. Double-check this every single time.
Select the correct material setting in Design Space for your specific HTV type. Everyday iron-on, glitter, and stretch HTV all have different settings.
If you need help creating an SVG for your design, there are solid guides that walk through the whole process from file to cut-ready. You can also look into buying SVG files on Etsy if you want professionally designed artwork without starting from scratch.
Cutting, Weeding, and Pressing
This is where the project comes together. Each step matters.
Cricut Backpack Ideas Worth Trying
Need some inspiration for your next backpack Cricut project? Here are a few directions that look great and hold up:
- First and last name in a clean sans-serif font across the top front panel
- Single oversized initial with a small floral accent in a cricut monogram backpack style
- Matching name labels for the whole family in different HTV colors
- Simple icon plus name combo (soccer ball, star, lightning bolt paired with the name)
- Bold initial block or flag design for luggage identification
- Trip or camp-specific designs for sports bags, hiking packs, or overnight bags
These Cricut backpack ideas work for any age and most skill levels. They're also great as fun Cricut projects for kids to get involved with.
Conclusion
Personalizing a backpack is a genuinely quick project, and it's one of the best starting points if you're new to Cricut. The trickiest part is knowing what your backpack is made of before you press a single thing. Get that right, and the rest moves fast.
Want a one-of-a-kind name treatment or icon instead of searching Design Space? Try CutMagic →